![]()
One of the Joys of Maturity

Custom Search
One of the Joys of Maturity |
Custom Search
|
| Affiliated Advertisers |
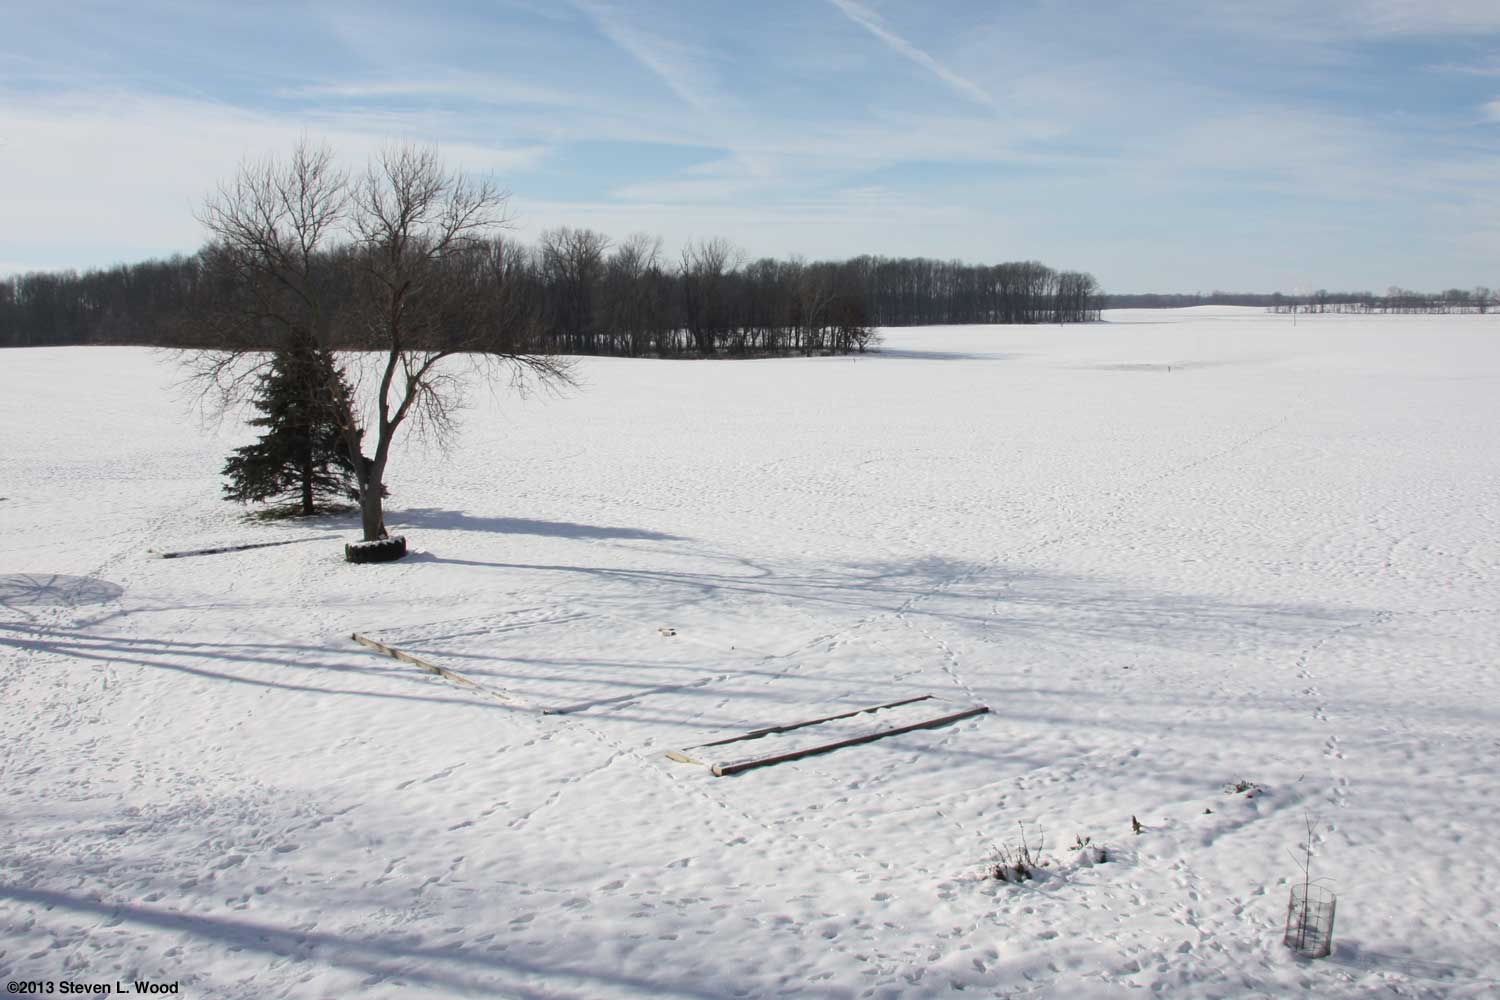
Clicking through one of our banner ads or some of our text links and making a purchase will produce a small commission for us from the sale. A Year in Our Garden - 2013 It's important to review what went right and what didn't do so well in ones garden each year. This feature story is my review of our 2013 garden, minus most of the bad stuff, as it's always more fun to read about gardening successes than failures. Starting Slowly - January
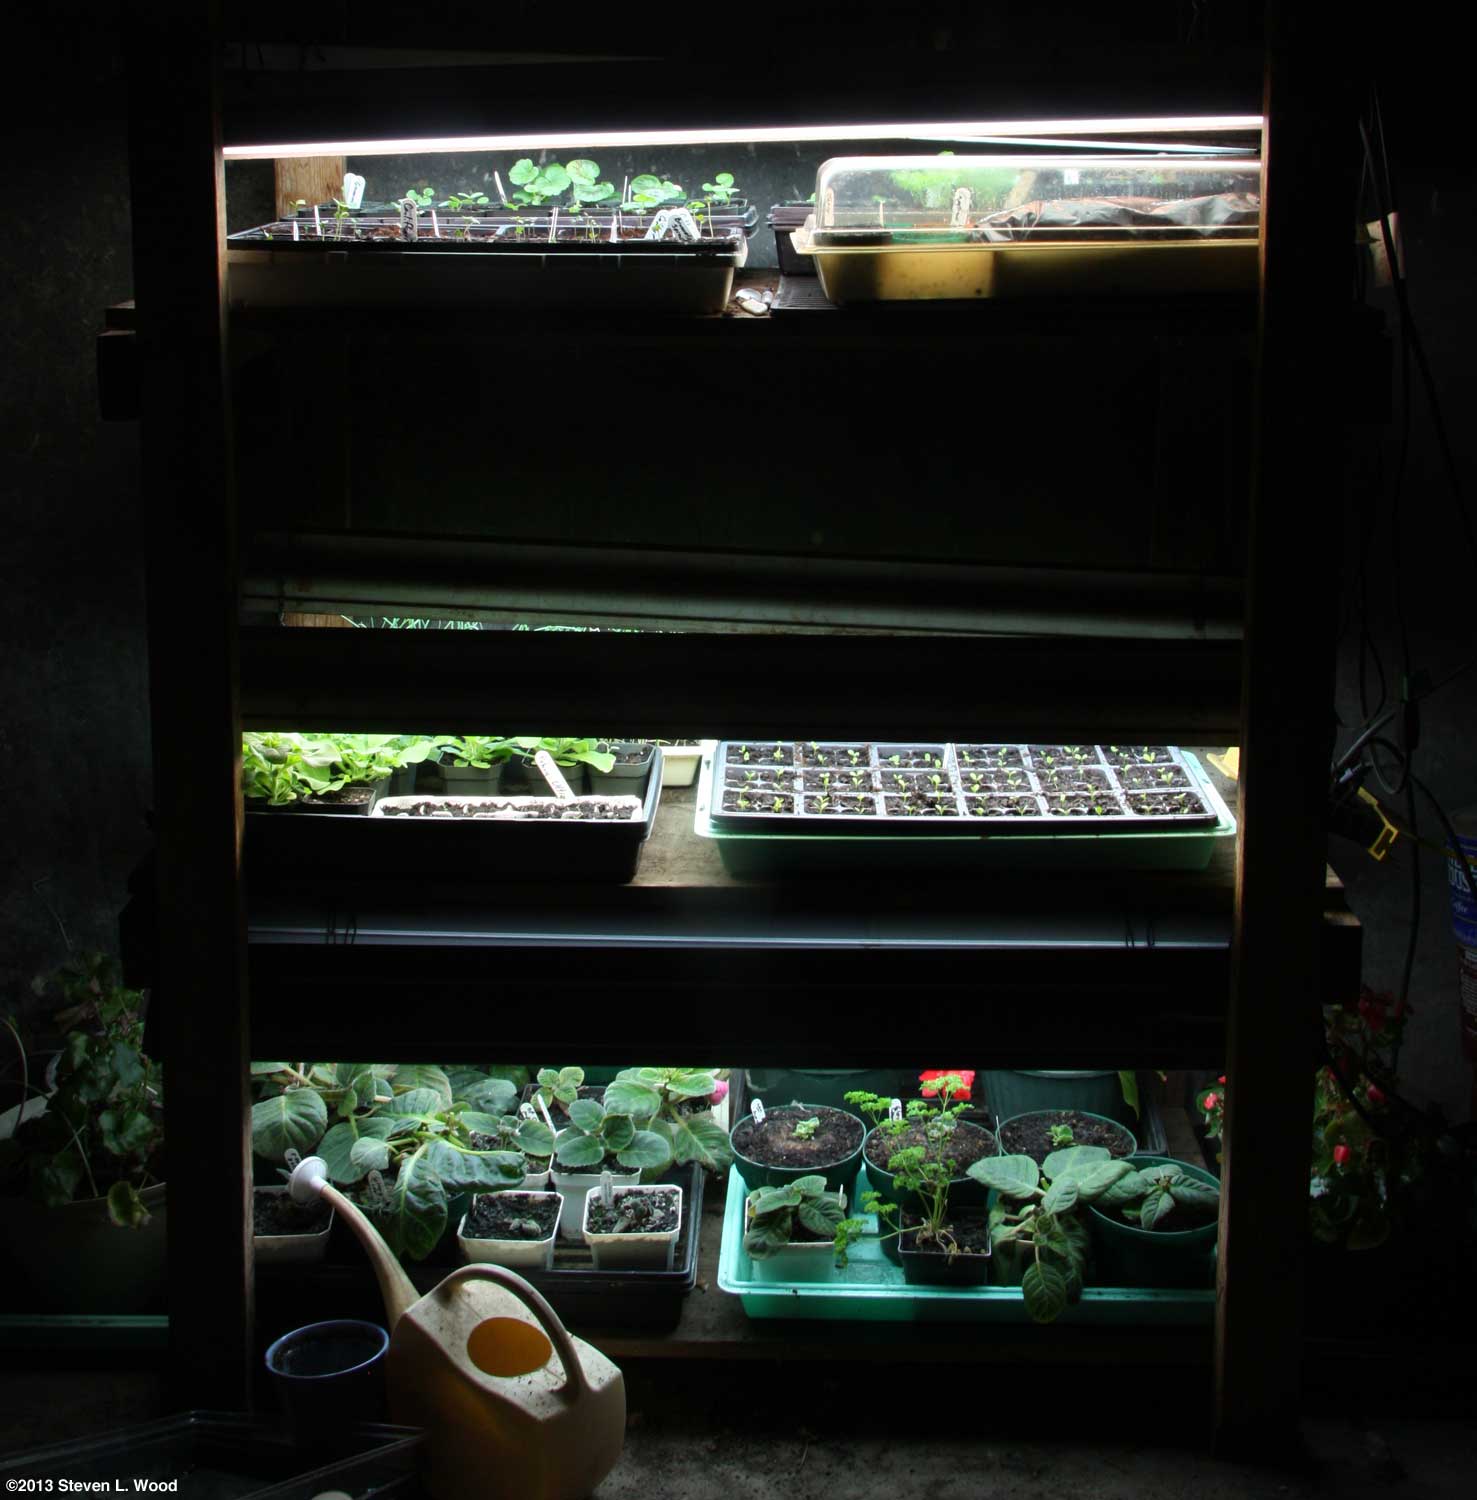
With seed orders mostly in, there's always a great temptation to get lots of stuff started in January. But for most of what we grow, it's still a bit too early. I messed up and didn't get our parsley seeded in January, which I should have done. But I did start our geraniums (1, 2) and onions. Both would prove to be troubled plantings.
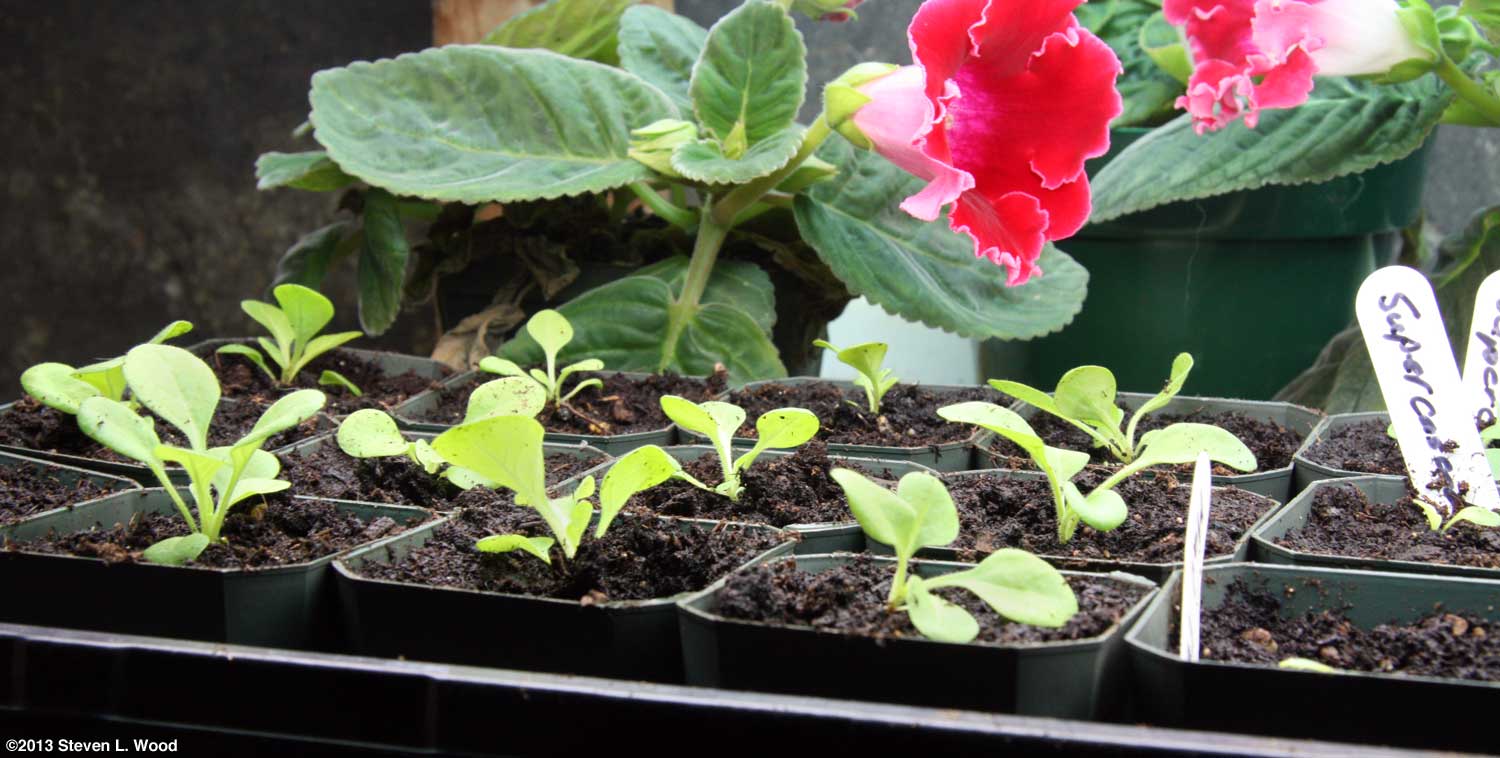
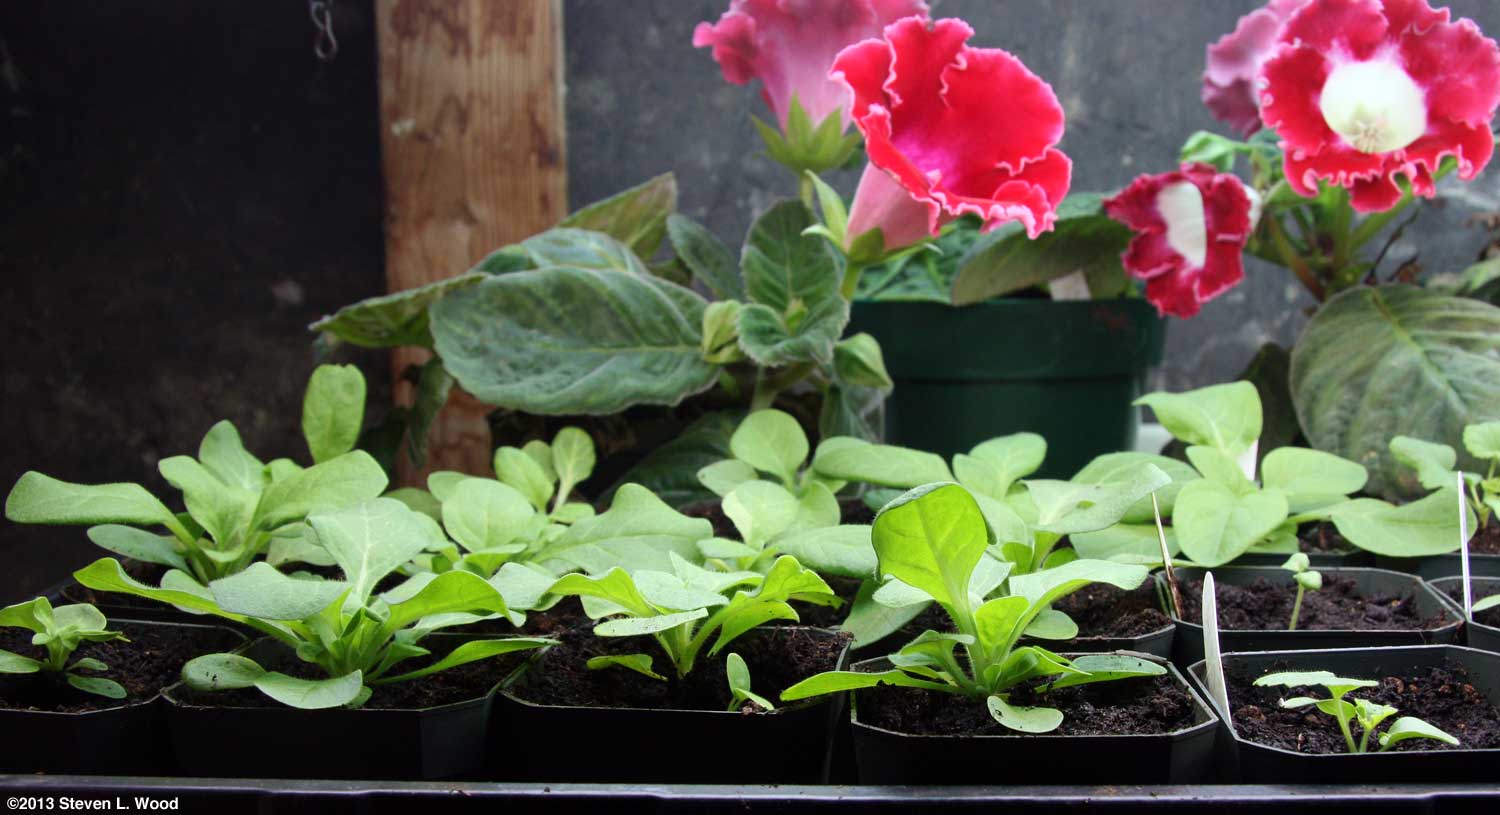
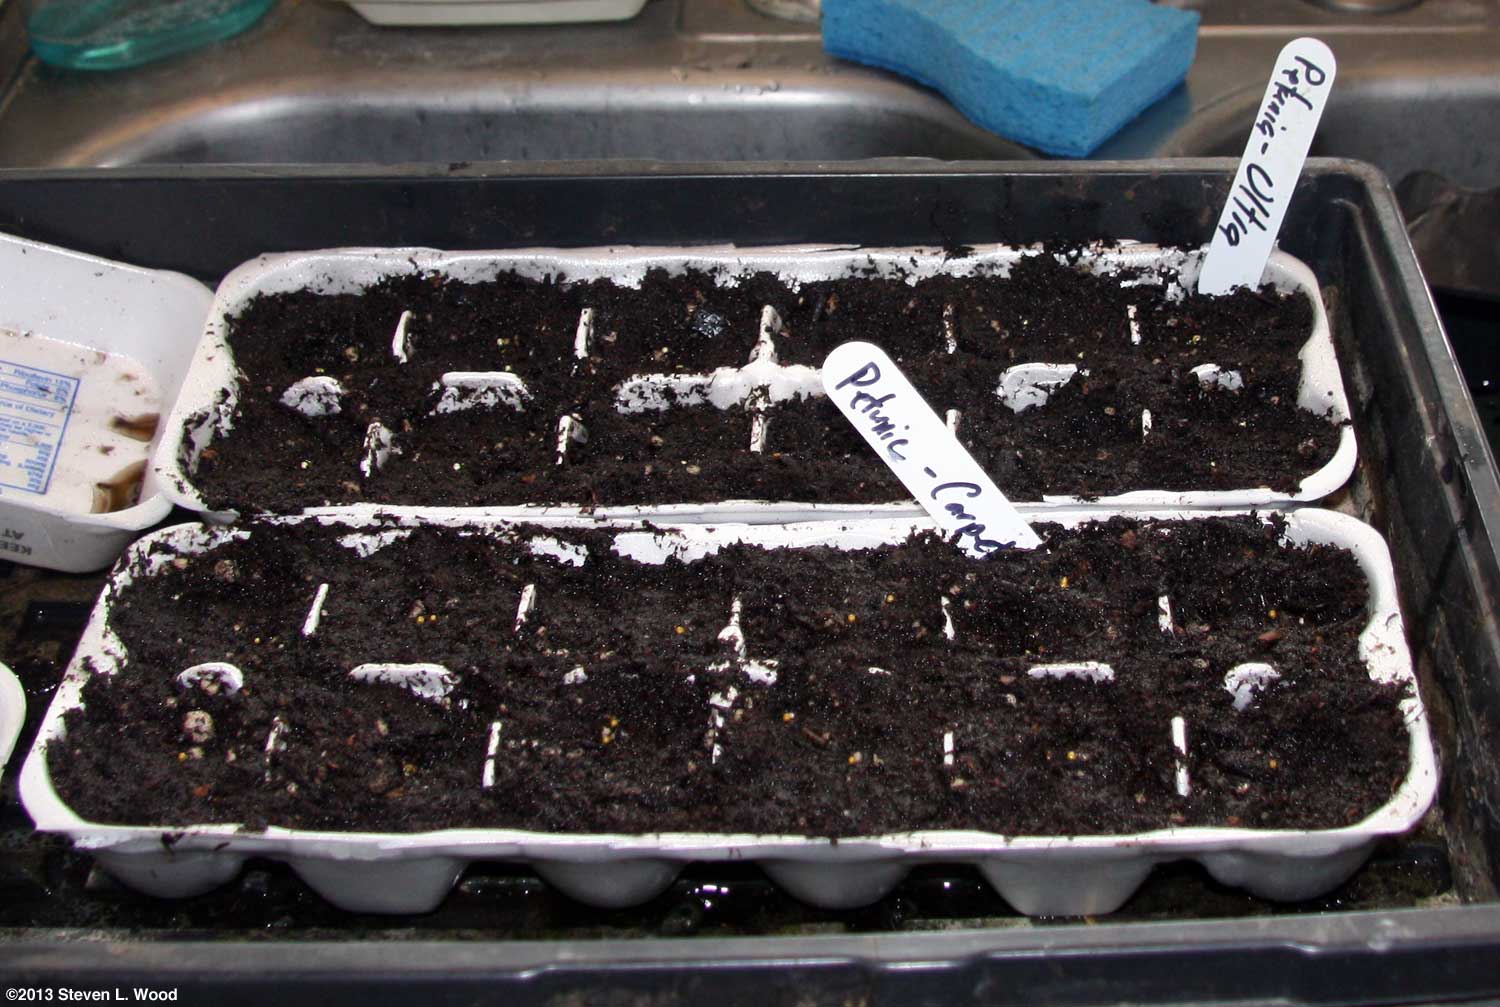
One thing I did rush was starting petunias in egg cartons in late December. By mid-January, one egg carton of petunias was keeping company on our kitchen windowsill with an old parsley plant that never got set out in 2012. It's funny how one begins to crave seeing something green and growing in the dead of winter.
|
Onion Haircuts
I accomplish the task with a pair of sharp scissors, moving down the rows of onions much as a barber might hold up hair to cut it. While the cuttings look like a nice bunch of chives, our onion seed is often treated seed, and the seed hulls adhere to the tops of the cuttings. I don't want to garnish my salad with chives and thiram! Flowers
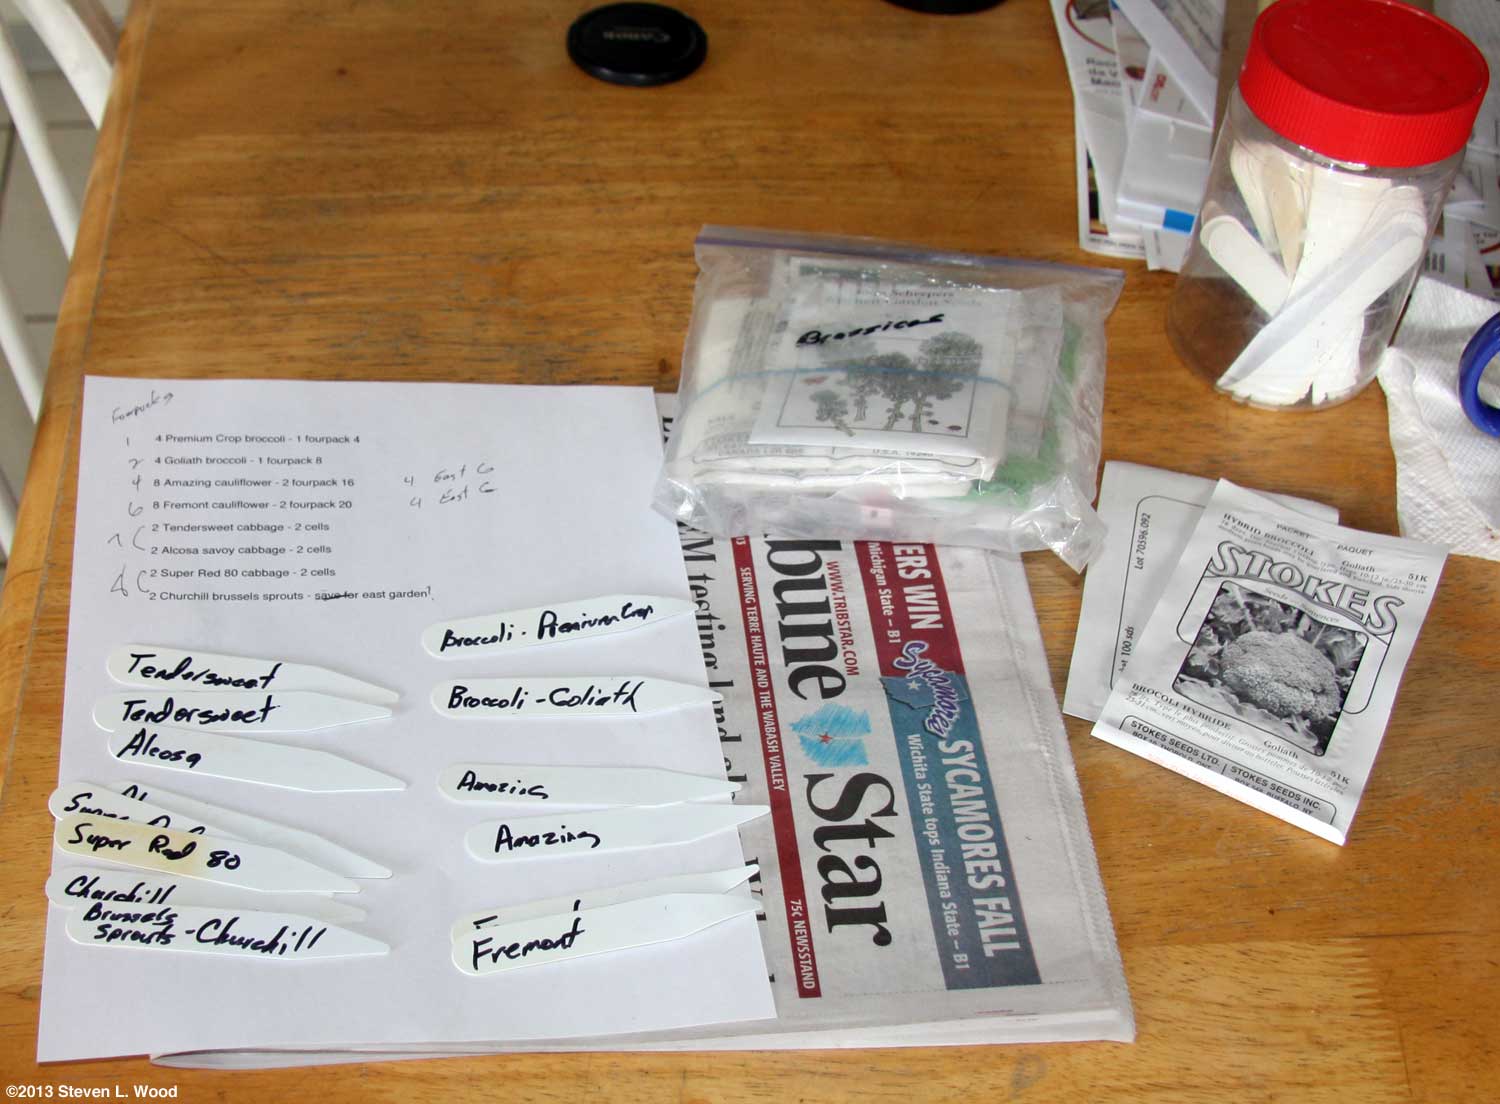
Brassicas I started our brassicas (broccoli, cauliflower, cabbage, etc.) on February 20. We try each year to grow both a spring and fall crop of brassicas to fill our freezer with enough to last us all year. When to start them is just a matter of counting back six to eight weeks from the time I hope to transplant them. Johnny's Selected Seeds provides an excellent online Seed Starting Date Calculator that can be quite helpful in planning when to start transplants indoors...and when to hold off for a while. We have an old page that links to several sources for last and first frost dates (needed to use the calculator).
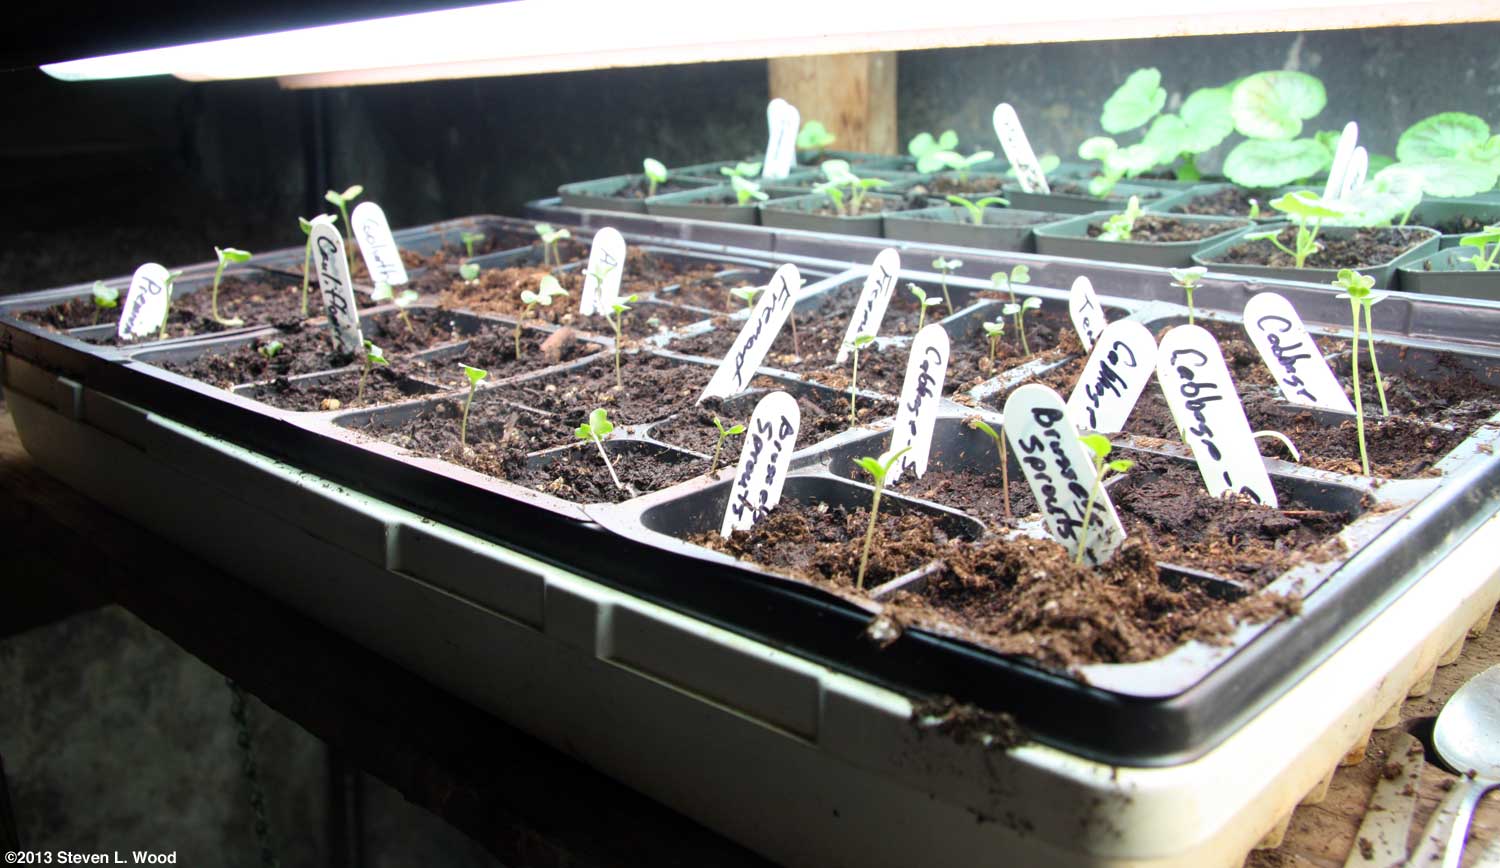
When the broccoli and such come up, I have to be careful to get them fairly close to our plant lights, as brassicas tend to get leggy very quickly if they don't get enough light. I've frequently had to lift broccoli plants from their cell or pot and set them back into the planting medium a bit lower due to tall, spindly stems.
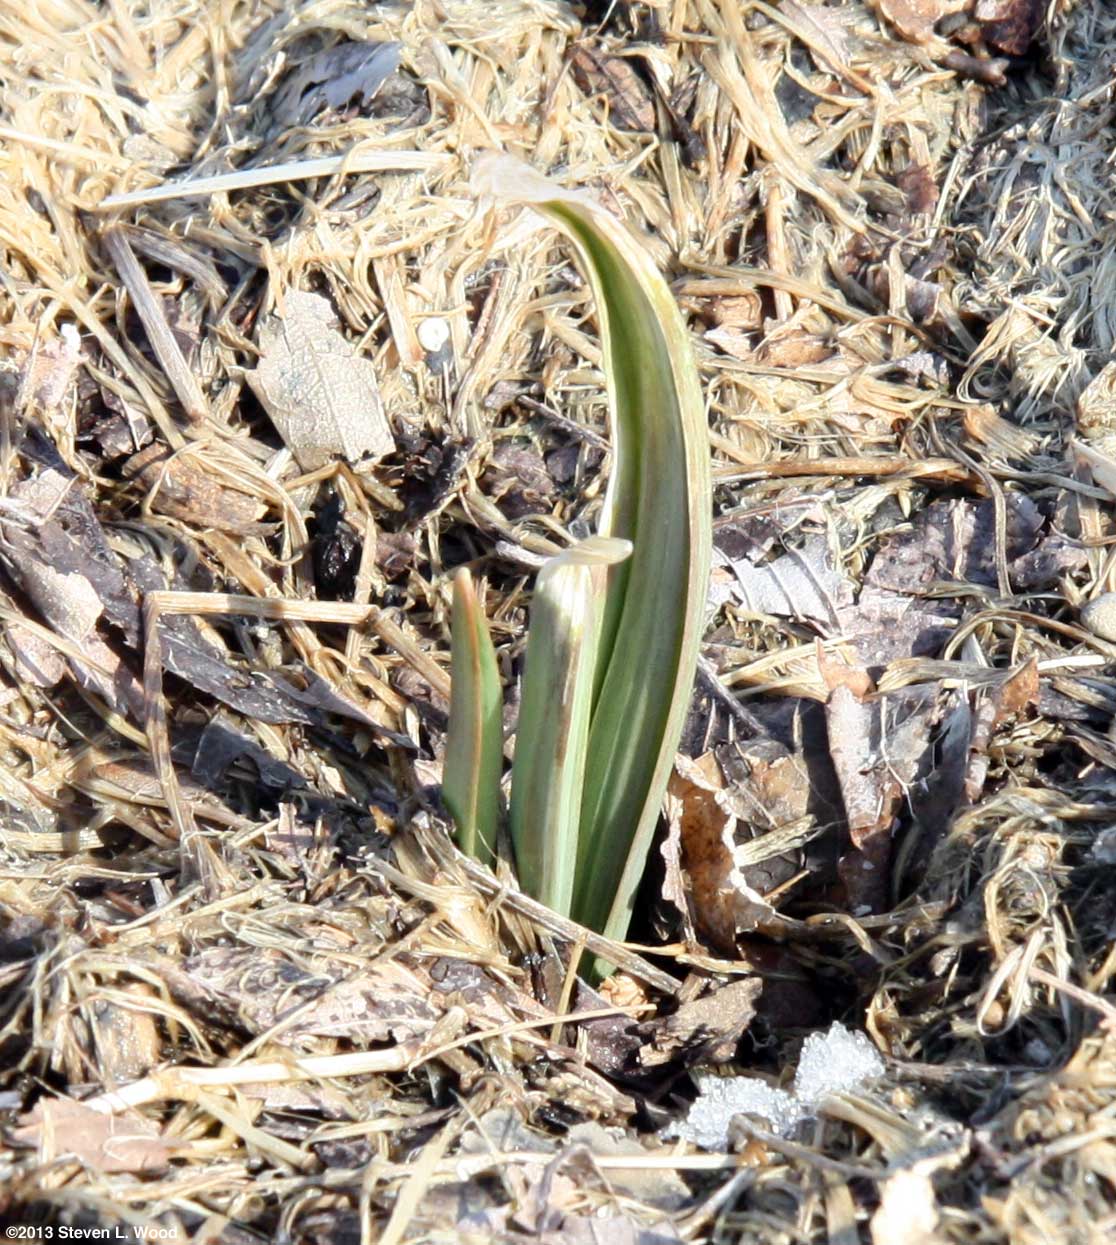
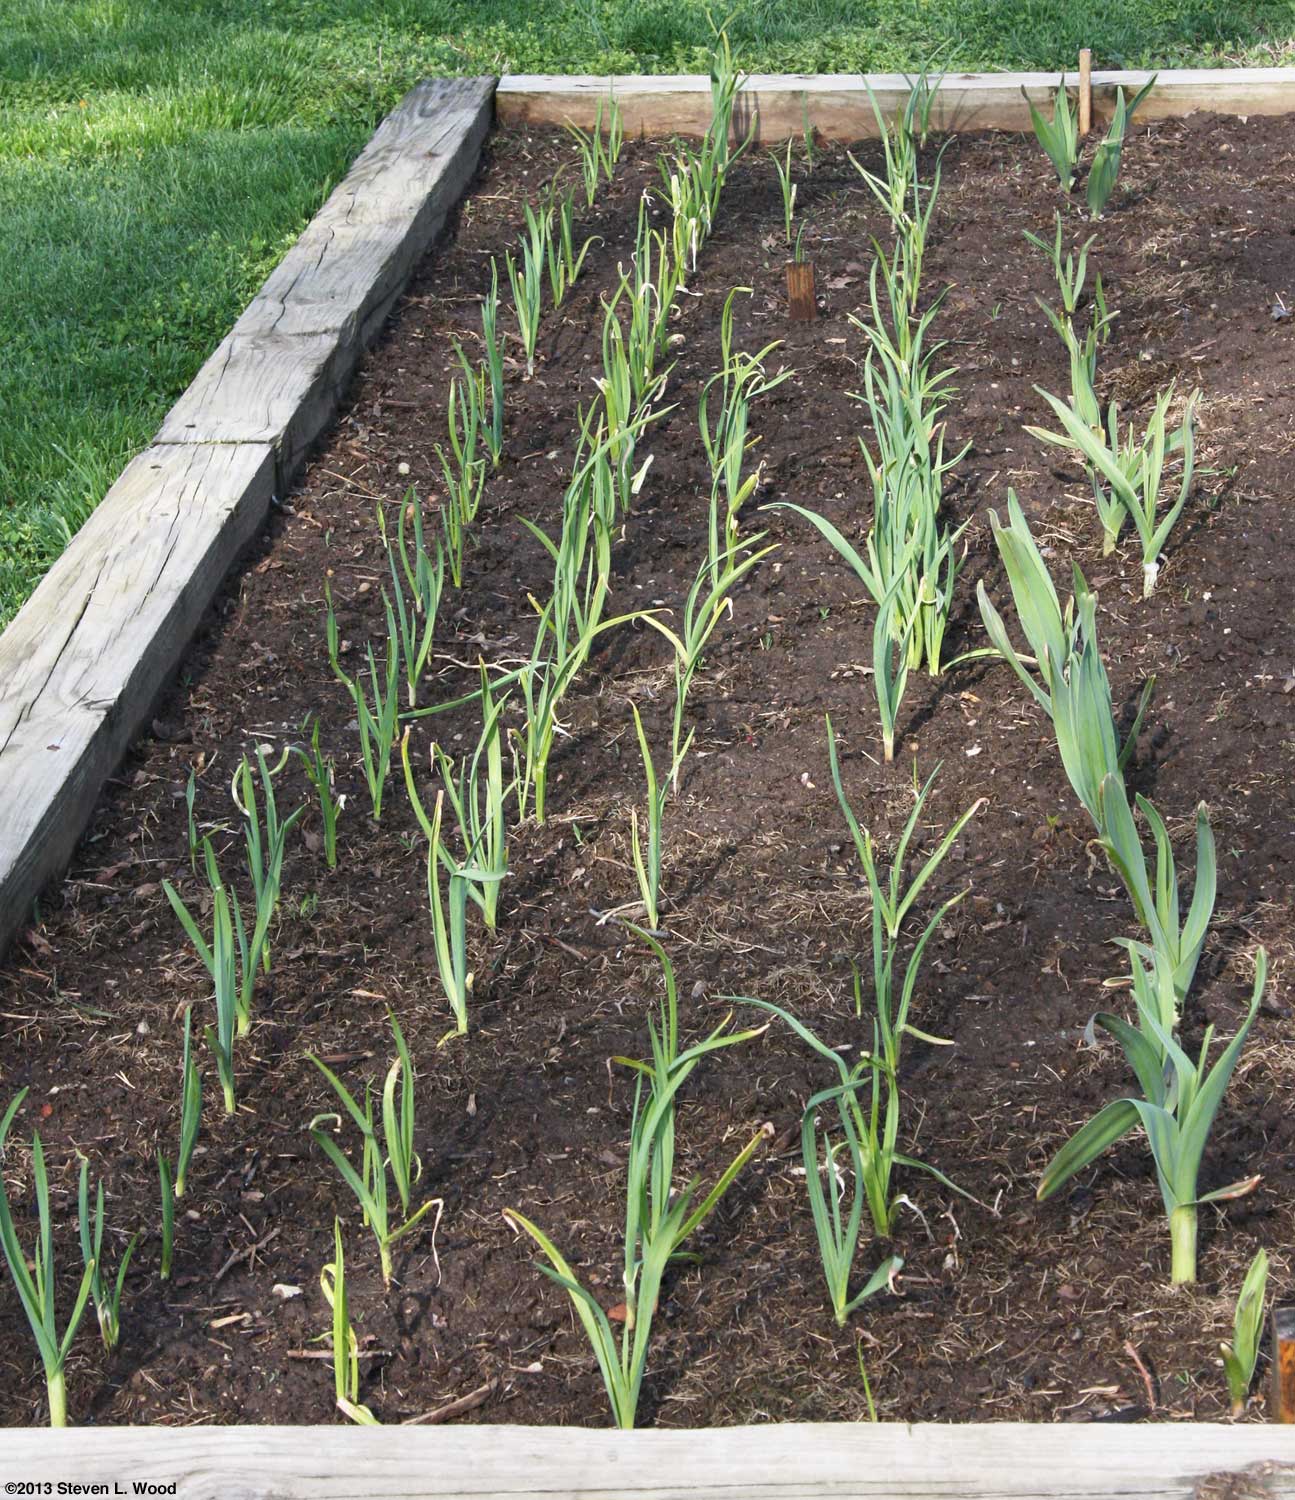
But also at this time of year, we usually begin to see early signs of spring. A year ago, a clump of crocuses appeared in our back yard that we never knew were there before. Things one expects also happen, such as the emergence of garlic planted the previous fall. I messed up in February by not removing the heavy grass clipping mulch that was over our garlic. It had matted, and some new garlic varieties I was trying that had extremely small, weak cloves, weren't able to push through the matted mulch. I rescued them in March, but I think many were set back and a few even died. March - Lettuce
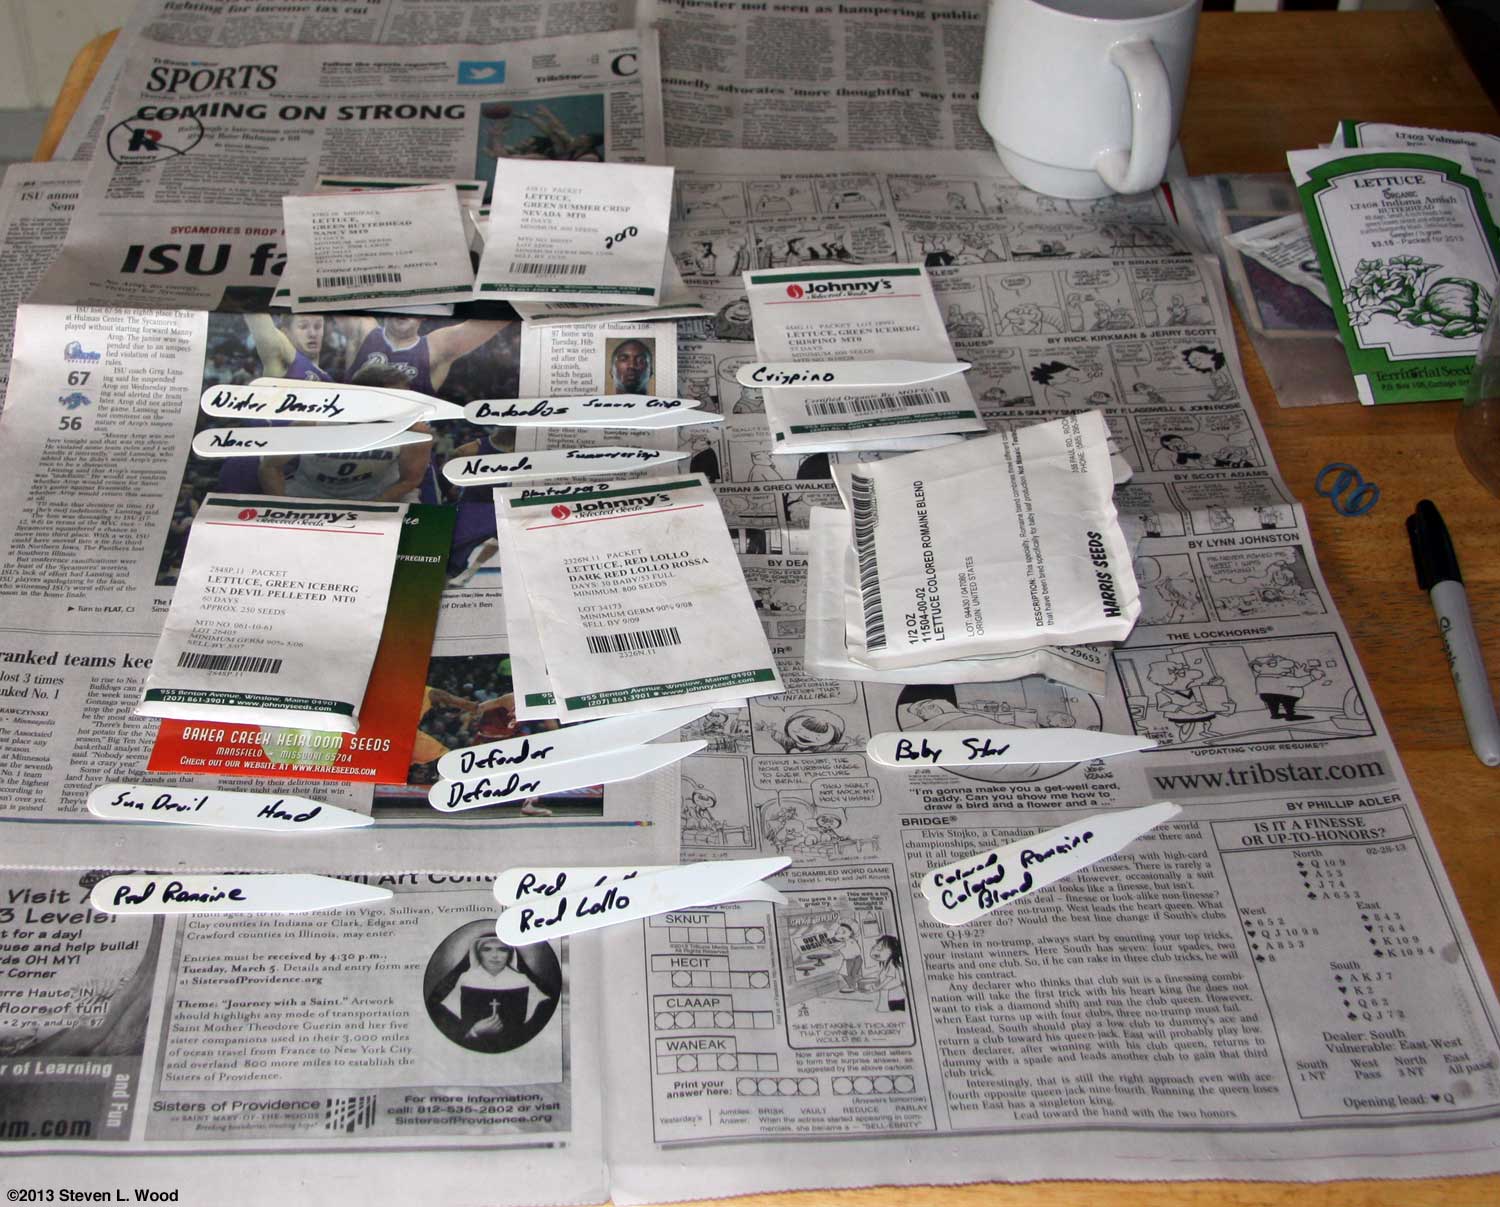
The lettuce, being the incredible stuff it is, was ready to head outside, under our cold frame by late March.
Cold Frame Craziness In early March with our plant rack terribly crowded, I moved some of our more cold hardy plants outside under our cold frame.
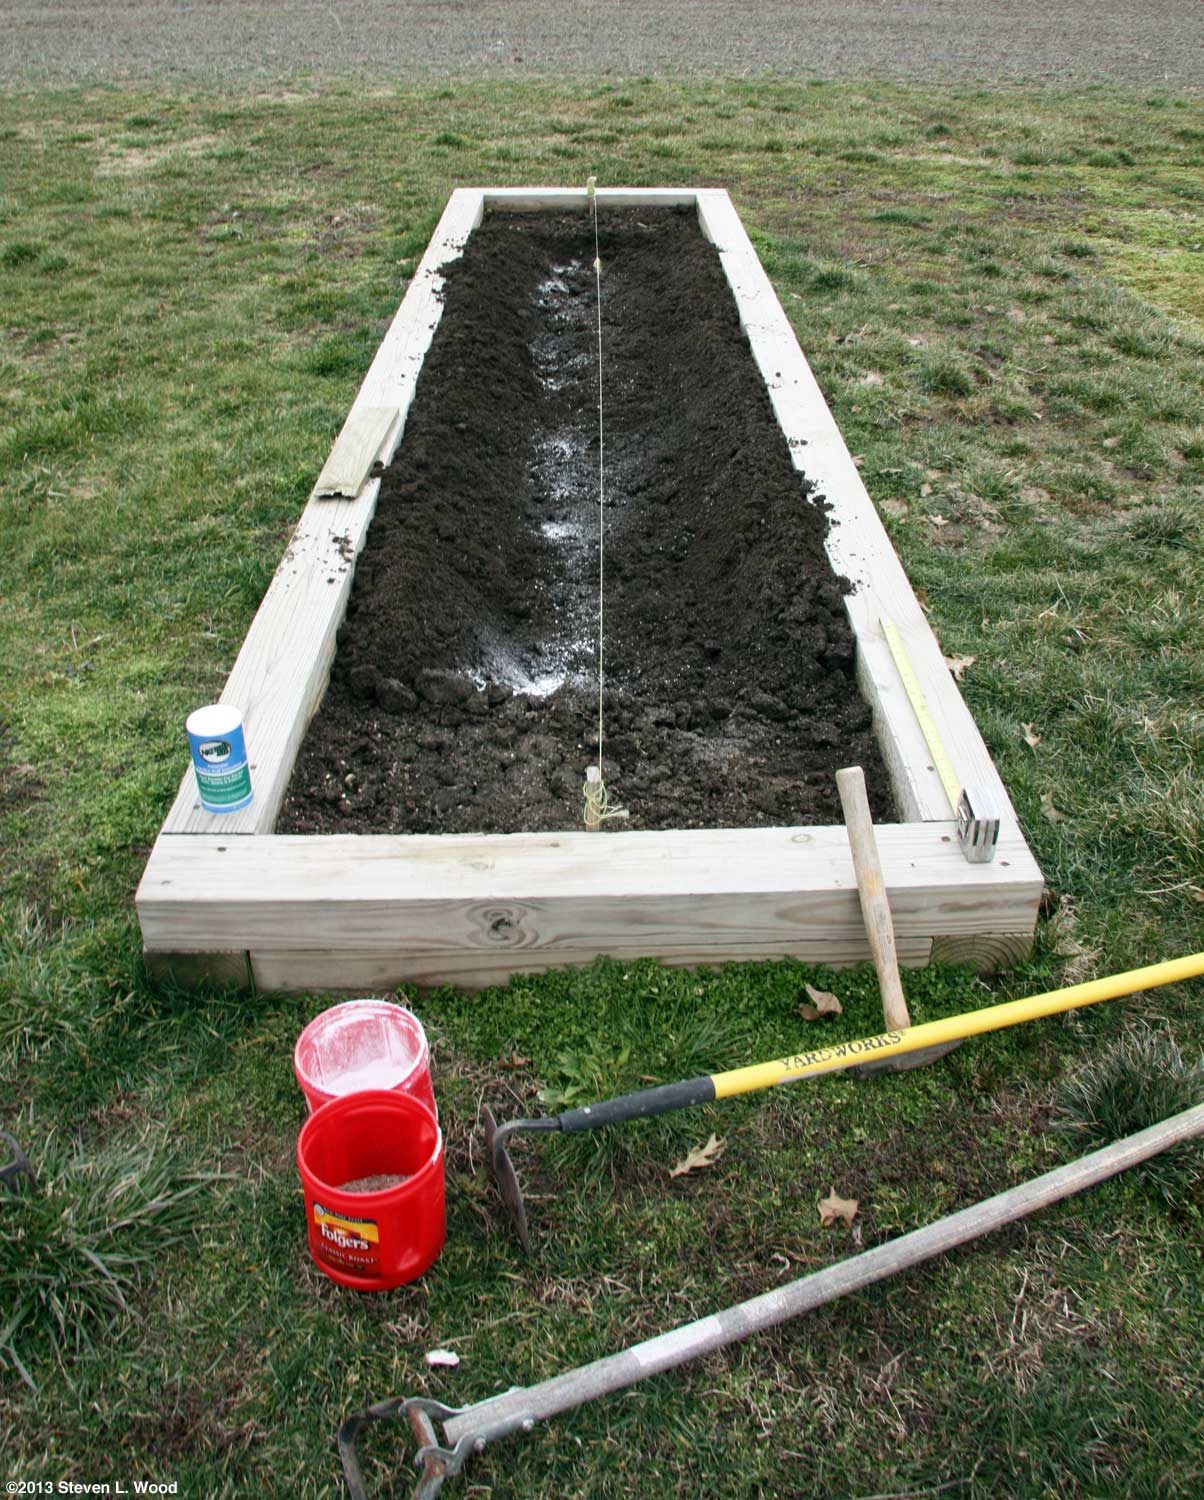
Planting Peas I like to get our peas planted sometime in early March. As long as I use treated seed, the peas seem to just sit until the time is right for them to emerge. This year, I planted on March 10. When I dug a bit in the bed about five days later, I could see roots emerging from the seeds, but didn't have any plants push up through the cold, wet soil until early April.
The real trick to planting peas early is to prepare the seedbed for them in the fall. All I had to do with this planting was work the soil a bit with a hoe, make a wide furrow, and add some granular inoculant, a touch of lime, and a bit of commercial fertilizer. I worked in the inoculant (and other stuff) with a hoe, as the seed treatment may kill the inoculant if there's contact with the treated seed. (It may, anyway.) One also doesn't want granular fertilizer touching the seeds, as it may "burn" them. Then I sowed a wide band of seed and covered it. In years where the soil is semi-frozen, I've just about frostbitten my fingers by spreading pea seed over the prepared bed and poking the seed into the ground, one at a time, with my finger. And once when the bed for peas had been turned in the fall, but not really properly prepared, I spread pea seed on the soil surface and covered it with commercial soil mix. But for any of these tricks to work well, one has to have worked the soil just a bit in the fall to kill the weeds. I left about 24" at either end of the pea row unplanted, as I planned to place a caged tomato plant at either end of the row later on. Sweet Potatoes and Apple Trees
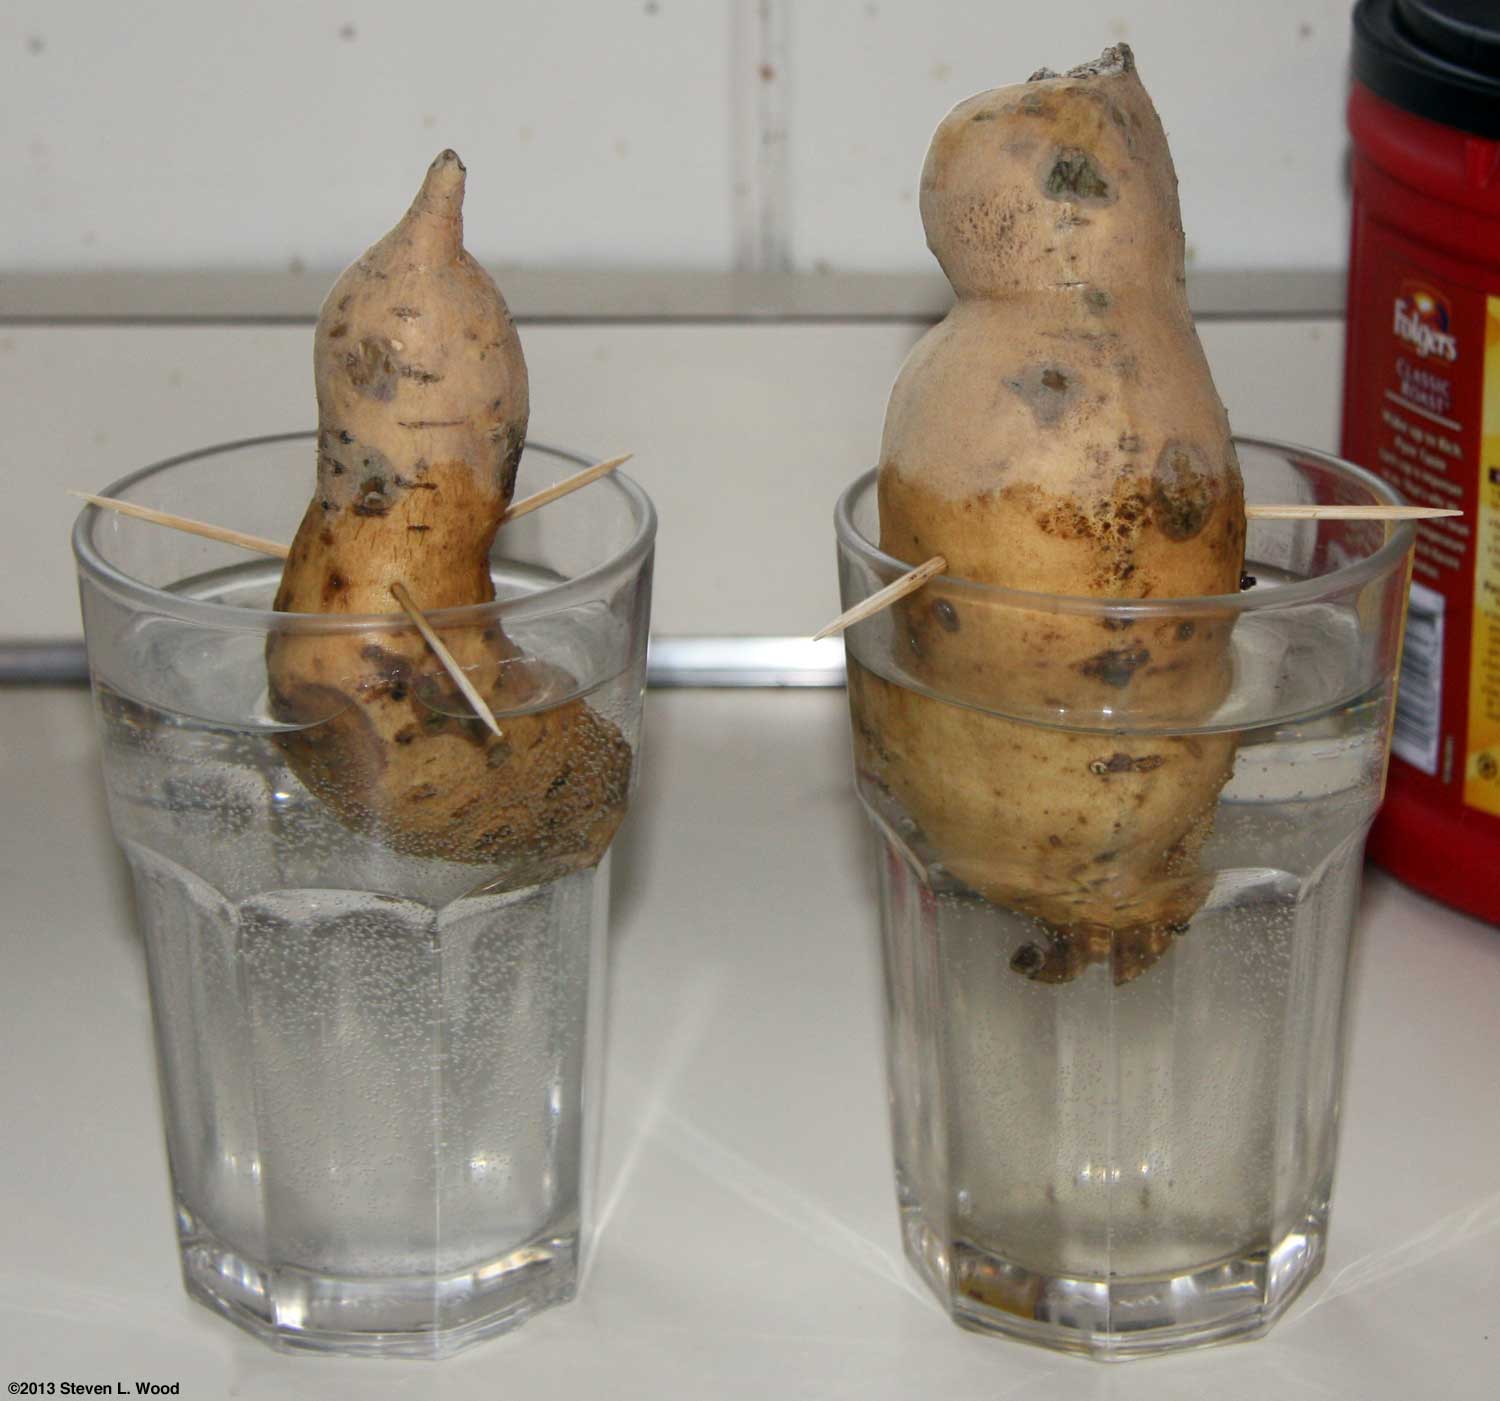
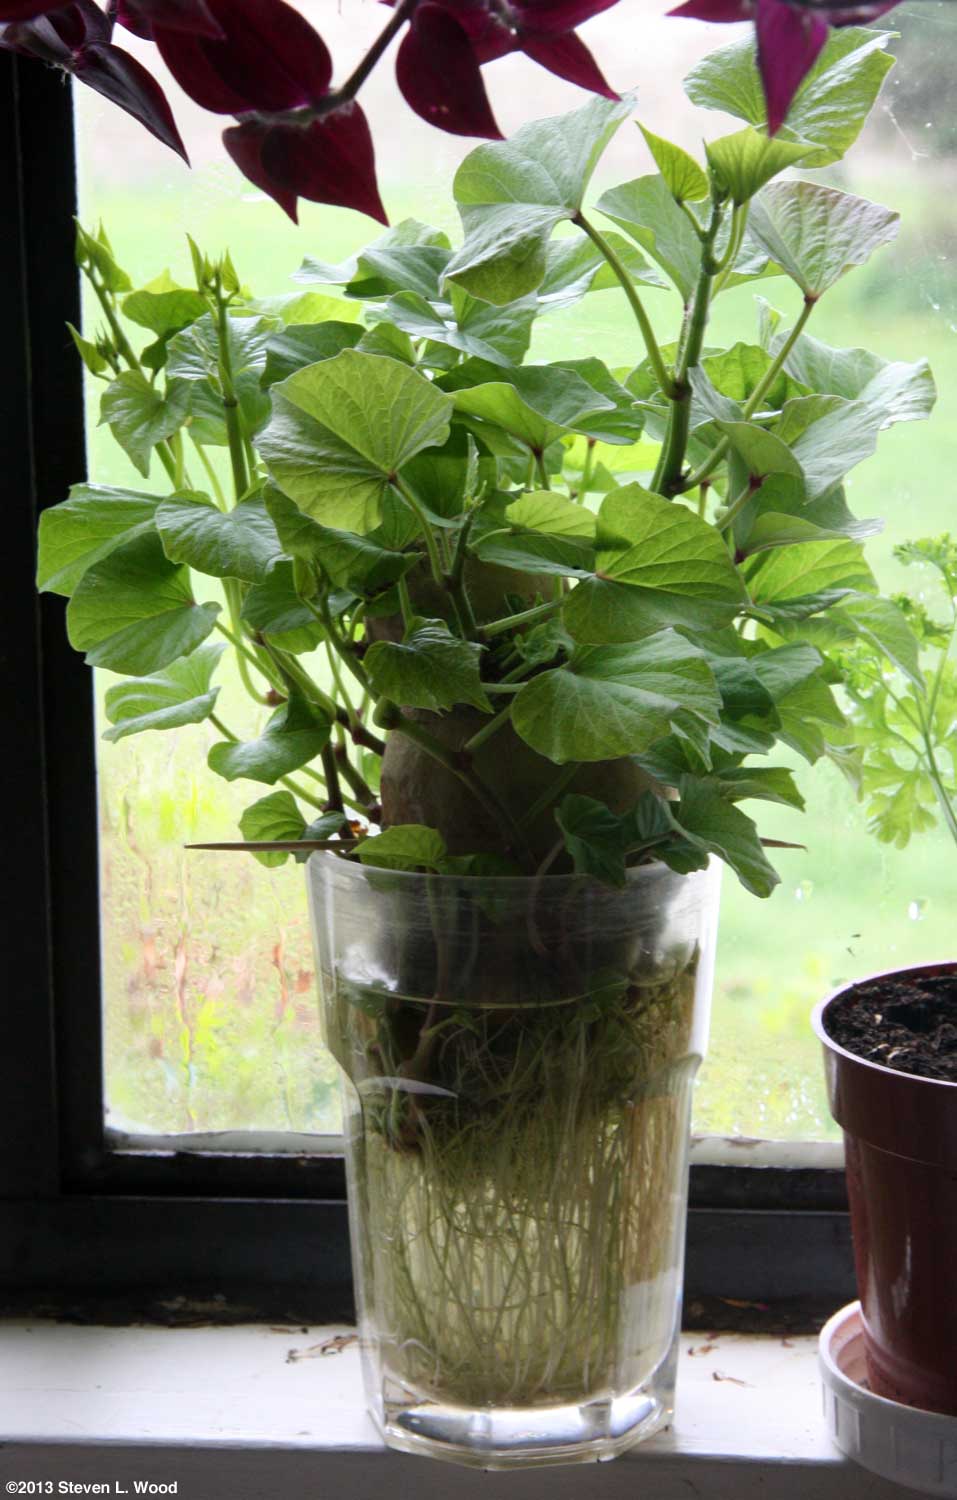
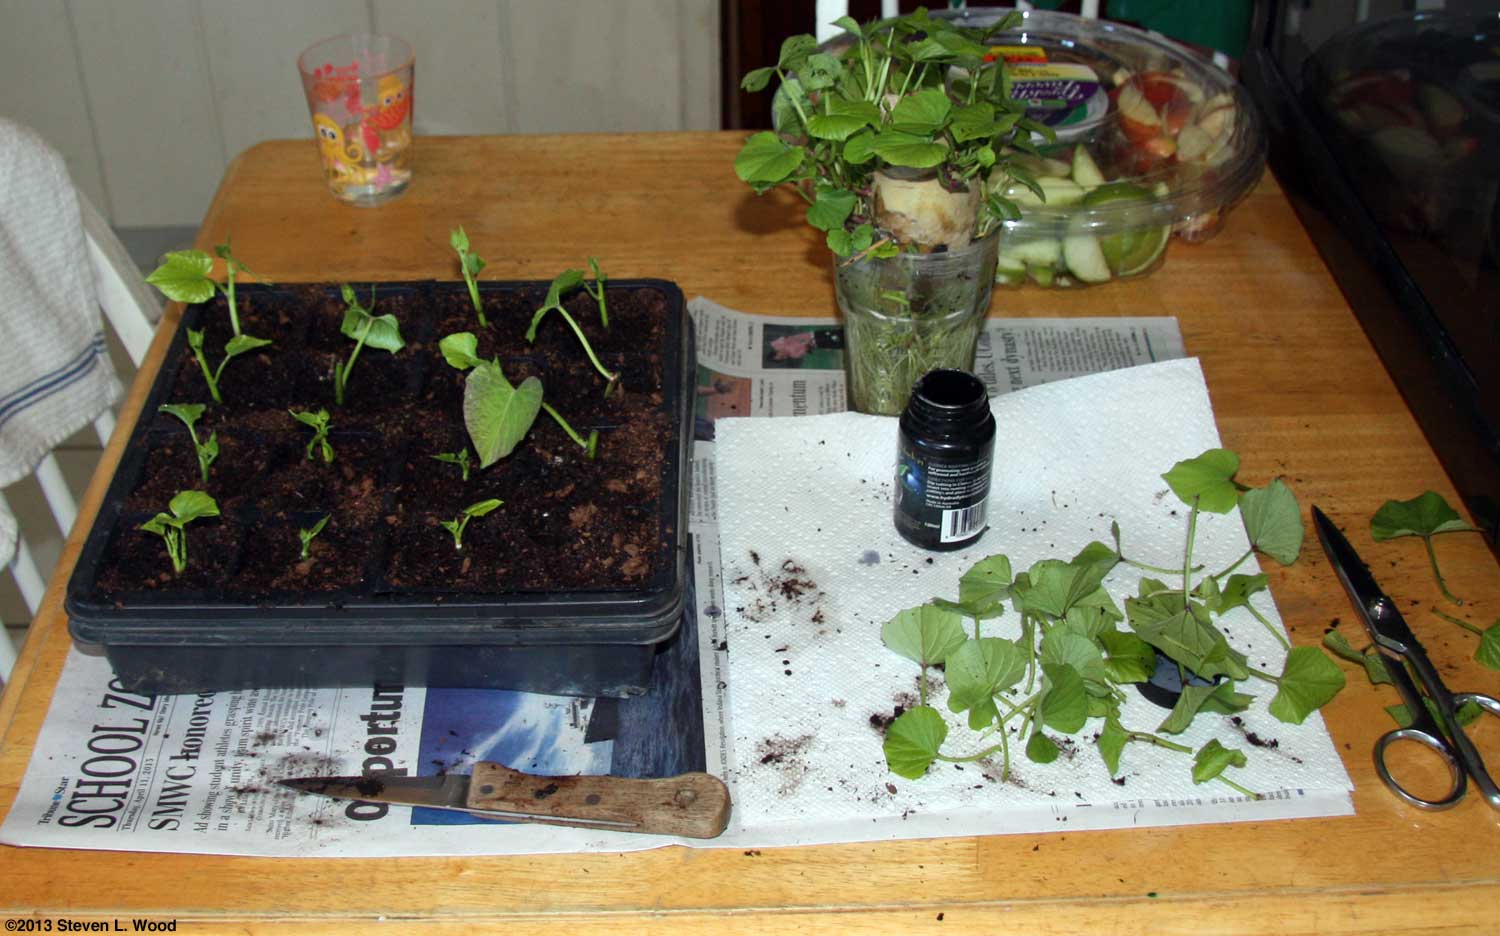
I chose this year to just go with sweet potato slips produced from sweet potatoes in glasses of water, rather than ordering new plants. Such a practice can allow diseases to carry over from one year to the next, but it's also a whole lot cheaper than ordering new plants. Only one of the two sweet potatoes shown at right produced slips, but it gave us more than enough slips that when rooted, provided all the sweet potato plants we needed. Caring for Transplants...and Starting More Since I'd started a lot of our flowers and other stuff in communal pots, there was a lot of transplanting to be done in March. Various flowers and vegetables had to be moved to individual pots or fourpacks to continue good growth. It seemed that everything needed transplanting at once. But March is also the time to get some of our main crops started. I seeded a pot with thirty or so Earlirouge tomato seeds that had been in frozen storage since 1988! In just a few weeks, I was madly moving the tomato plants to roomier quarters, as we got well above 50% germination from the old seed. Our Earlirouge project turned out to be one of our big wins for the gardening season. During the last week or two of the month, I seeded the rest of our tomatoes and our sweet bell peppers. One of the tricks to growing good tomatoes is having transplants six to eight weeks old ready to transplant when the weather is right. Plants that are too small may have a tough go of it when transplanted, and older plants may get stunted in too small pots before transplanting. The month's seed starting wound up with some melon starts that emerged just a few days after seeding. We seed most of our melon and squash starts directly into 4" plastic pots where they remain until transplanted. I let two or three plants grow in each pot.
Of course, not everything we try works. I'd moved our two trays of onion plants onto our back porch to make room for other stuff under our cold frame. The onions had gotten nipped just a bit by a hard frost earlier in the month, but began to recover...before bleaching out and dying. One of our pets also dug a bit in one of the onion trays. When I was repairing the digging damage in the tray, I detected the odor of cat urine in it. Our cats were having pee wars in our onion trays!
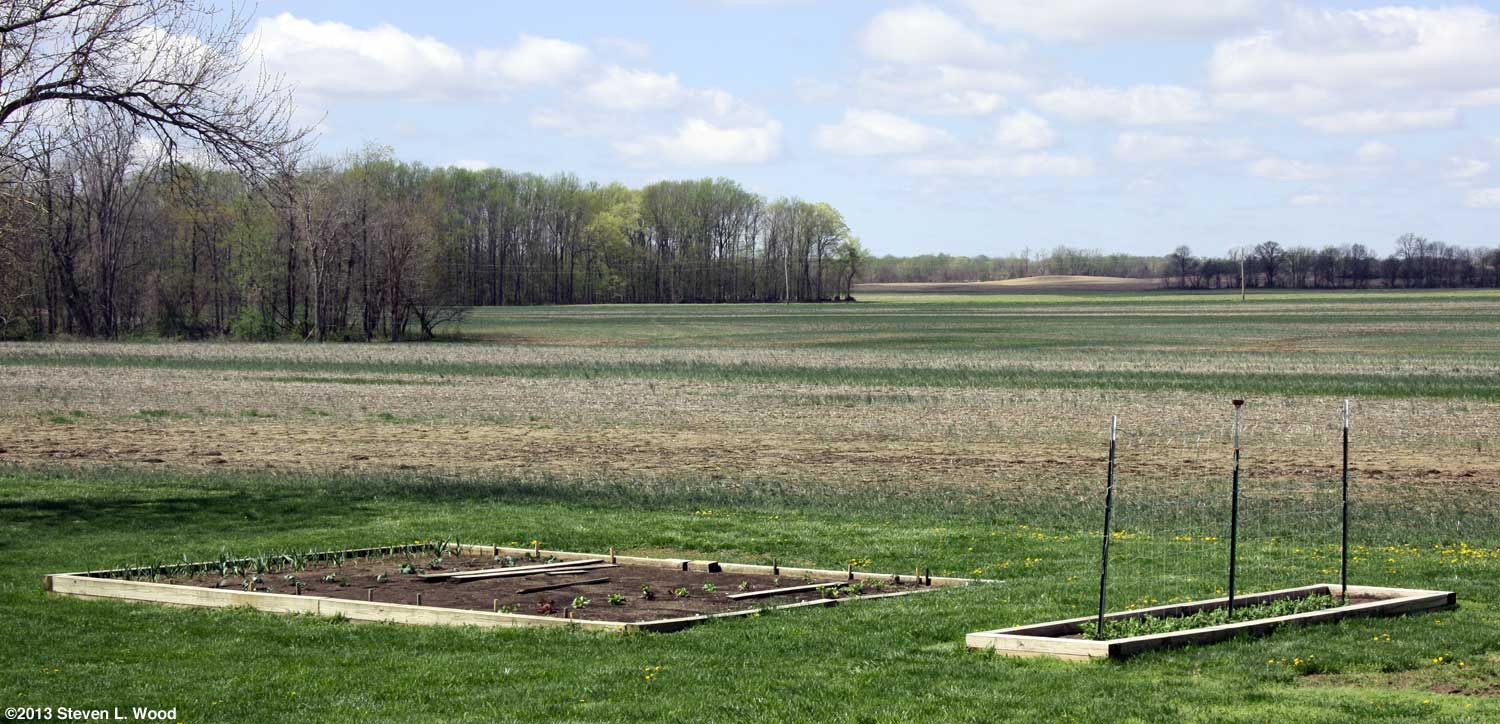
Despite watering the tray heavily with limewater to counteract the urine, we lost a lot of the onion plants, as they were burned by the urine. I immediately started another tray of onions, although it was really pretty late in the season to be doing so. And, our onion woes were only beginning... We began April with some nice weather where the ground dried up enough to allow tilling of both our large East Garden and our main raised garden bed.
Getting our tilling done early allowed us to jump right into transplanting some frost hardy crops. I transplanted brassicas into our main raised bed on April 6, putting in 4 Premium Crop broccoli, 3 Goliath broccoli, 5 Amazing cauliflower, 4 Fremont cauliflower, and one each of Tendersweet, Super Red 80, and Alcosa cabbage. The planting looks a bit bizarre, as we use old, wax paper coffee cups with the bottoms cut out as cutworm collars. Beyond the cutworm collars, each planting hole gets a sprinkle of lime to help ward off clubroot and a quarter to half handful of 12-12-12 fertilizer worked into the base and sides of the hole. Then the hole is filled with dilute starter fertilizer before placing a transplant in it with a coffee cup cutworm collar about it. Then the hole is backfilled, both outside and inside the cup. It's really important to make sure the coffee cups extend at least an inch above the soil line, or cutworms may be able to scale them.
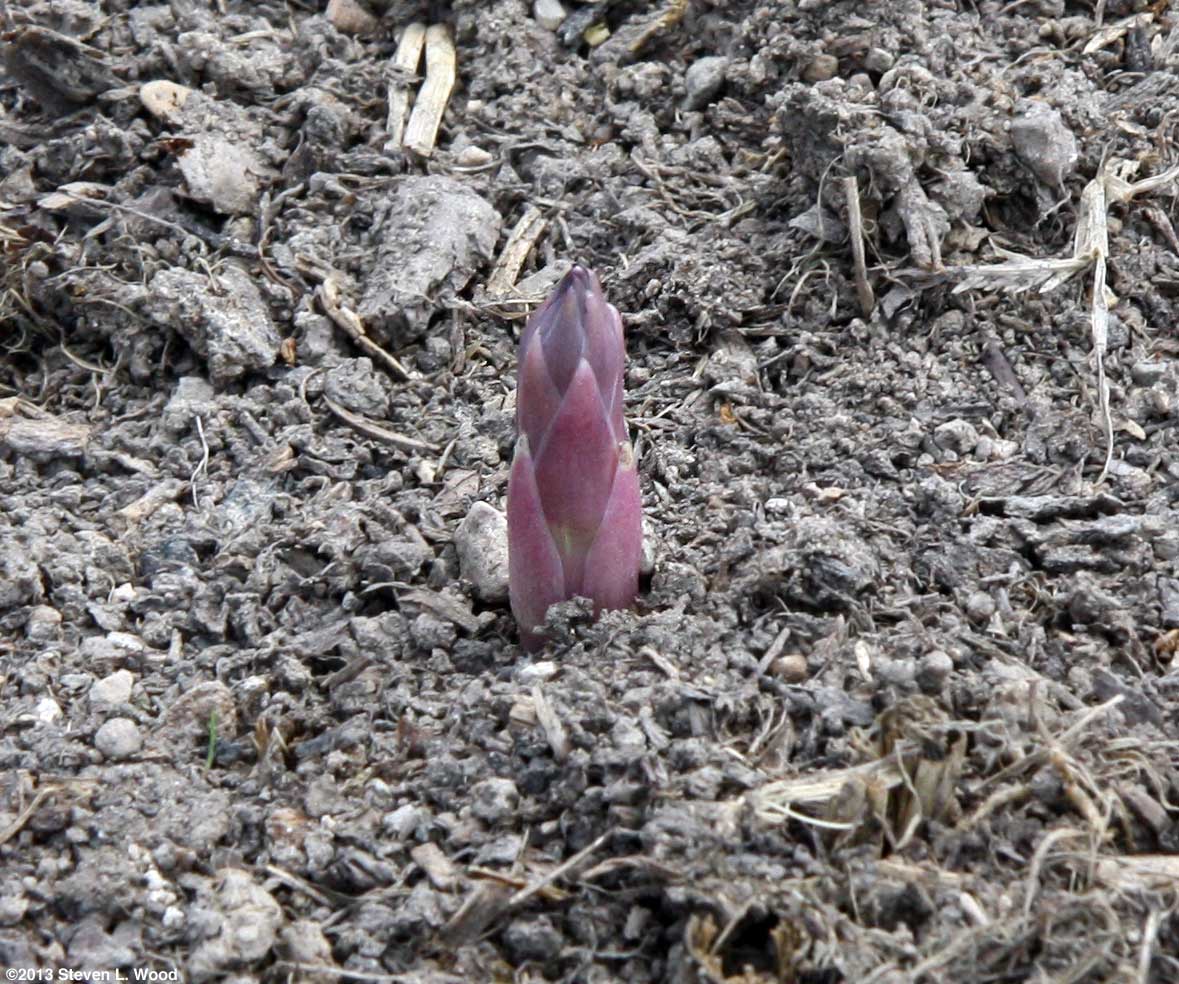
By starting our brassicas indoors in February and transplanting in early April, we were able to begin cutting heads of broccoli by the end of May. On the same day I put in the brassicas and just a few days after removing the mulch from the bed, I spied our first asparagus shoot of the season. Our raised bed of asparagus was planted in 2006 from plants we grew from seed. Each year it improves in vigor and production, albeit with copious amounts of compost added each fall. We also tend a neighbor's asparagus patch just behind our property. The landowner is now in assisted living and we take care of some of her ground for her, including eating her asparagus. By mid-month, our annual, two-month asparagus feast had begun.
We call the second patch Bonnie's Asparagus Patch. Bonnie absolutely beamed when I surprised her at the home last spring with a large bag of her asparagus!
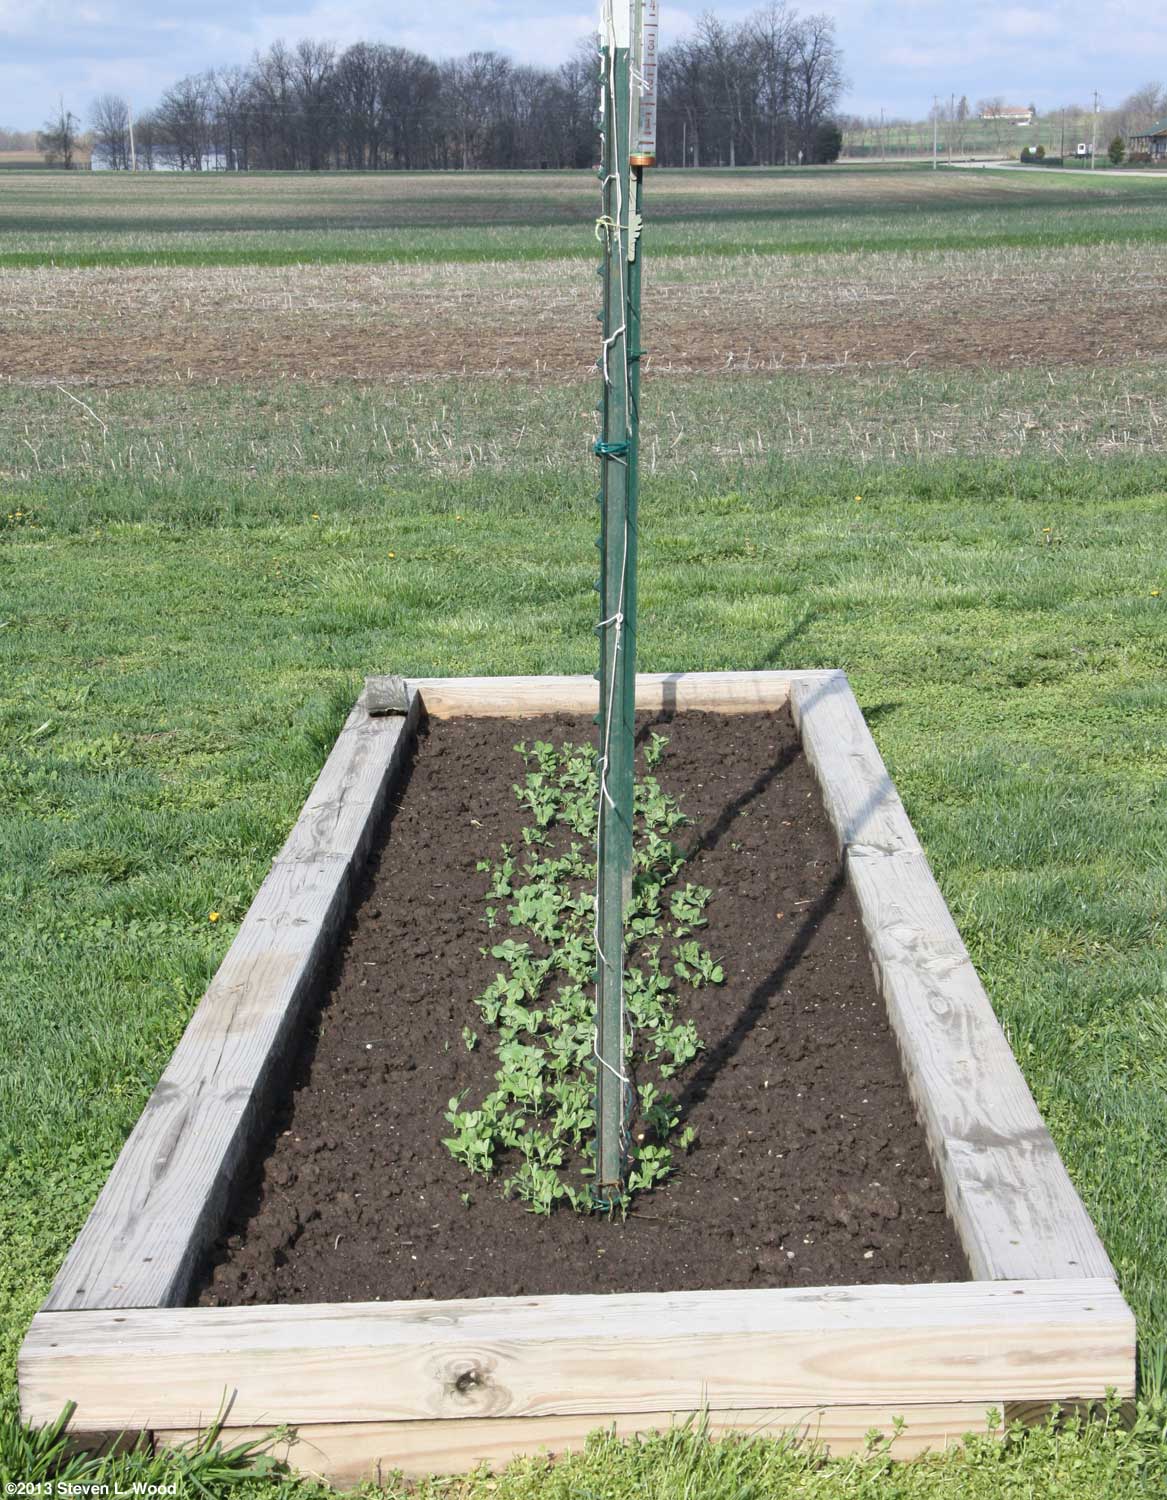
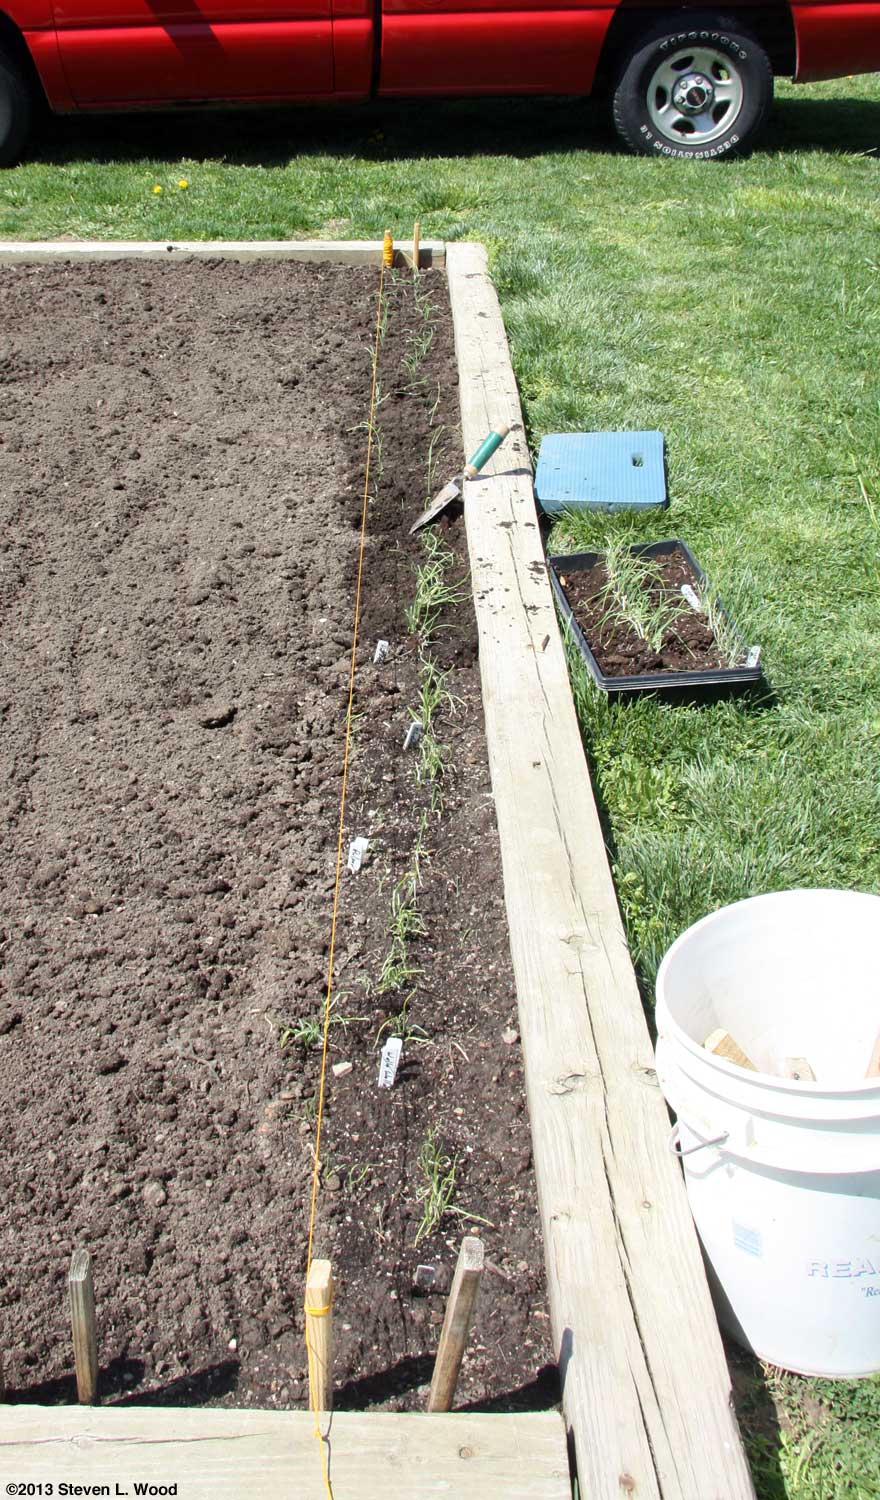
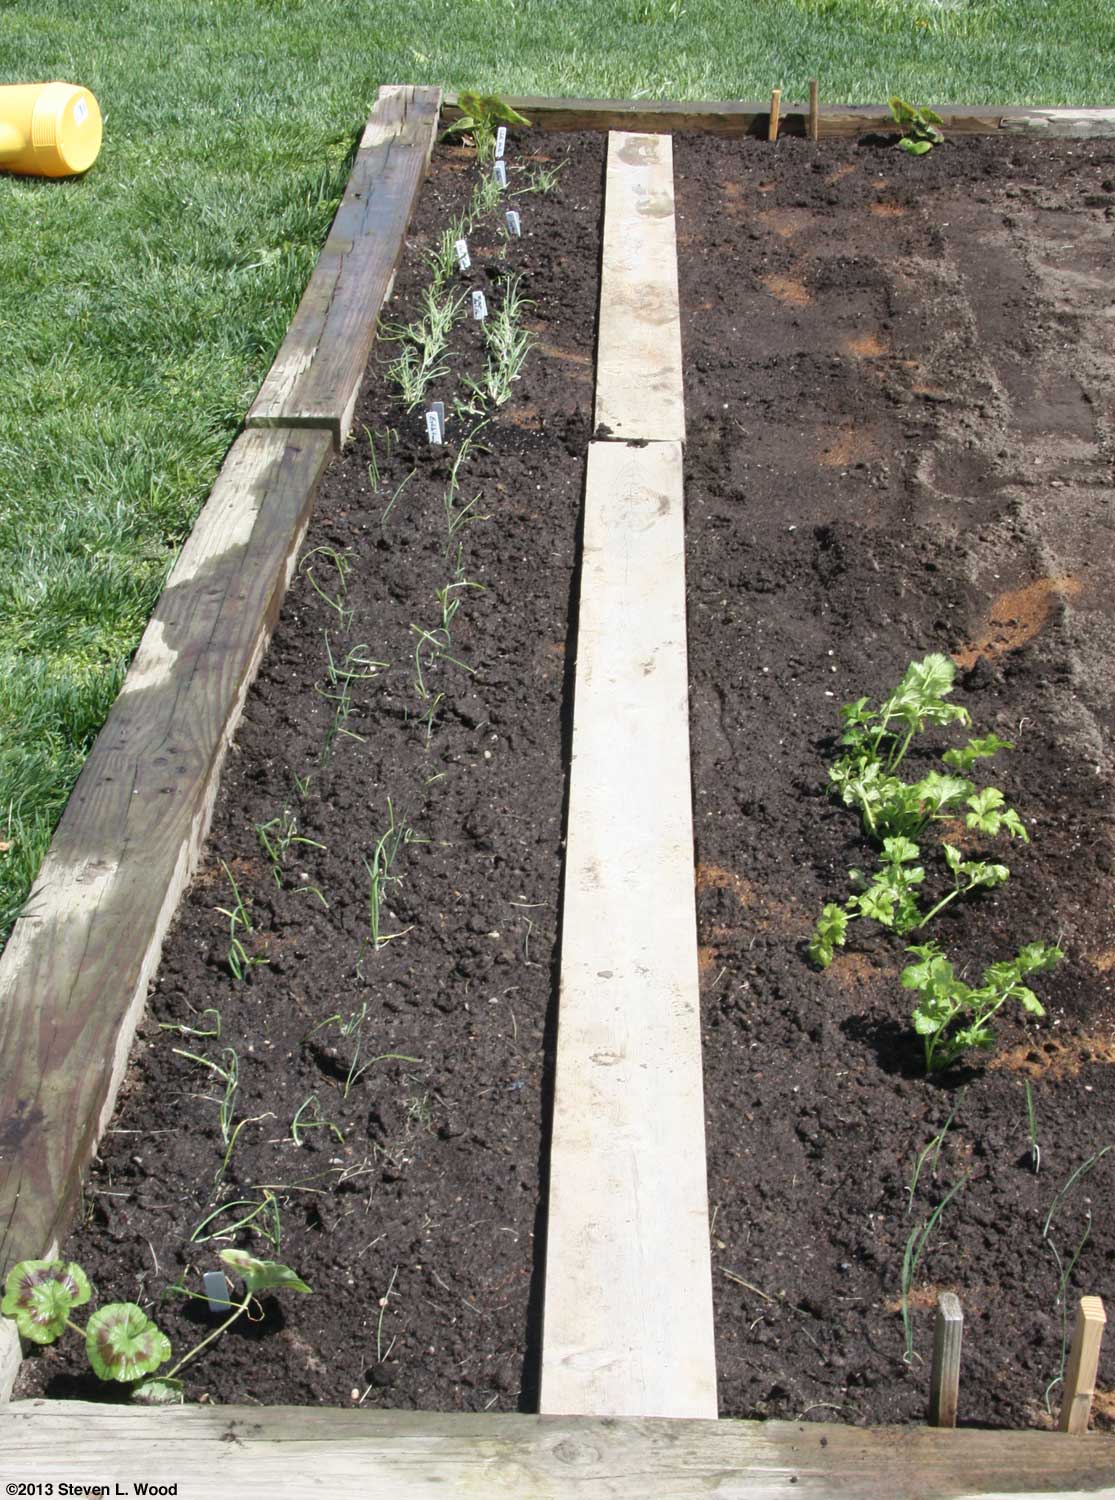
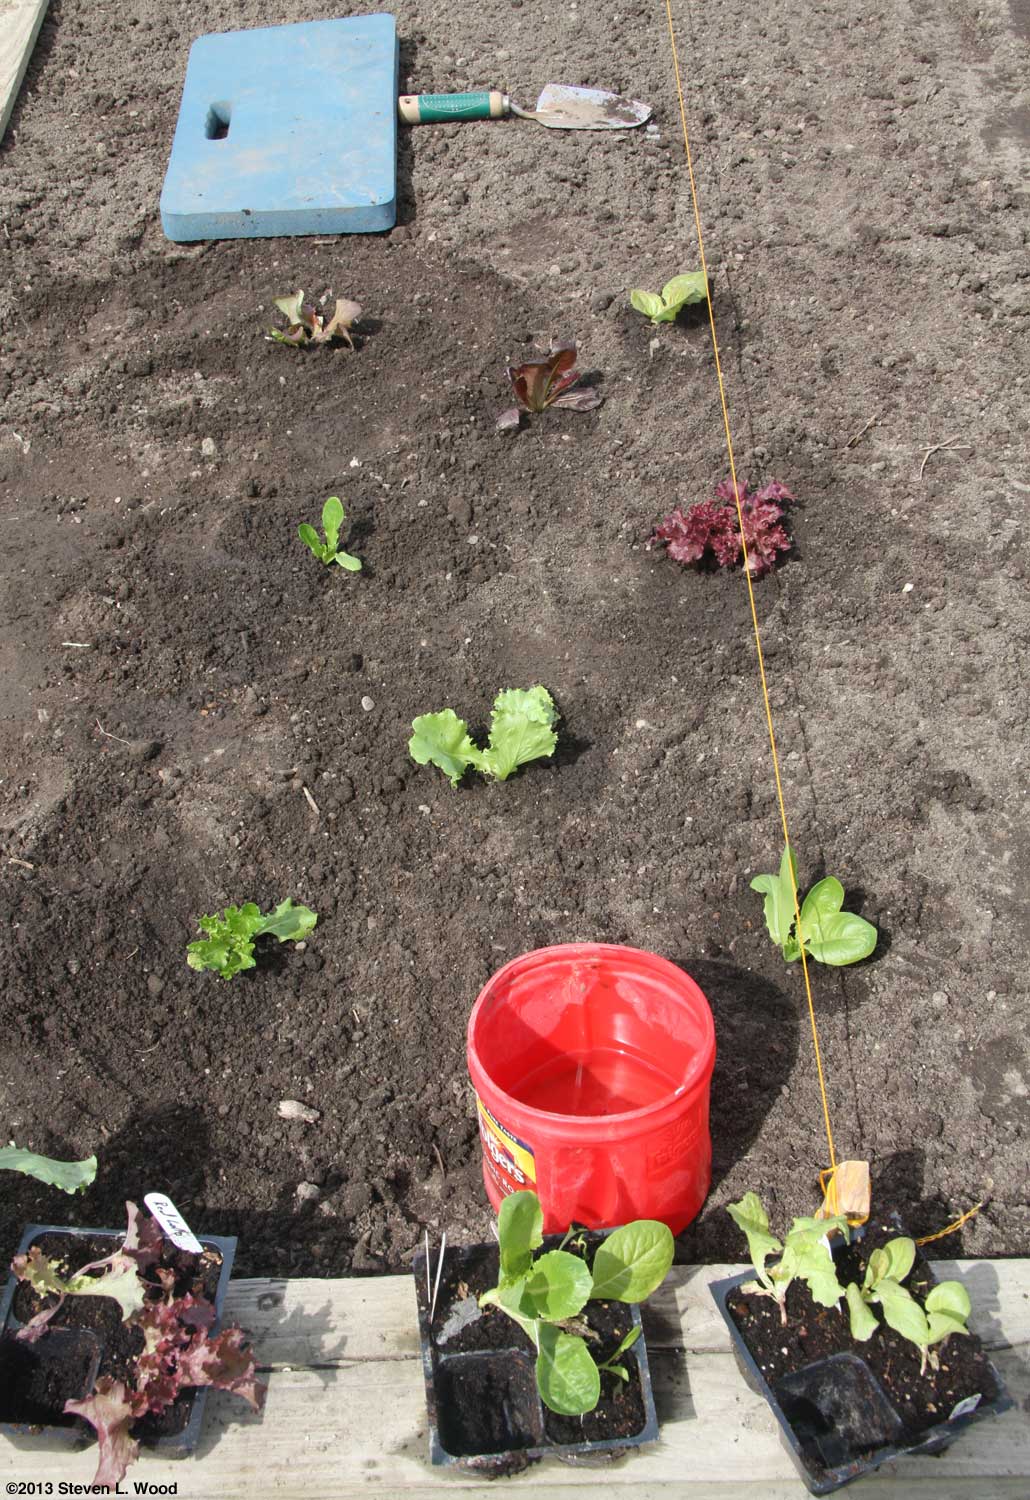
Our peas planted in early March were tall enough by April 12 to add the trellis they needed for support. We squeezed Amish Snap, Champion of England, Mr. Big, and a bit of Spanish Skyscraper into about a twelve foot long row. Our transplanting continued with our rather sad looking onion transplants going in on April 13. We also seeded carrots and transplanted some celery and leeks into a tight, intensive planting at one end of our main raised bed. I like to grow our onions and carrots at the edge of our beds, as one can easily cultivate, weed, and mulch from the side without ever having to step into the bed. The next day our lettuce went into an area next to the onions and carrots. I like to just mix our lettuce varieties, trying to make a pretty mix of the reds, greens, and mixed shades of color of the various lettuce varieties.
At this point, we had done all the planting we could do in our main raised bed. The center section was reserved for a row of sweet bell pepper plants which couldn't go in until all danger of frost was past. Our average frost free date in this area is around May 1.
During a few cool, wet days, I turned my attention to indoor chores such as caring for our transplants under our plant lights and getting some sweet potato slips rooting in potting soil. Our windowsill sweet potato was almost too pretty to trim, but it produced more than enough sweet potato plants for our garden.
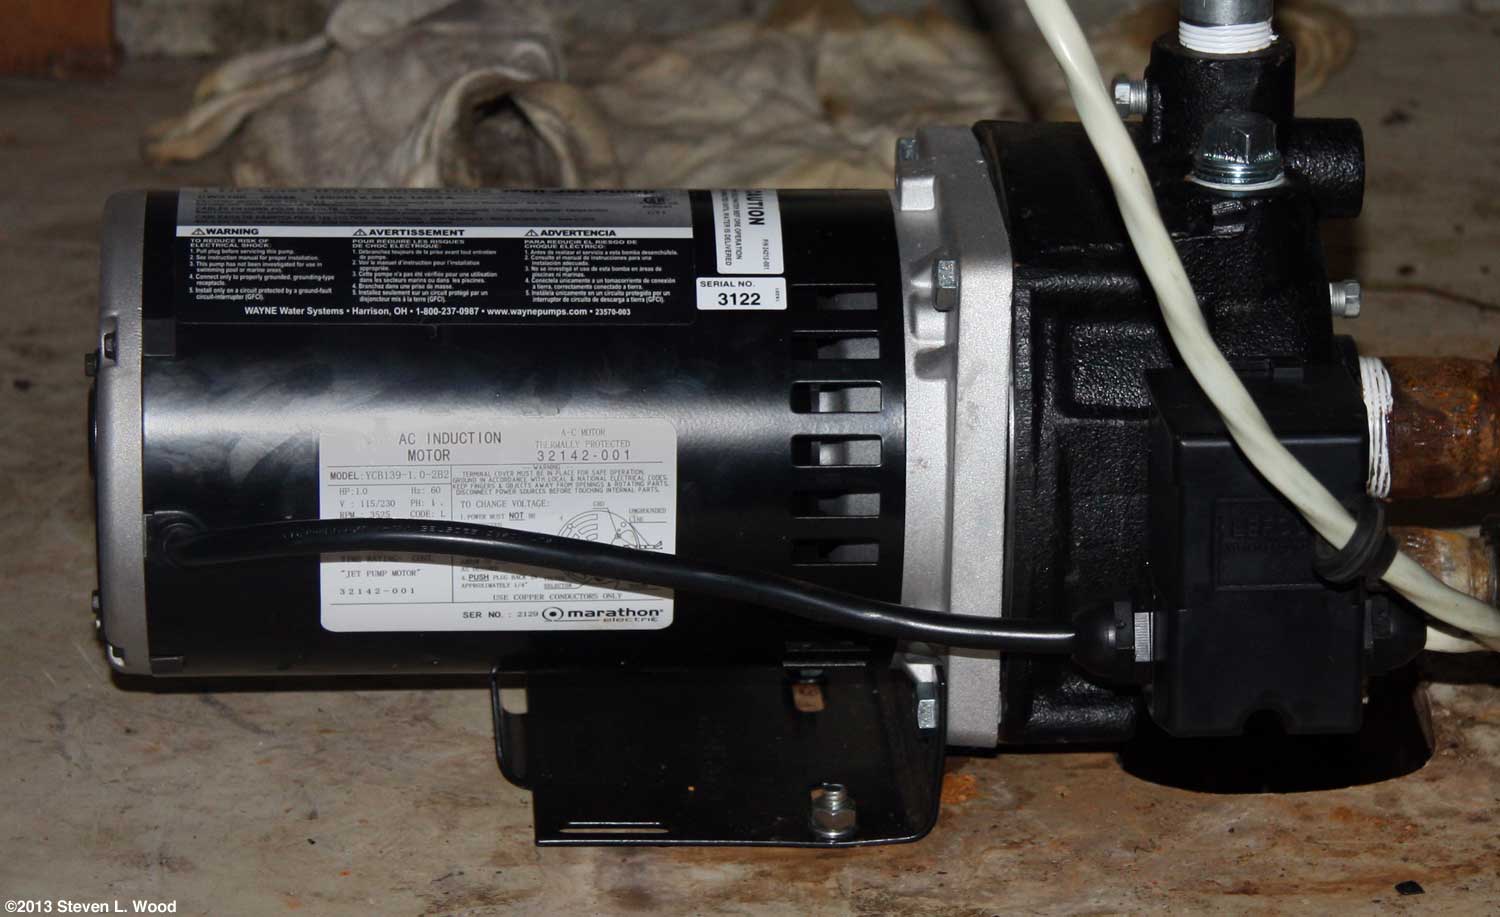
I'd done an emergency replacement of the well pump three years ago. I had to go with a brand-x pump at the time, as that was all that Lowe's stocked! To make matters worse, the previous pump had burnt out when I forgot I was watering what probably was the world's most expensive planting of green beans ever. The well ran dry and the old pump burnt itself up pumping sand and air. Knowing that I'd been taken on a cheapie pump that wouldn't last, I had the foresight to order a good one
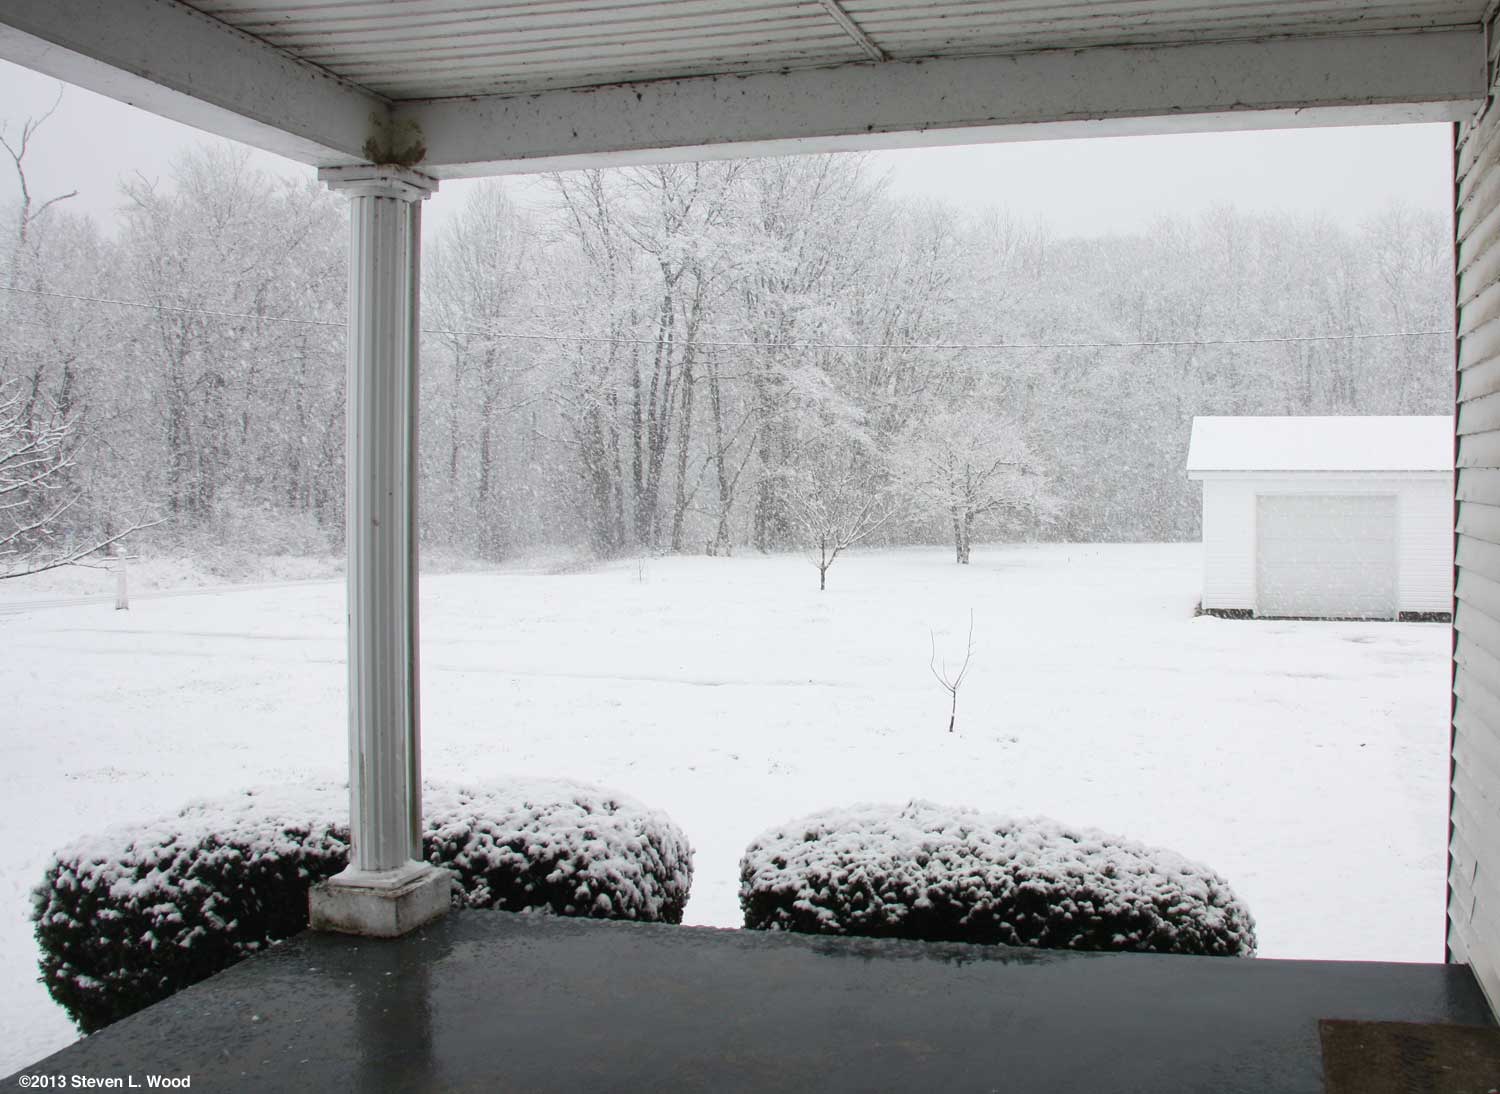
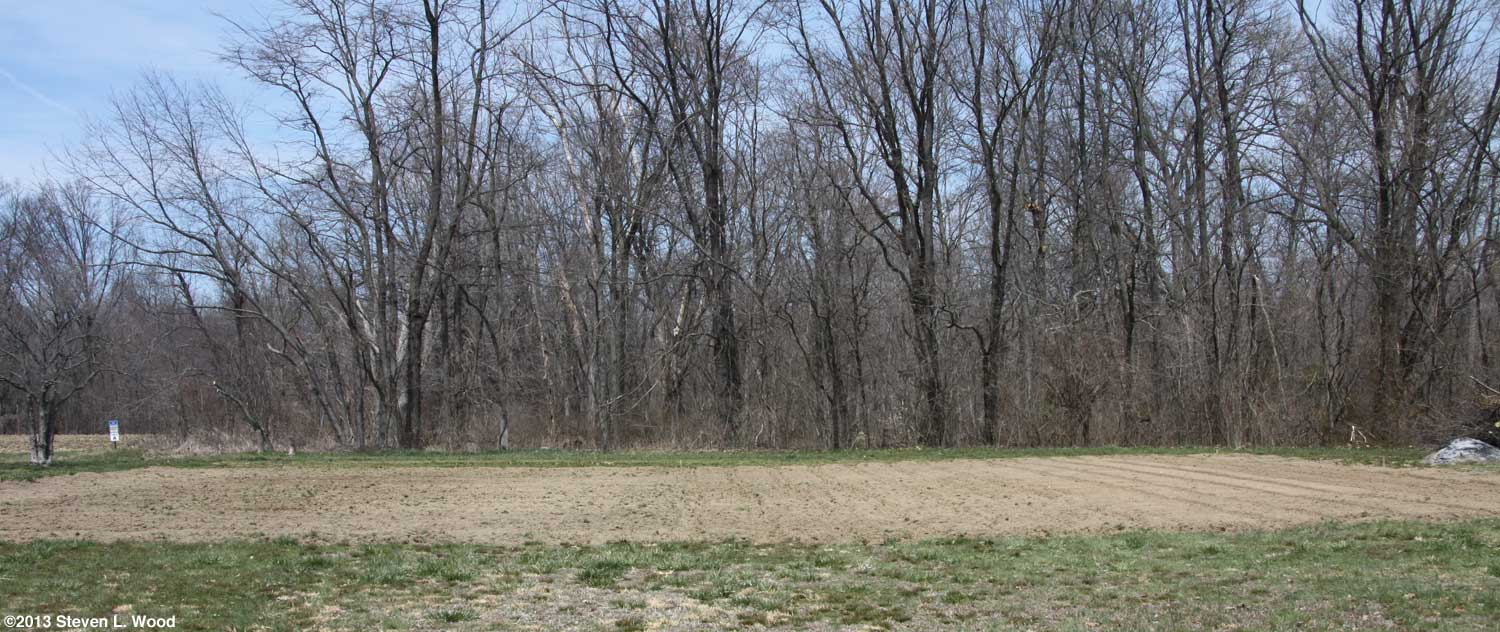
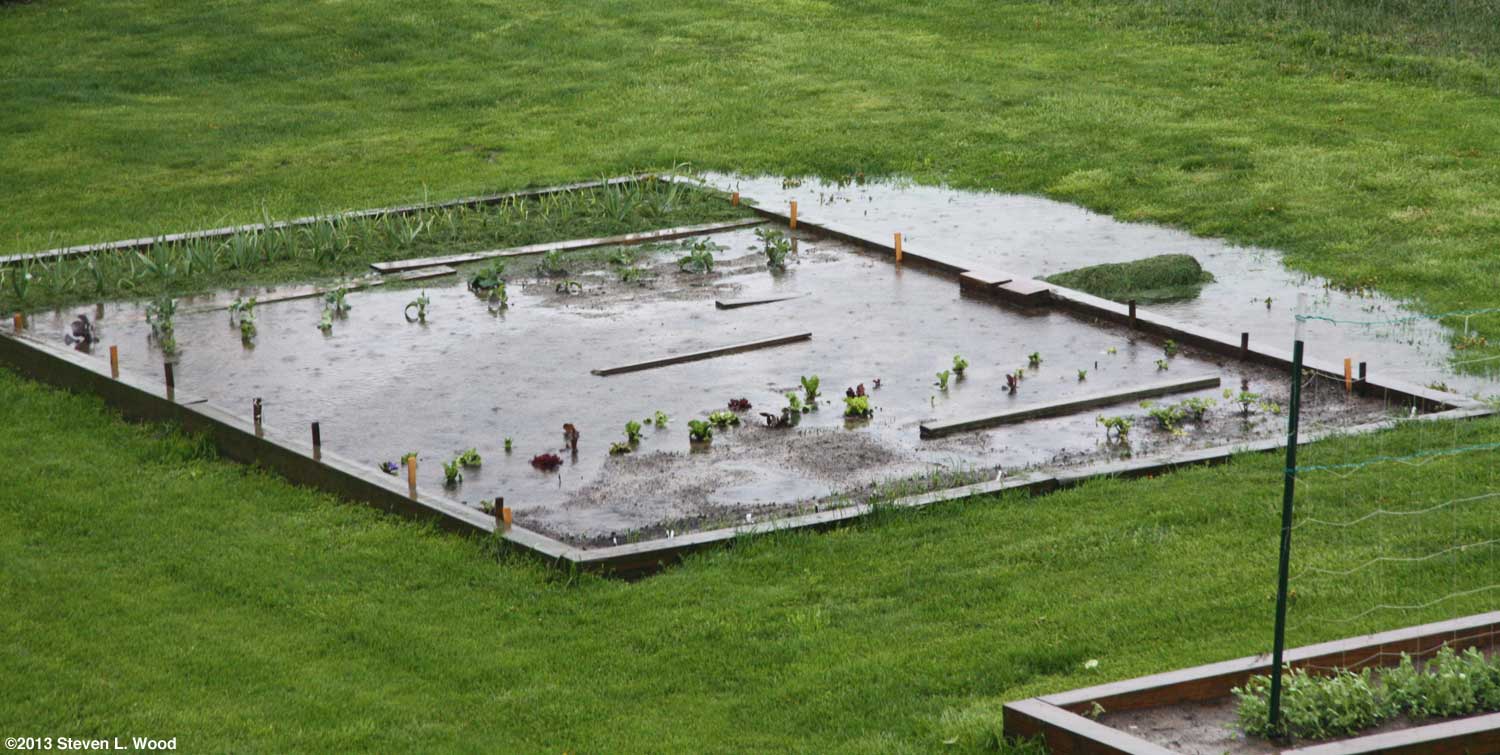
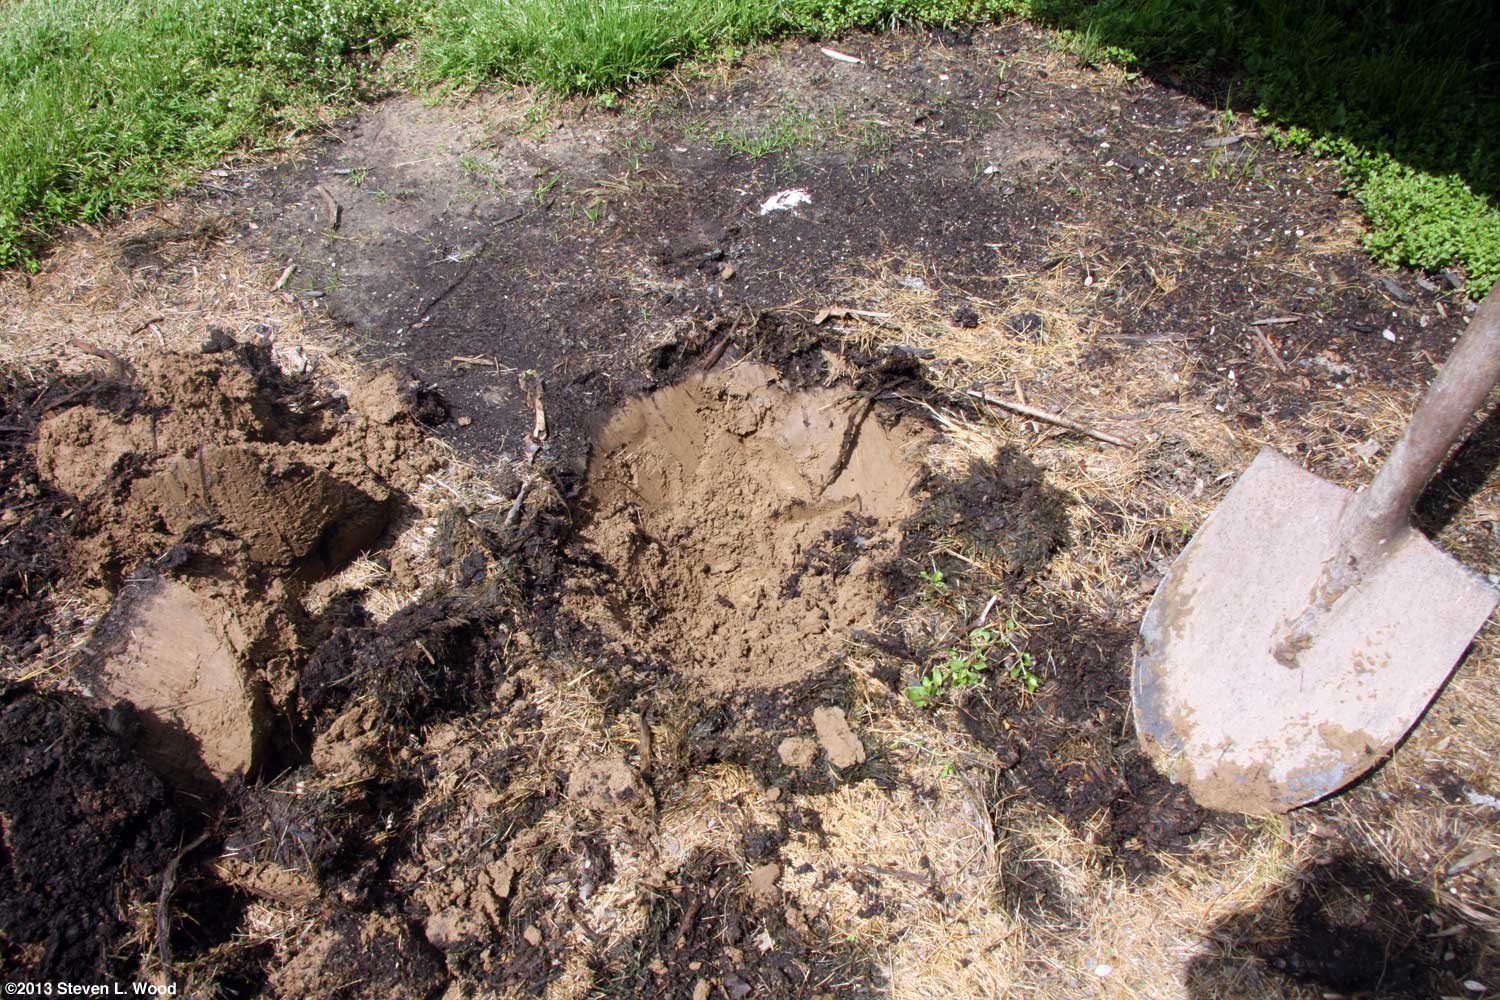
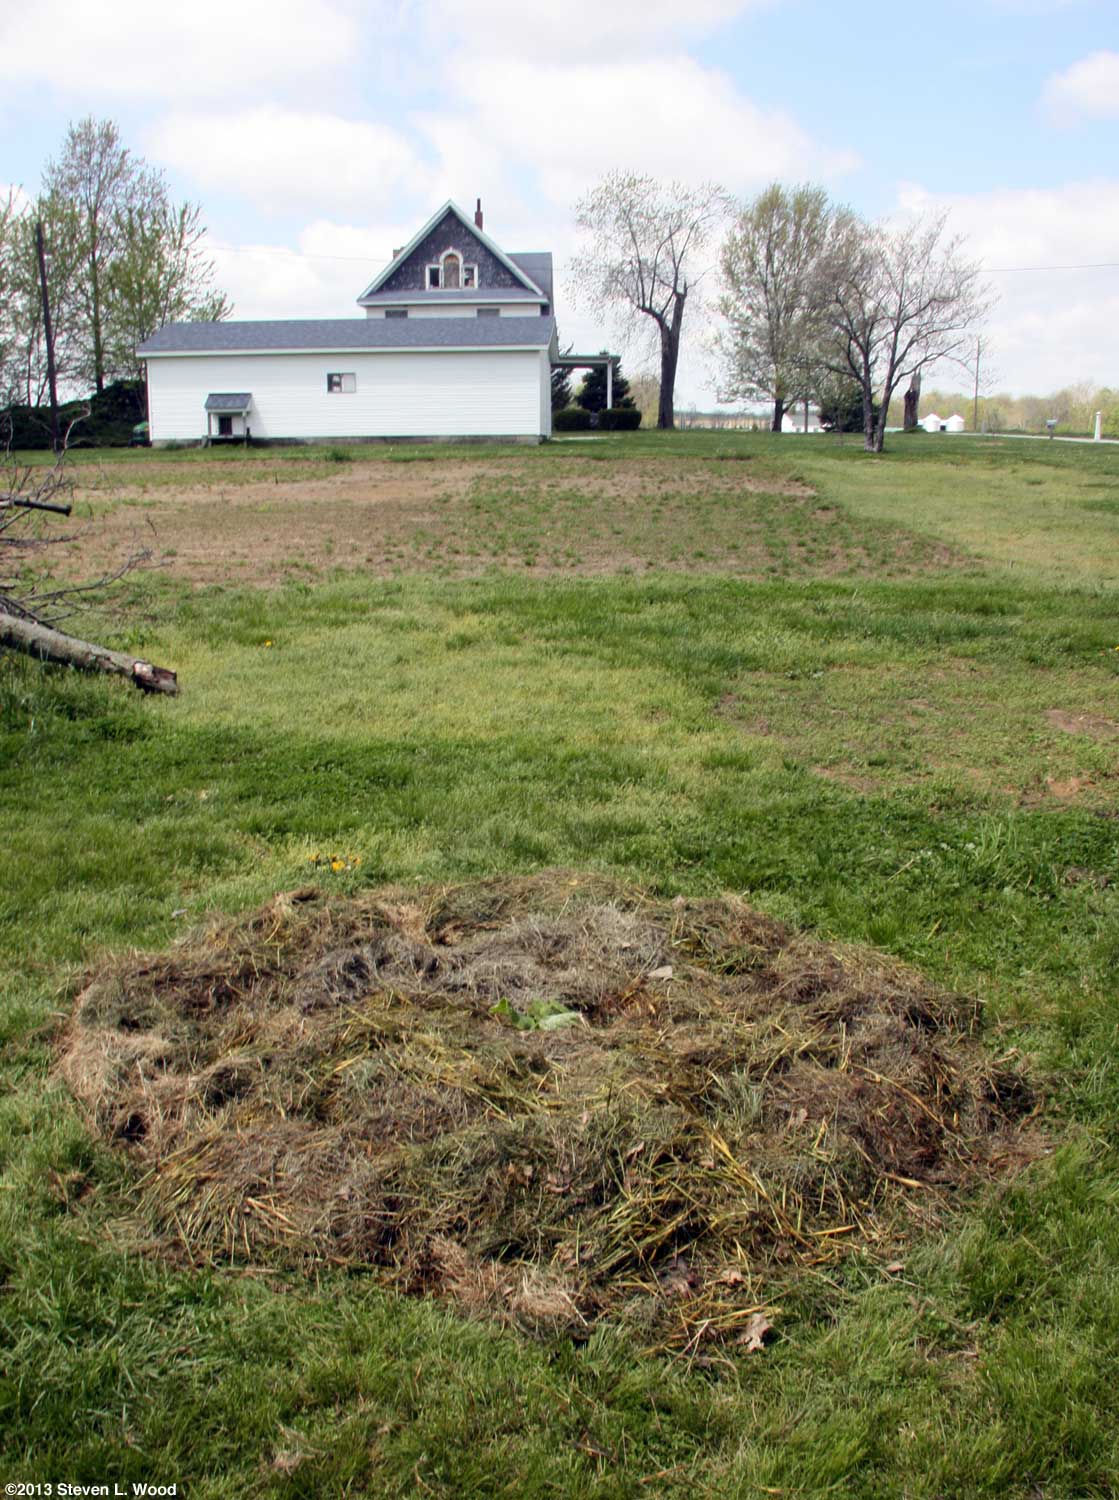
Sadly, despite my foresight in ordering a backup pump and my incredible plumbing skills (Can you hear the hilarious laughter coming from my family?), mother nature decided we needed lots more rain. Our usually dry raised beds had standing water in them, not doing the crops already planted any good. And we live on high ground. Folks in lower lying areas were in a real mess. We ended the month with almost nine inches of rainfall. Transplanting Butternuts Our garden plots remained too wet to do anything for the rest of the month. I did, however, get to plant a hill of butternut squash just outside our East Garden. Butternuts have been banned from our main gardens due to them totally overgrowing and crowding out our melons in the past. Now, I plant our butternuts outside our East Garden, usually on the site of the previous year's compost pile, which seems to give them a bit of a boost.
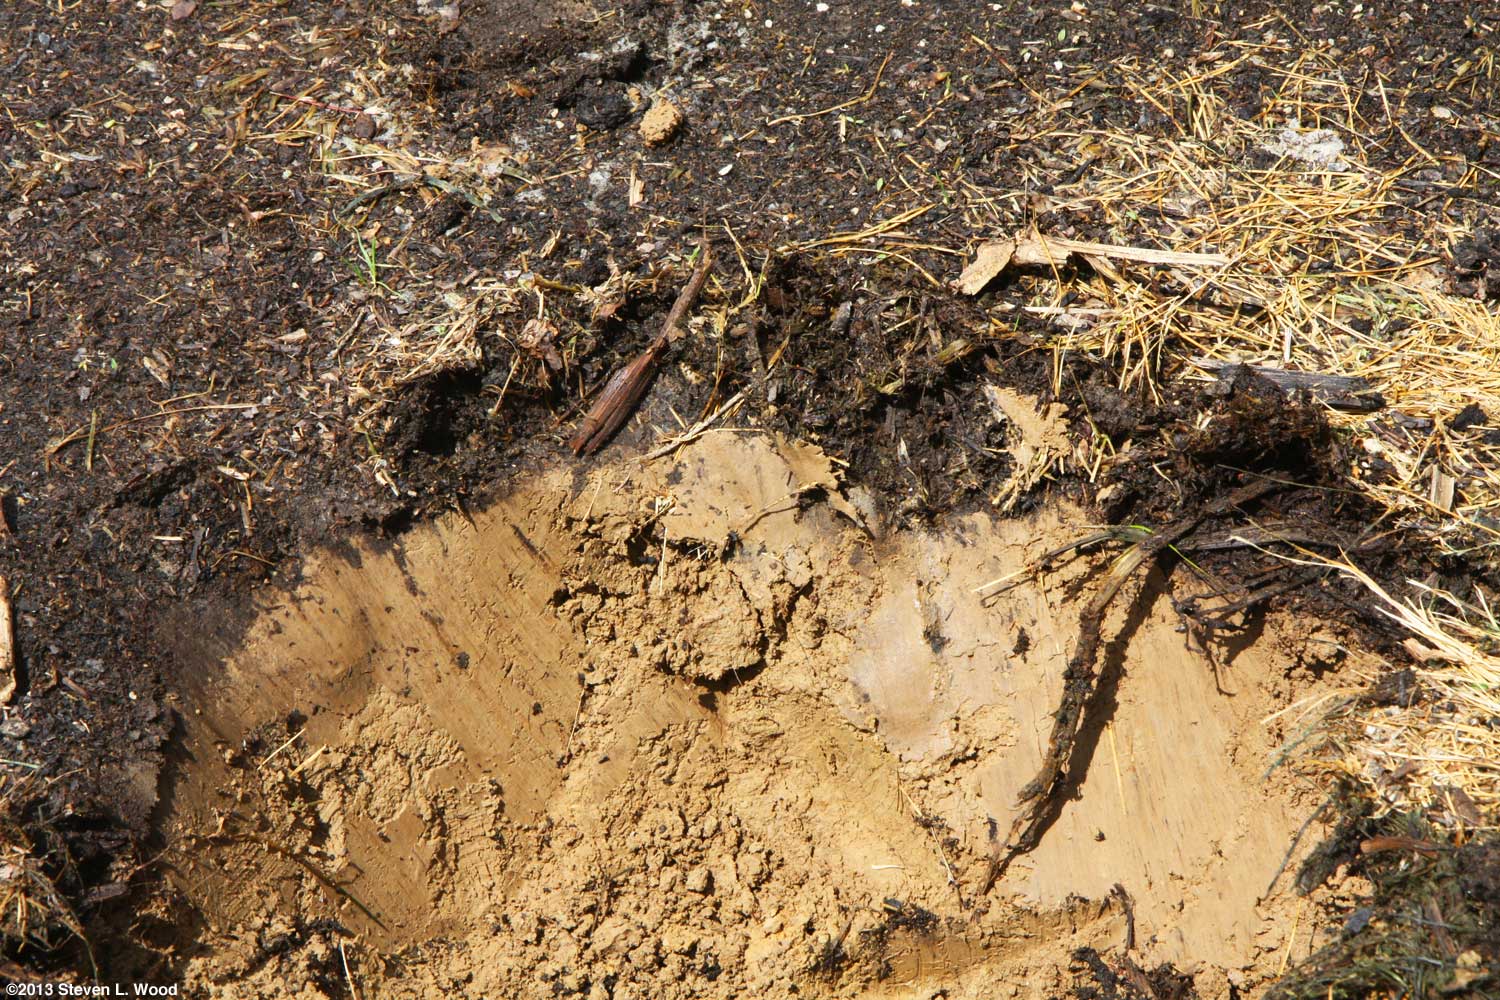
The site for the butternuts was fairly clear other than some residue from the compost pile that had been there up until last fall and a few weeds. I dug a hole around a foot deep, and then used my shovel to loosen the soil at the bottom of the hole another six inches or so down. I'm always amazed at the very thin layer of new topsoil created by the previous compost pile. I also was a bit dismayed that I hadn't raked the area better the previous fall, as there were still some decomposing vines left that could transfer plant disease to the butternuts.
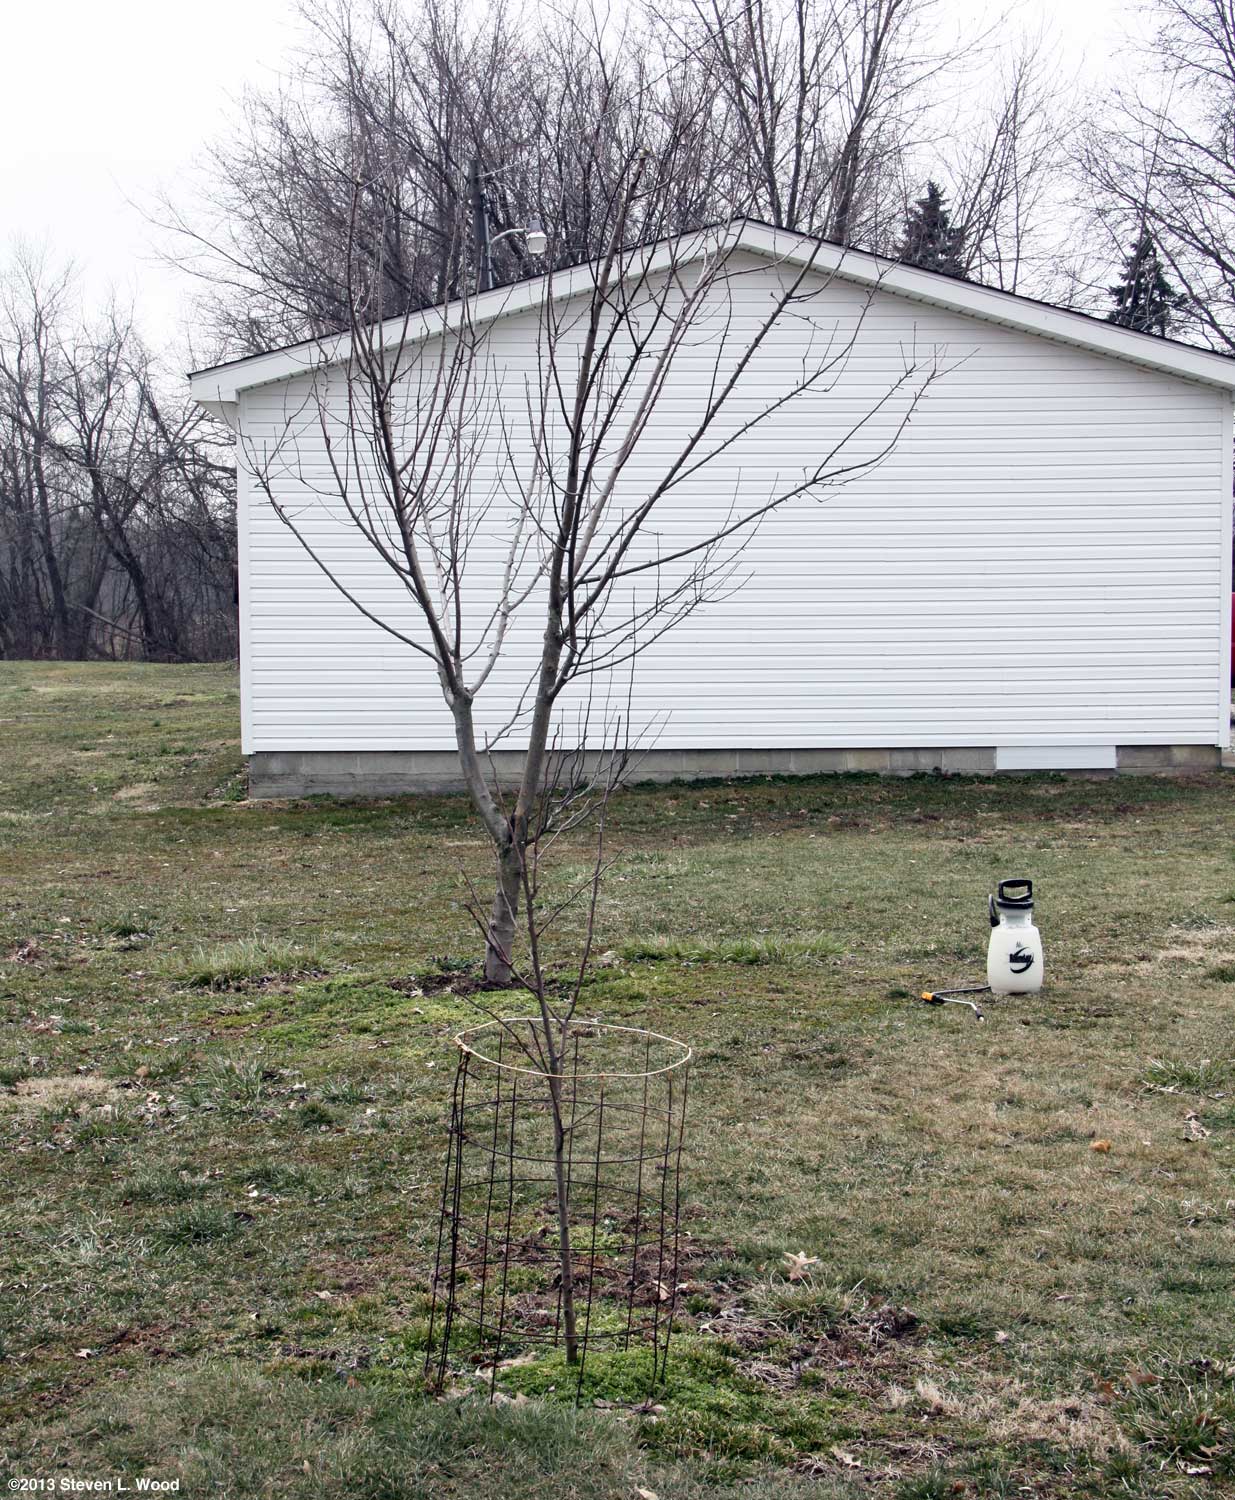
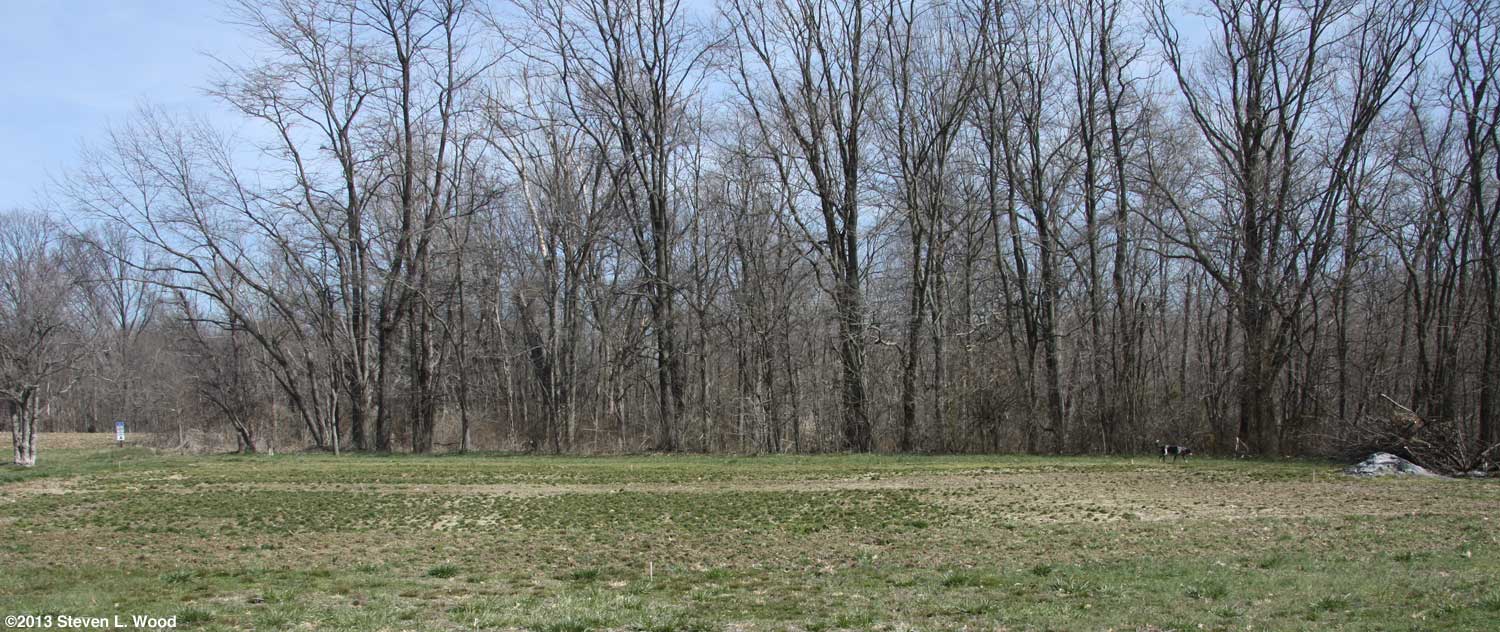
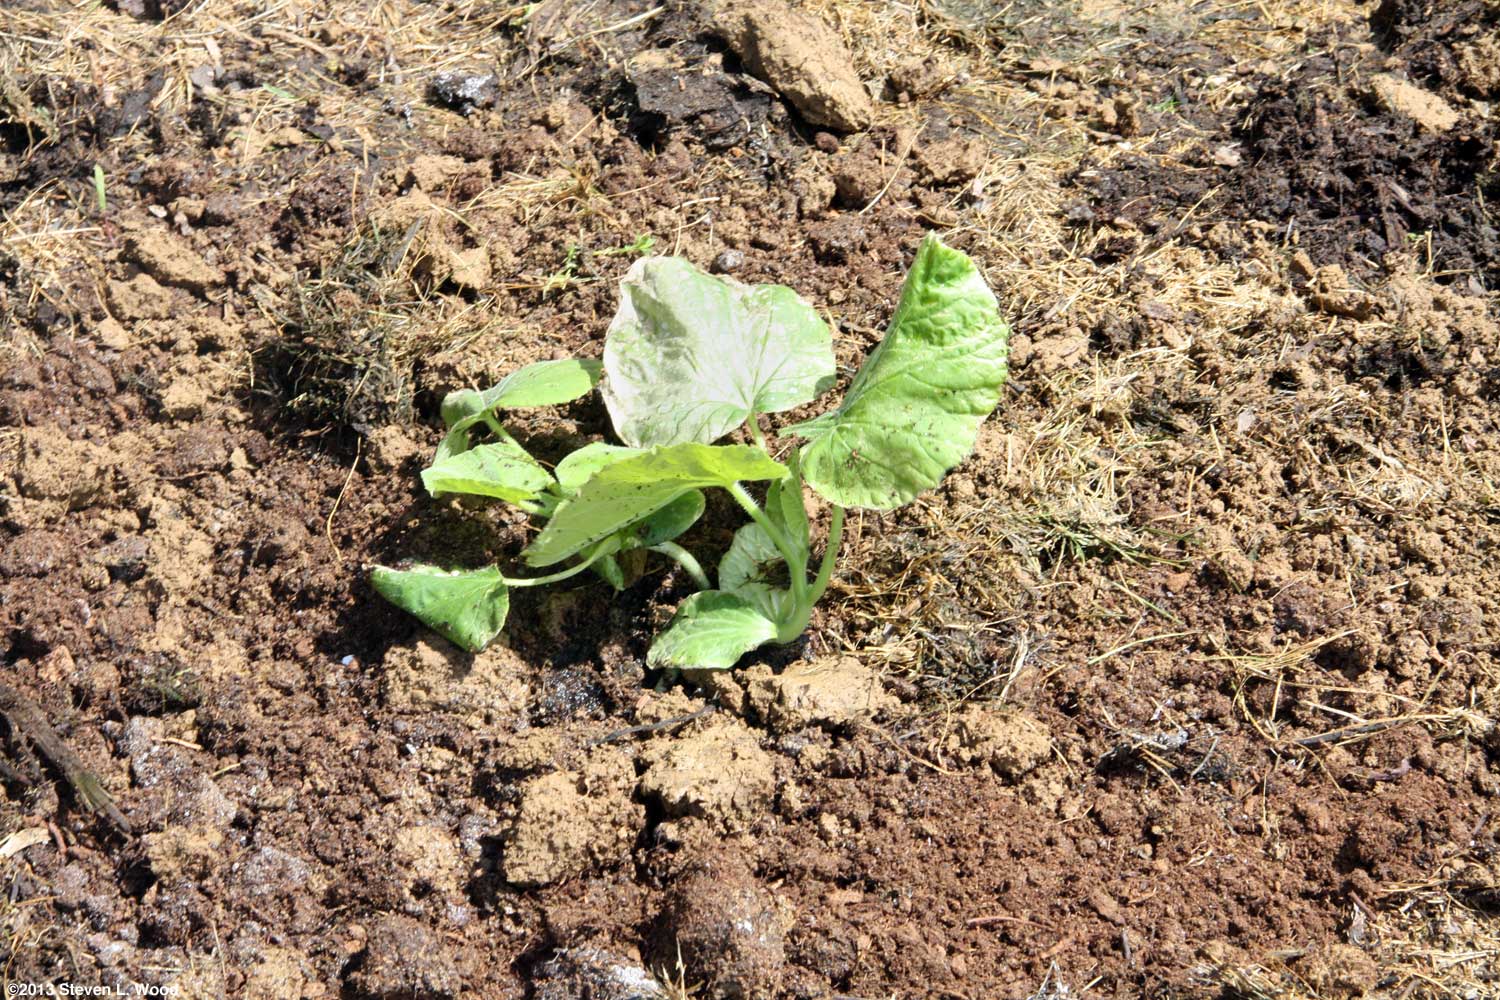
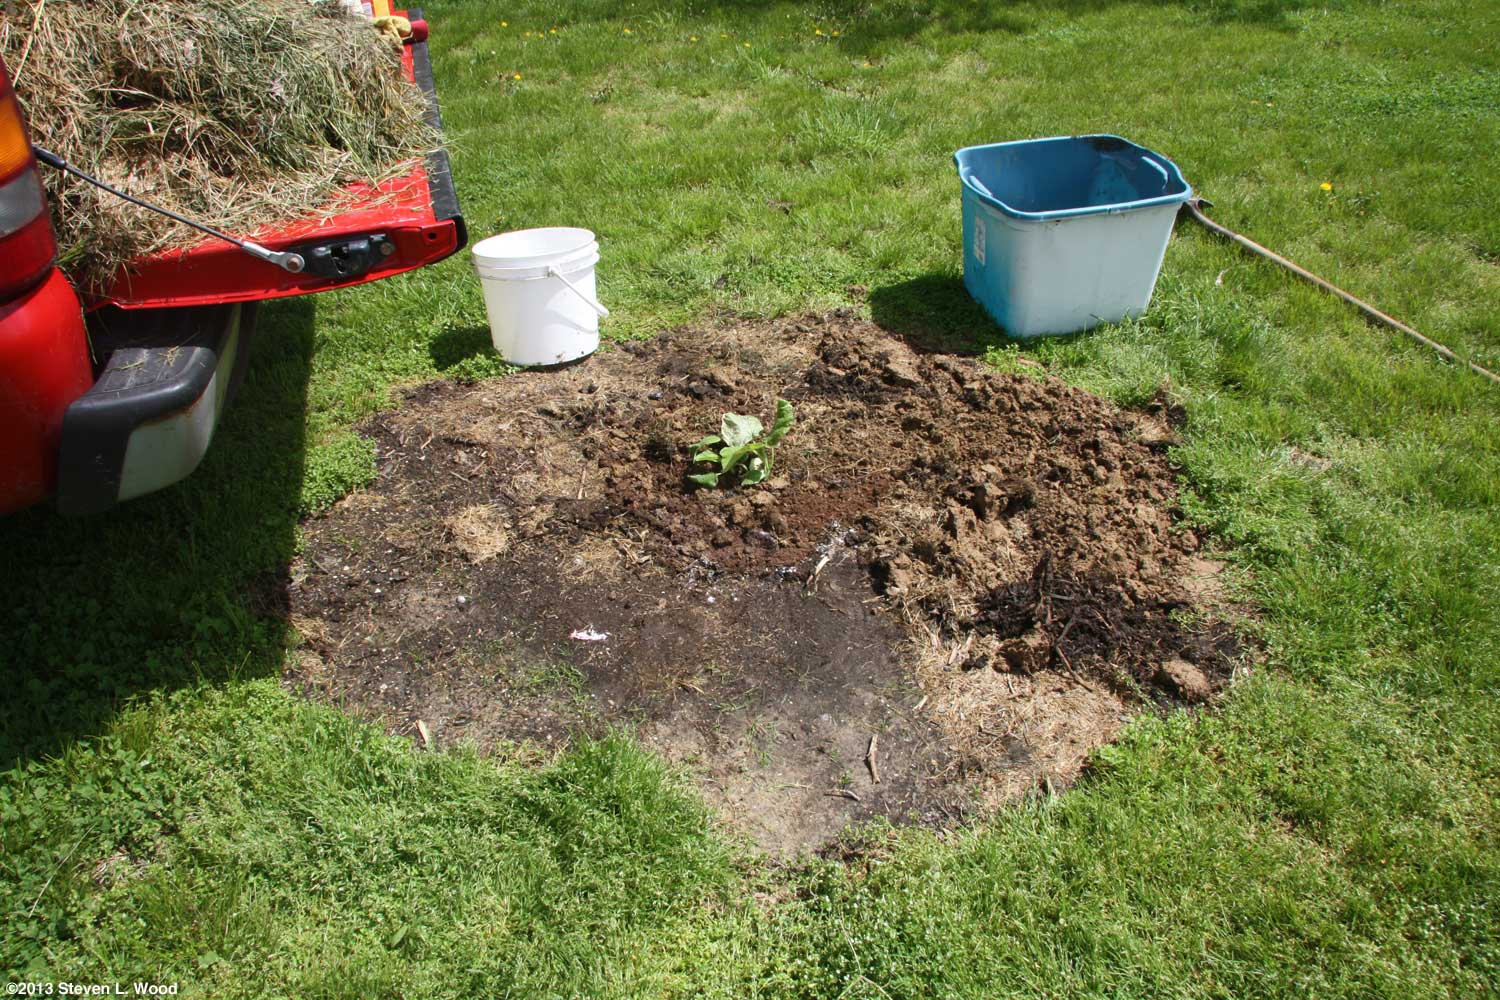
After firming up the soil around the butternuts, I laid a heavily circle of grass clipping mulch around the hill of butternuts, being careful not to get the decomposing mulch up against the stems of the transplants. I also sprinkled a bit of Shot-Gun Animal Repellent to keep deer from nibbling on the mulch (and smashing the tender, young plants). The repellent also discourages our dogs from napping on the mulch, one of their favorite tricks. As the butternuts grew, I expanded the circle of mulch. The shot at right shows how far from the East Garden and house the new planting is. That puts it very close to the woods which shaded it some in the mornings. Beyond cutting the plants' growth, vining crops in the shade tend to get powdery mildew far easier than crops grown in full sunlight. And close proximity to the woods can frequently lead to critter problems. Deer and raccoons are our primary pests, although we also have our share of possums and skunks. We've not had butternuts bothered by critters in the past, but there's always a first time.
|
||||||||||||||||||||||||||||||||||||||
From Steve, the at Senior Gardening |
| Affiliated Advertisers |
©2013 Senior-gardening.com