One of the Joys of Maturity |
|
| Affiliated Advertisers |
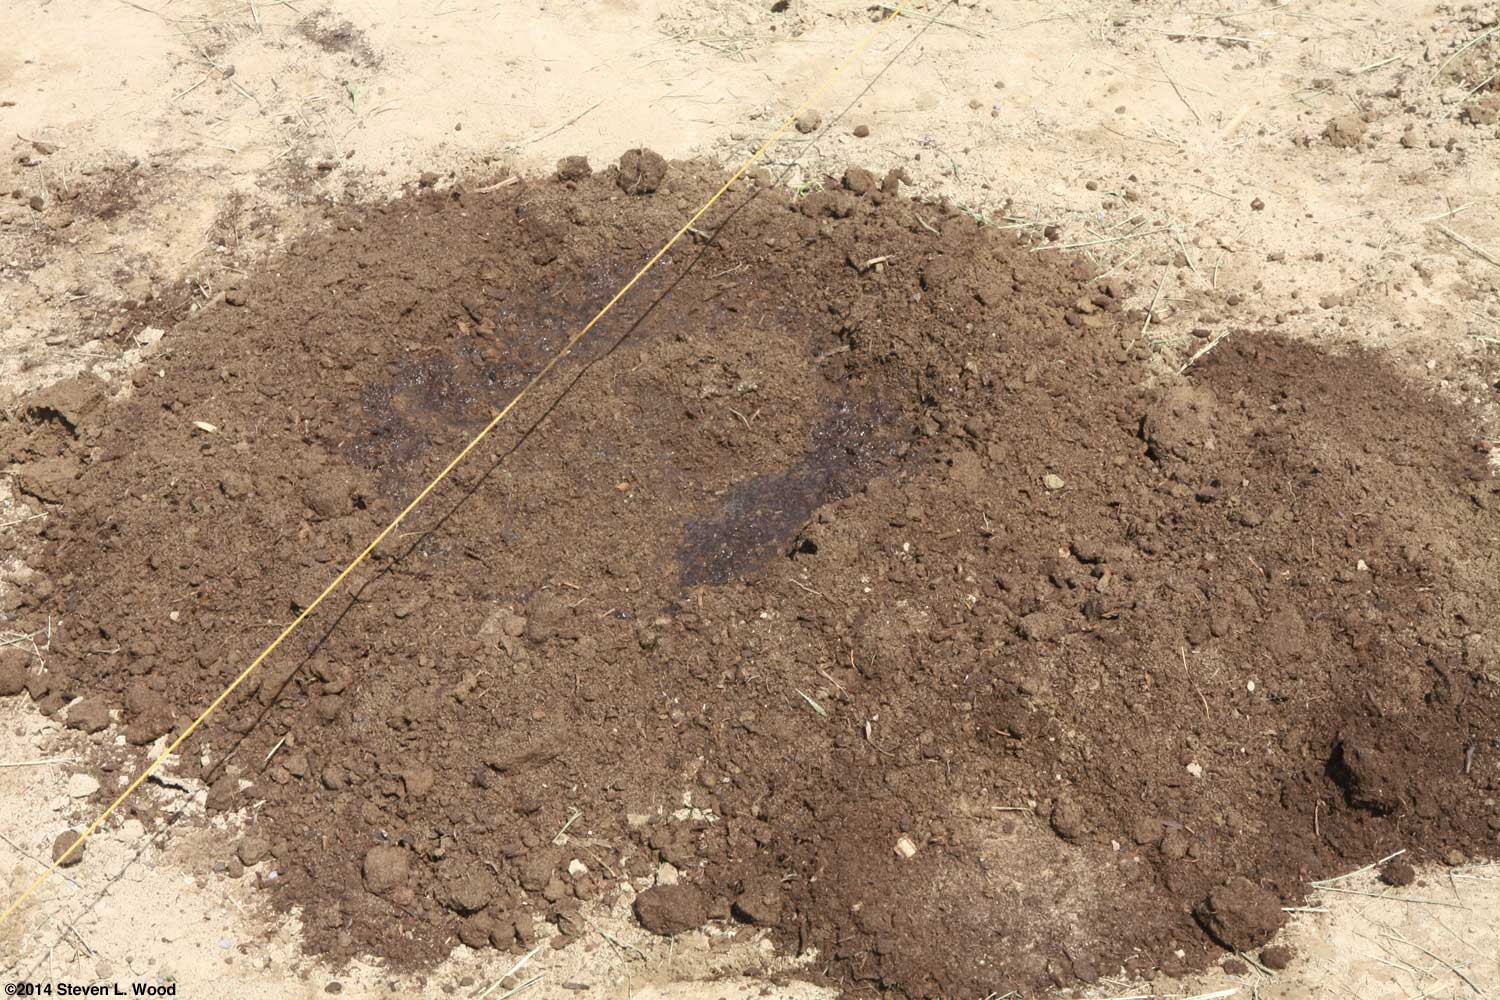
Clicking through one of our banner ads or some of our text links and making a purchase will produce a small commission for us from the sale. Transplanting Melons into Heavy Clay Soil Several years ago, the farmer who rents the farm ground around us generously offered to let us use part of a small field next to our property that he'd decided was too small to be worth planting. Our primary need for space and "clean ground" at that time was for sweet corn, as we had serious corn smut problems in our main garden plots. I had elbow surgery the first year we had use of the ground, and by the time I healed and rehabbed, it was too late for sweet corn. Seeing some rather sad looking melon transplants at a local discount store, I decided to till up some space in the field and give melons a try. When I first tilled and then dug into the soil, I realized that I was in real trouble trying to grow melons on what was pretty much a burnt out corn field. There was almost no organic matter in the soil, which was heavy gray to orange clay with no topsoil. What grew in the field was a nasty collection of weeds. In the years since, we've grown some spectacular green manure crops that we turned under to improve the tilth of the soil, but it still is a challenging growing environment. But...we've also found a way to grow some great crops of melons! Give Each Hill of Melons a Deluxe Hole While improving the soil in a whole plot or field takes years of tender loving care, one can improve a small planting hole one puts seed or transplants into rather easily. That's what we do when we transplant melons into our East Garden. We give each of our transplants a deluxe planting hole using peat moss, or compost, when available.
Note that this ground had been thoroughly tilled about ten days before these images were taken. The soil certainly wasn't fluffy as it was just after tilling, but it wasn't all that hard, either.
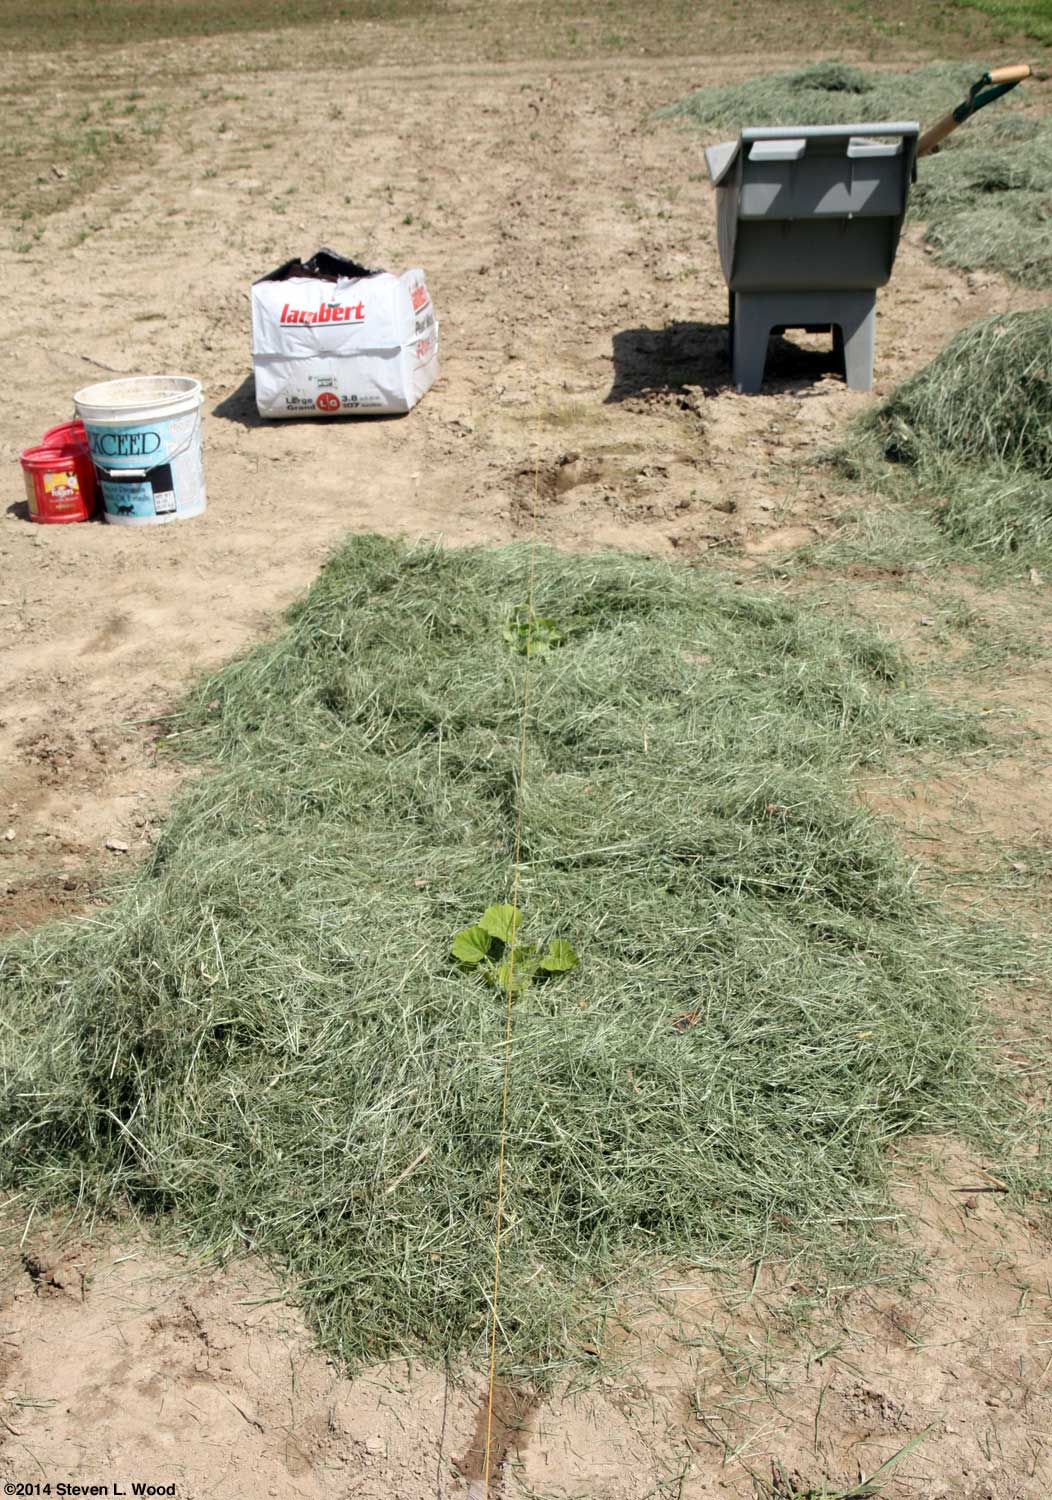
While I said "water the hole," we usually add some kind of liquid, starter fertilizer to our transplanting water. For this planting, I collected all of our four and five gallon buckets and hauled 25 gallons of "water" to the planting site...twice! I add Quick Start
Now for the fun part. If you live in a farming community, you may have heard area farmers derisively refer to "mudding in" a crop. That's planting when the soil is really way too wet for planting, but usually done because the farmer has no other choice due to weather or other conditions. Here, we're going to mud in our transplants, which is a very good thing in this case.
While it's normally good gardening practice to firm the soil around a transplant, the mud pretty well takes care of this step for you. And that about does the basic transplanting. We go ahead and mulch our melons transplants with grass clippings to hold in soil moisture and hold back weeds.
Once our melons are in, we begin our annual race with weeds, trying to get the open ground mulched before weeds take over. I scuffle hoe and rototill to hold back the weeds until I have enough mulch to cover all the open area in the melon patch. Note that wet, hot grass clippings can really work to your advantage in mulching open ground. The heat from the decaying clippings burns and kills any emerging seedling weeds under it. Well, it gets most of them.
I've even resorted to spraying the open ground with Roundup, using a 2' x 8' sheet of plywood along the edge of the mulch to prevent the chemical spray from drifting onto our melon vines. But that's the exception, as we try to garden without using any herbicides.
While this story is about transplanting melons, watering is a constant problem for us. We have a dry spell late each summer that really stresses our melons. Since our deep well really can't support the irrigation needed, we have to rely on getting our melons in early and mulch holding in as much soil moisture as possible.
We also face insect and disease problems at times, but not as much as one might think. Squash bugs, striped and spotted cucumber beetles have been problems in the past. Squash bugs can wipe out a squash plant in just a few days and require a strong insecticide to eradicate. The cucumber beetles often arrive late in the season and can either be tolerated or knocked down with pyrethrin. Powdery mildew often is a problem in our squash plants. While most extension service sites suggest no effective chemical treatment, we've had pretty good luck treating (and better, preventing) the disease with the biological, Serenade. During the drought of 2012, we had the first outbreak we'd seen of bacterial rind necrosis. Better weather, good ground cleanup, and crop rotation have minimized, if not eliminated that problem. Disclaimer Just because someone has a web site on gardening doesn't mean what they've written is "THE RIGHT WAY" to do something. What I've written here is what works for us here at the Senior Garden, on our ground, under our weather conditions, most of the time...when we're lucky.
Send feedback to , the Old Guy at Senior Gardening |


| Affiliated Advertisers |
©2014 Senior-Gardening.com