One of the Joys of Maturity |
|
| Affiliated Advertisers |
Clicking through one of our banner ads or some of our text links and making a purchase will produce a small commission for us from the sale. The Old Guy's Garden Record
I've been carefully watching our weather forecast, hoping for just a few more days of sunny, windy weather that helps dry out the garden. Yesterday, I faced a choice of turning a bit of soil in our raised garden bed that was almost ready or mowing our yard for the first time. I really wanted to begin transplanting onions and lettuce and direct seeding carrots.
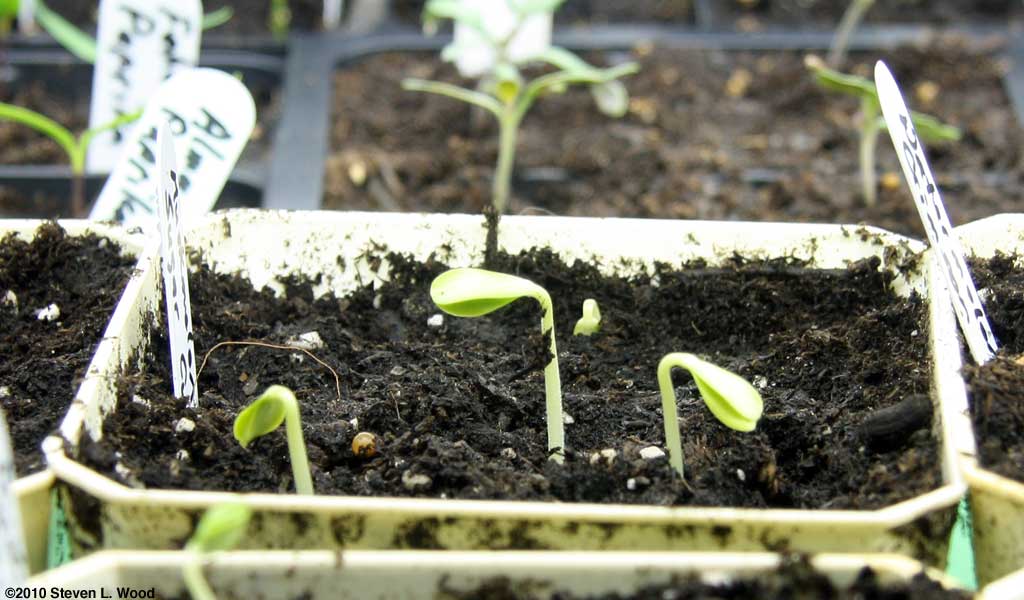
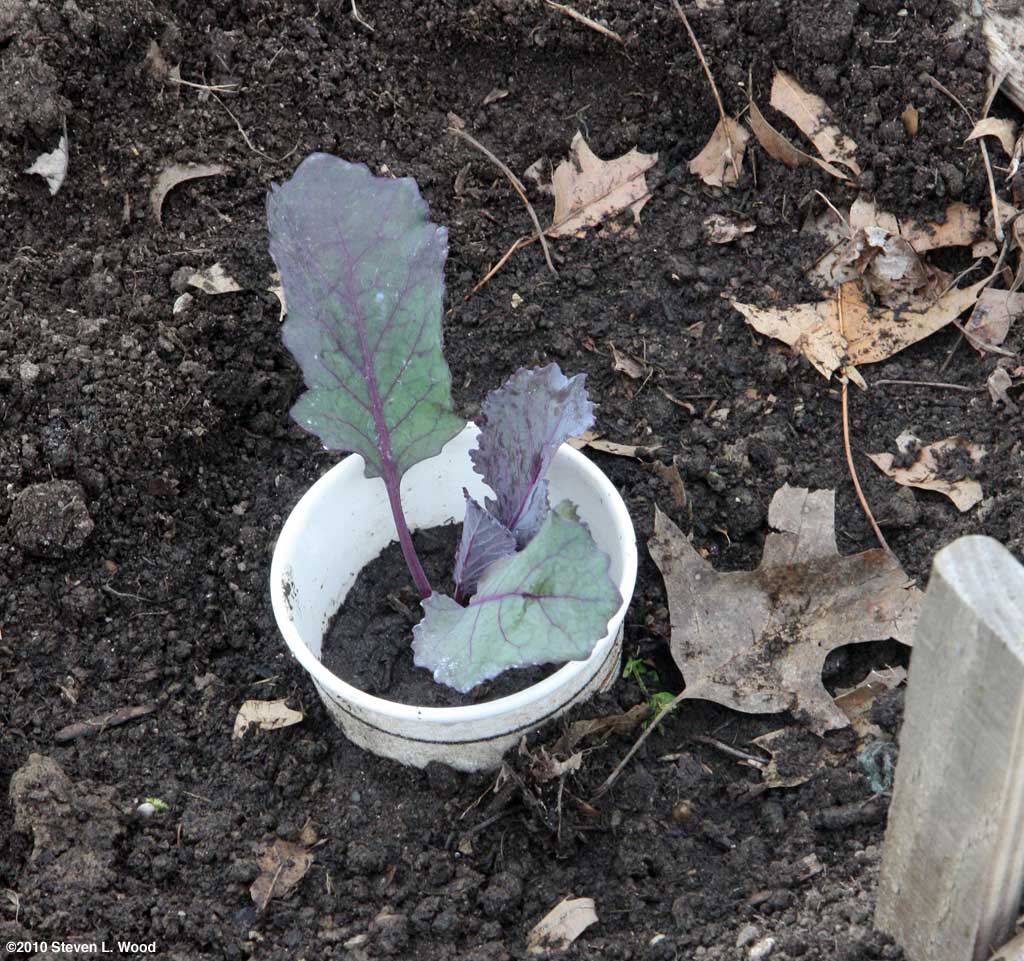
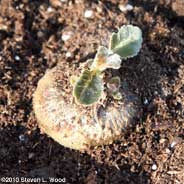
I had one pot where the young seedlings had pushed almost completely out of the soil searching for light, so I had to poke hole in the soil and tuck them back in. Failure to do so would allow the thin root to dry out, and the plant would die.
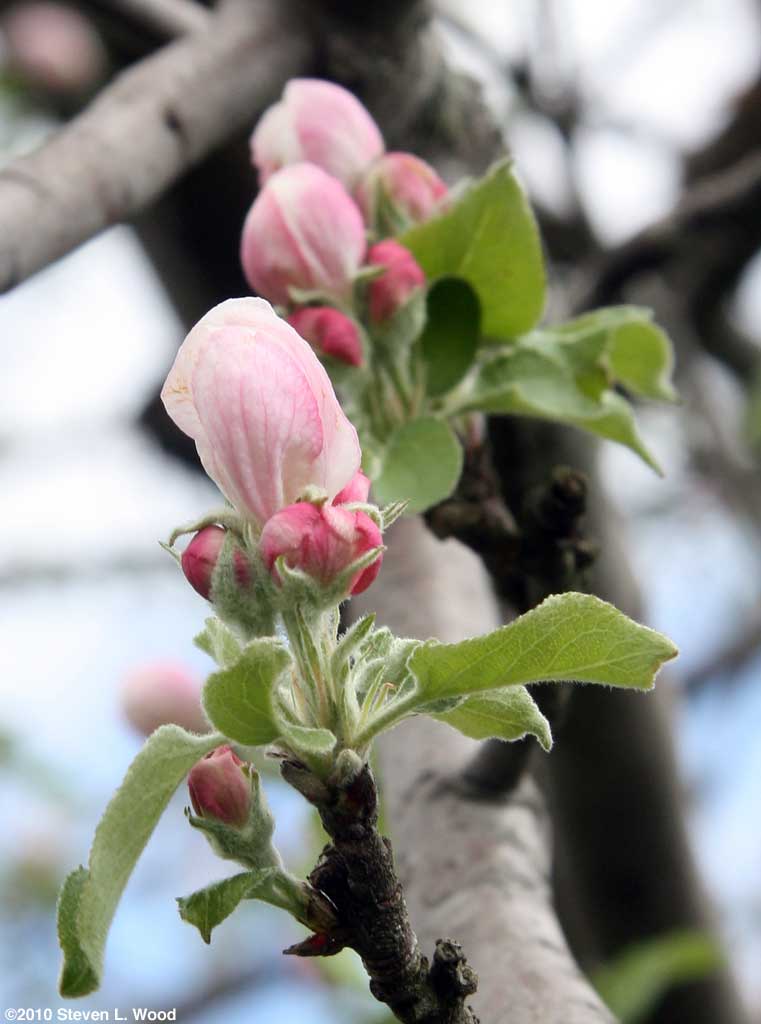
I wish everything germinated so easily! April 8, 2010 - Apple Blossoms
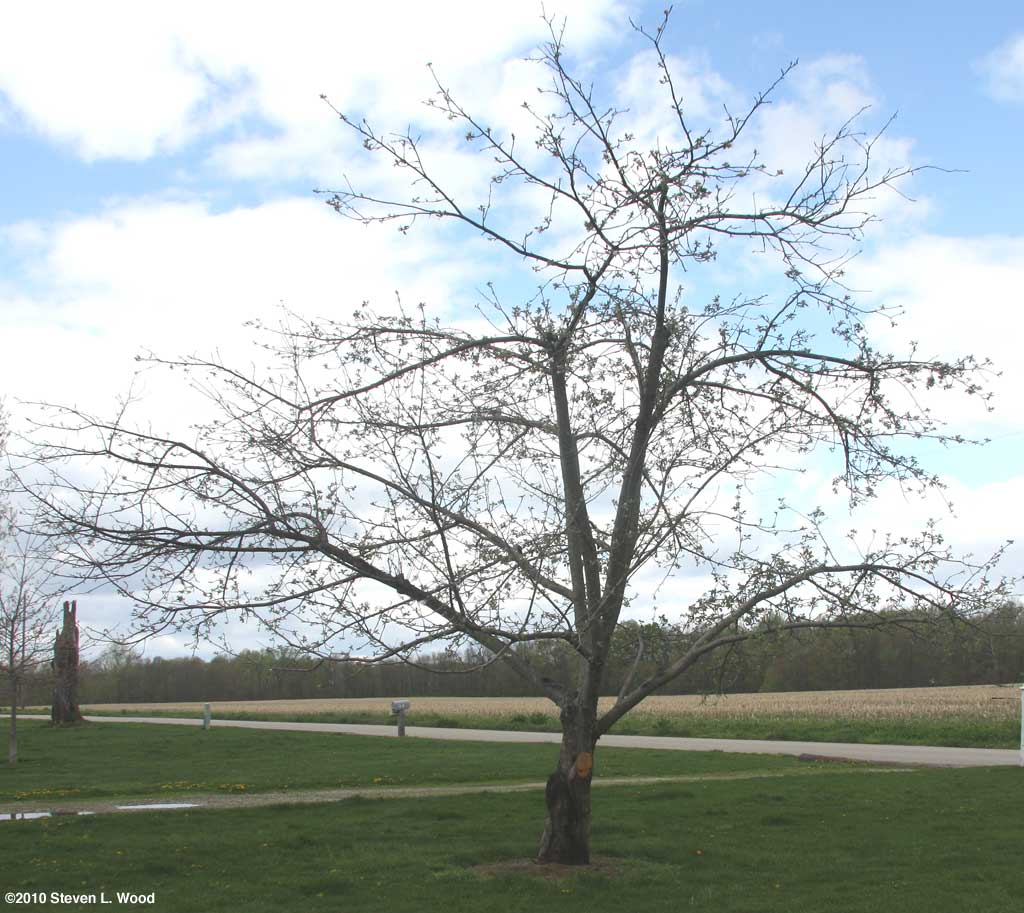
During January and February, I sprayed it with liquid soap several times to try and remove the mold and also hit it with a lime sulfur and dormant oil mix. Over the last few weeks, it became obvious from swelling blossoms on some branches that the tree still had some life in it. I did have to remove one major limb that was dead and still have a number of smaller dead branches to prune. I also began spraying the tree with a streptomycin fire blight spray. Maintaining a healthy apple tree shouldn't be so hard, but I hadn't properly pruned the tree for a couple of years. That led to poor air circulation and the sooty mold. The fire blight can happen to anyone, but a weakened tree is obviously more susceptible. Garden Season Begins After several weeks of unseasonably warm weather and then heavy, heavy thunderstorms last night, I now have time to write a bit about our garden. I've been doing my usual, "Is it time, yet" drill, waiting for the soil to be ready to till. Two days ago, it truly did appear that our soil might be dry enough to begin rototilling without destroying the soil structure. Tilling wet clay soil can leave one with a clumpy mess. Wet soil finely tilled will dry to a consistency close to concrete.
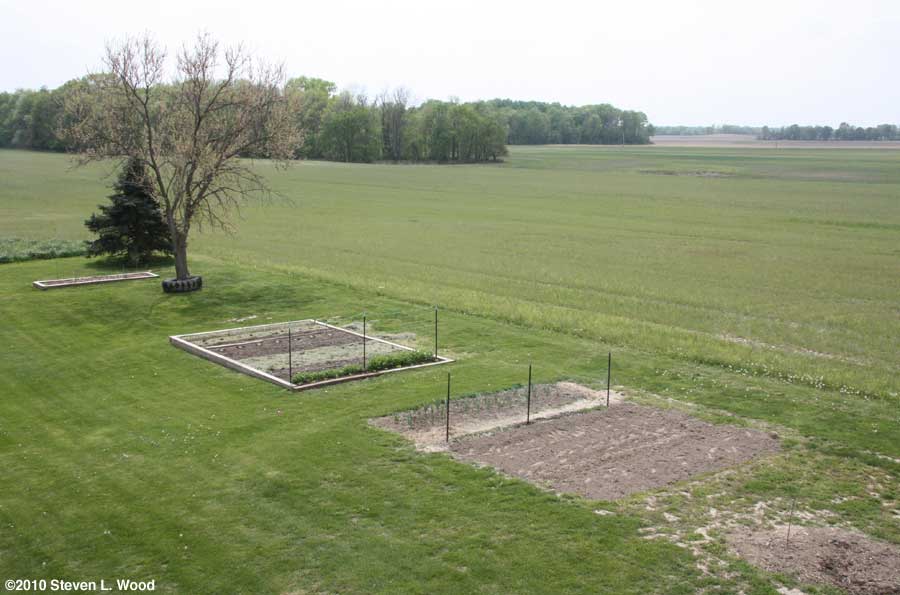
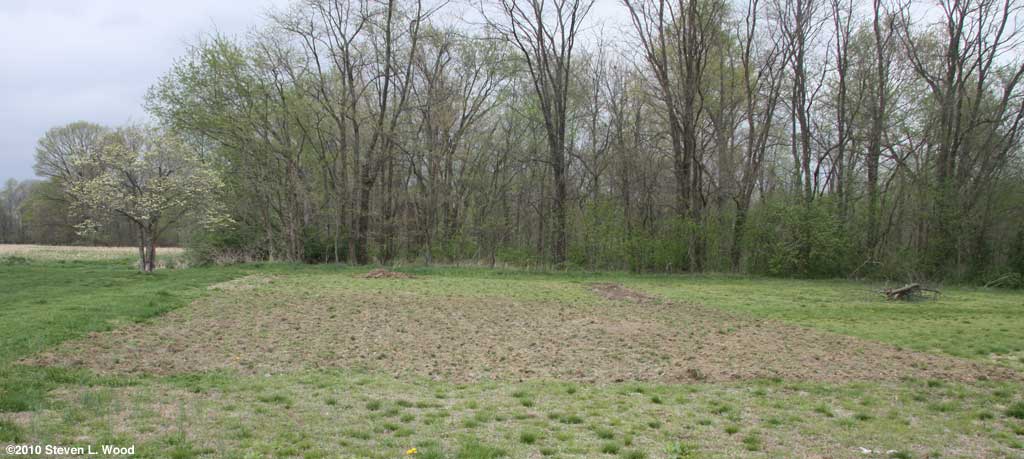
Tilling new ground for a garden is usually pretty hard work, but I found the new ground that hadn't been turned since the farmer gave up farming it several years ago tilled far easier than our old corn patch. The old corn patch had a dense cover of grass, some of which I cut for sod and moved to some bare patches in our yard. But the East Garden has now had its first turn, but will require at least one more pass with the rototiller before it is planting ready. It was supposed to rain all day yesterday, but when the rain held off (until early evening), I got out and turned over our raised bed garden and part of another section of what used to be our main garden. The raised bed had been limed last fall, so after a quick pH test (around 6.7), just a very light dusting of lime was necessary before tilling.
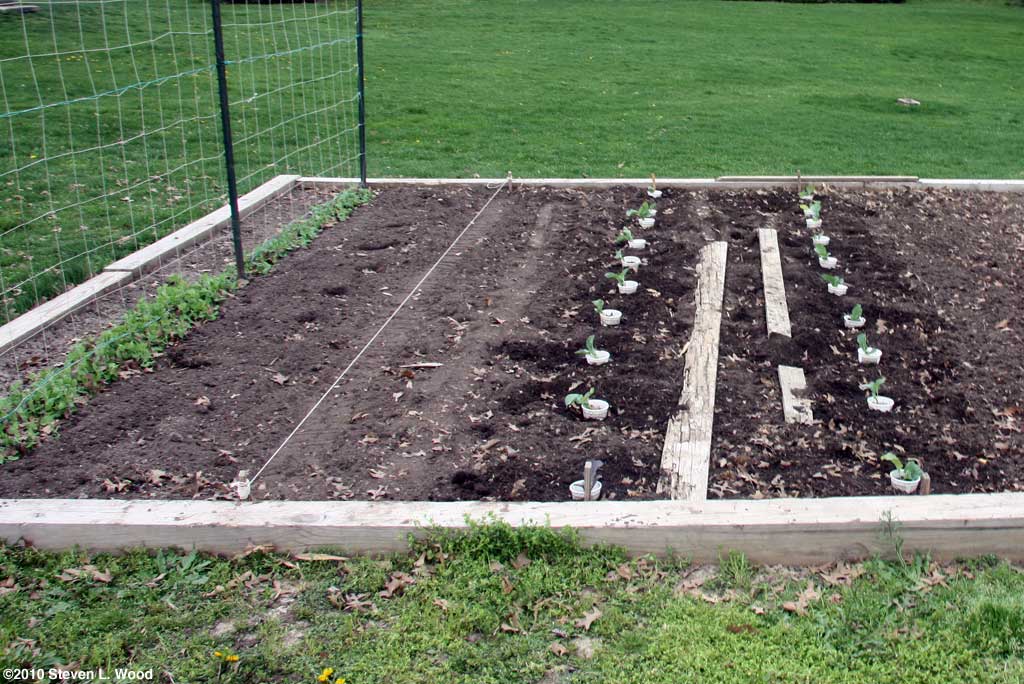
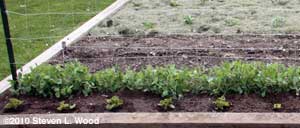
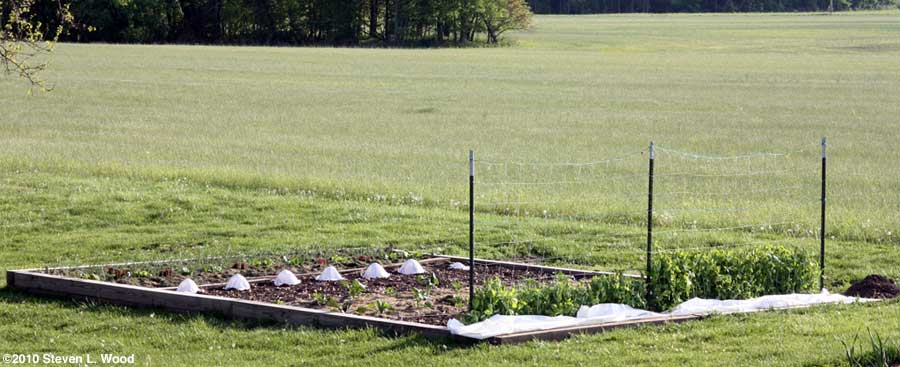
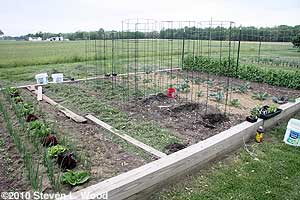
As the rain teased us with on and off sprinkles, I was able to plant our second row of peas. I'd held off planting them until now, as the varieties I'd chosen mostly need warmer ground than our earlier planting. The row now contains Encore, Eclipse, and a few Extra Early Alaska peas. All are low growing varieties, but I still put in T-posts to hold a string trellis that I'll add later. I forged ahead and seeded a row of kale in our main garden. I was also able transplant a couple of rows of brassicas before the rain began in earnest. Note in the photo below that I keep some old lumber around as "walking boards" so that I don't compress the freshly tilled soil too much while working in the raised bed.
The varieties we use are, of course, what works well in our area (west, central Indiana). The kale was an old favorite, Dwarf Blue Vates. I didn't buy any kale seed this year and ended up seeding out of three old, saved packets. I was a bit amused at my seed hoarding, as there were two more partial, old packets that I didn't need to get into. For broccoli, we again went with Premium Crop and Goliath this year. I've not found a better broccoli than Premium Crop for our garden. While it is often described as a main head variety, and it does produce spectacular main heads under proper growing conditions, we also get excellent side shoots from it, extending its productivity considerably.
Our cauliflower is all Amazing, the best self wrapping cauliflower I've seen. Wrapping the leaves around cauliflower heads prevents yellowing of the head and resultant bitterness. While Amazing's leaves do wrap, we often take a piece of string and tie some of the leaves around the head as well. And our brussels sprouts are a new variety from Johnny's Selected Seeds, Churchill. And I must admit, I don't think I've ever grown good brussels sprouts. They always get buggy and nasty, but since my wife loves them, I'm trying again this year. Our brassicas (broccoli, cauliflower, cabbage, and brussels sprouts) each went into a hole with a little lime to prevent clubroot, some liquid starter fertilizer mixed with a touch of insecticide to discourage cutworms, and a dixie cup (with the solid end cut out) as a cutworm collar to further frustrate the cutworms. Starting Seedless Watermelon
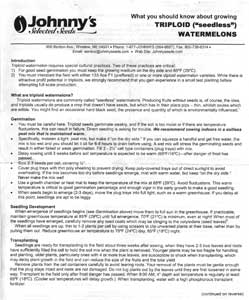
Just telling you about the guide would be sort of a nasty trick if it weren't available without purchasing seed, but Johnny's supplies What you should know about growing triploid (“seedless”) watermelon (60K) as a free downloable Word document!
April 9, 2010 - A Tiny Little Change
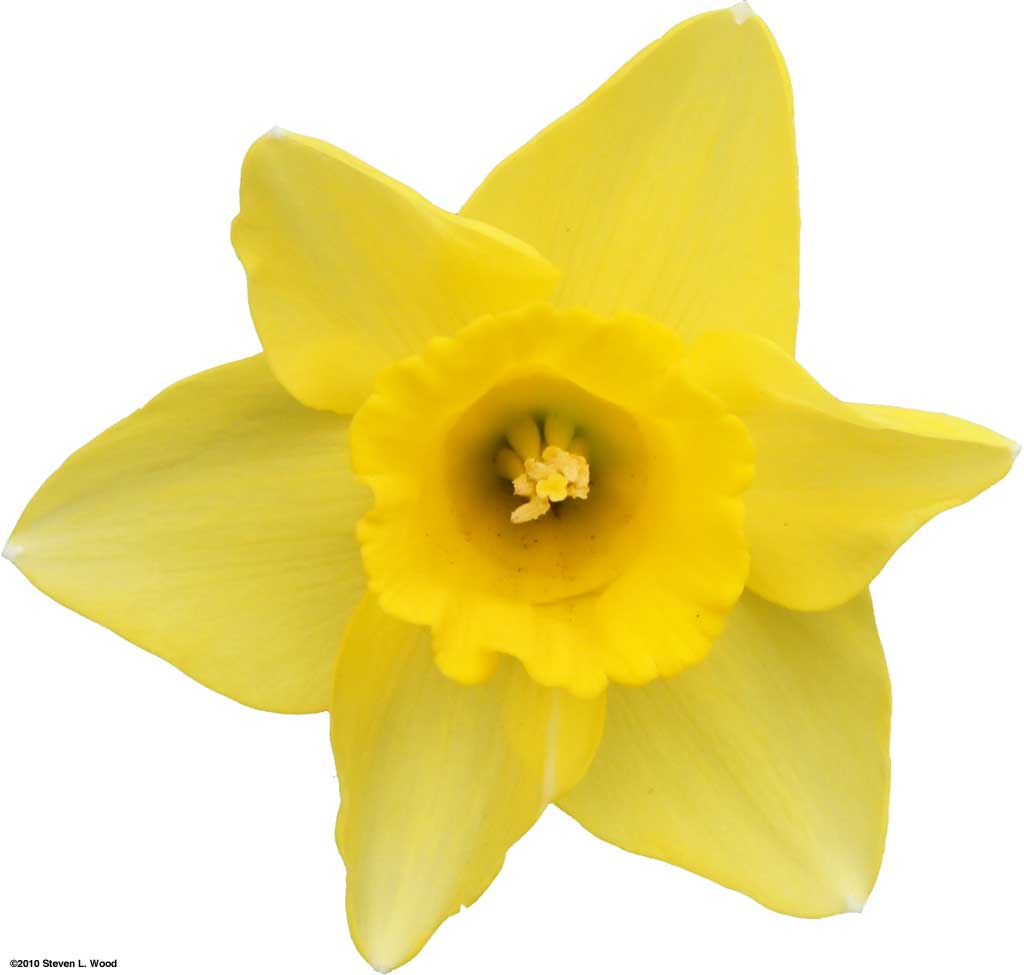
Following Jennifer's tutorial, I downloaded the appropriate plug-in, resized the image to the required 16 x 16 pixel dimension, and saved and uploaded the resulting favicon to the site. Once I remembered to clear the cache on my web browser, the tiny daffodil icon appeared by the url and in tabs.
While our tiny favicon certainly doesn't stand out like some of the really creative ones I've seen on large, commercial sites, it may help folks using tabbed browsing keep track of what is where. Chopsticks for Gardening?
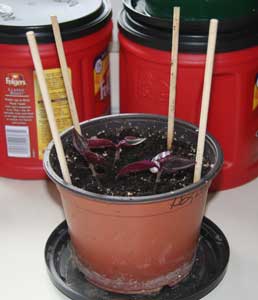
When I recently took cuttings from my wife's Wandering Jew plant (which was in bad shape due solely to my neglect of it), I decided to use some of our extra chopsticks to hold the bread sack that served to hold in moisture. They're working out far better than our previous coat hanger props.
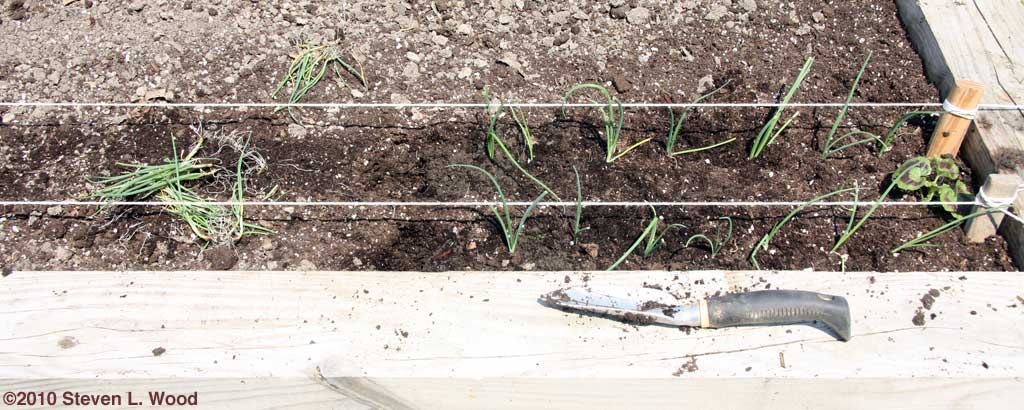
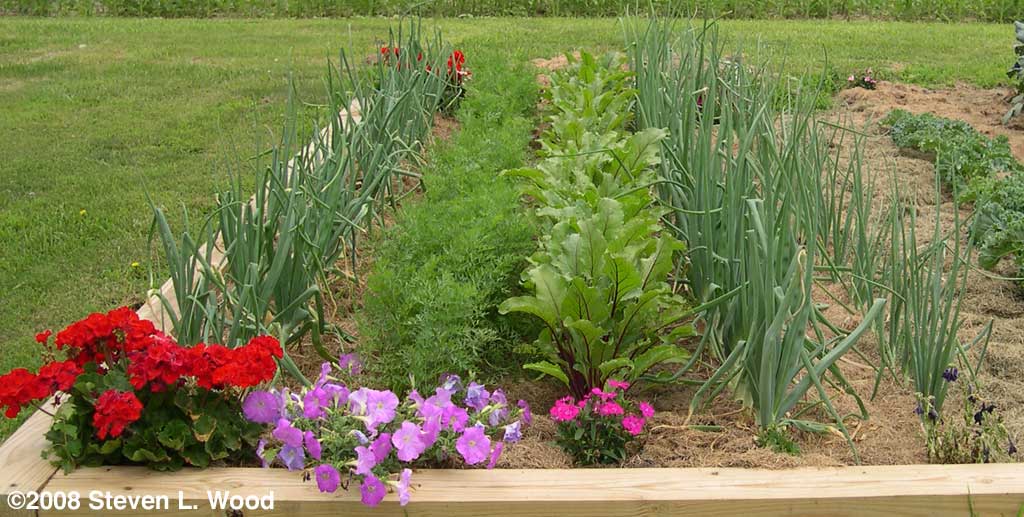
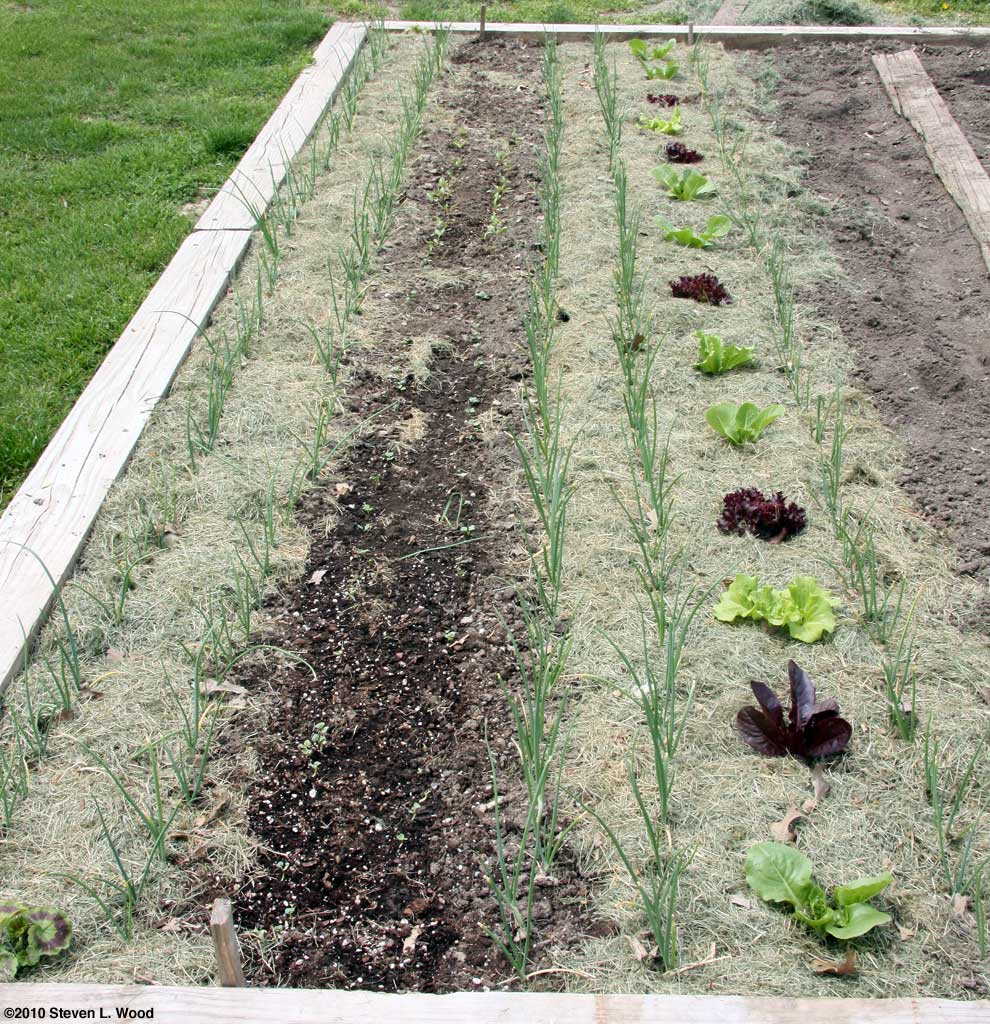
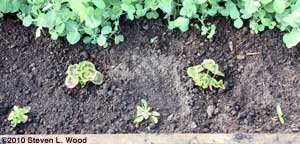
We employ intensive gardening techniques in our softbeds, reducing the distance between rows drastically, and planting vegetables that grow well with each other in close quarters. Our onions, started in January, were of a perfect size for easy transplanting into the soft, fertile soil in our softbed. Since I noticed some crowding of our onions last year, both in the row and between rows, I was careful this year to add a bit more spacing for them. While Walla Walla onion seed was a bit tough to find this year, we still had some from last year that germinated well, so Walla Walla was our sweet onion. The rest of our onion varieties are all storage types, Red Zeppelin, Pulsar, and Milestone. All four varieties are capable of producing large onions under proper (lucky?) growing conditions.
I use several tricks from Jim Crockett in planting carrots and beets. And of course, one only plants carrots in soil that has been worked deeply. I thinly (about 1" spacing) seed our carrots into a 1/2" deep row, but also seed radish right over the carrot seed. The radish germinates quickly and helps prevent soil crusting. By the time the carrots are up and need the space, the radishes are ready to pull. I also try to cover my carrot seedings with my walking boards to hold down weeds and retain moisture. Of course, the radishes will be up in three or four days and the boards will have to go then, but even a few days of moisture retention helps. I usually grow a few beets indoors to transplant into the garden. This year our half flat of beets got swamped in a heavy rain, so I'm not sure the transplants will take. Half of our half row of beets were transplants and the rest were direct seeded.
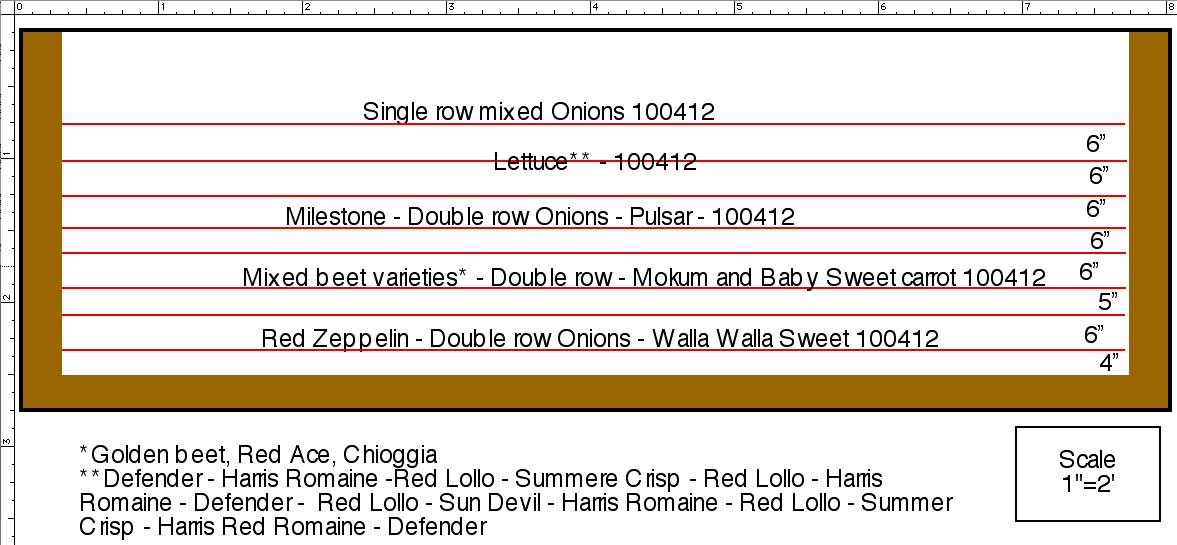
Rather than try to list the tight spacings I used in the softbed, I've reproduced my softbed garden record here to show what went where and how it was spaced. And yes, I still chart my garden with draw documents in the now ancient AppleWorks program.
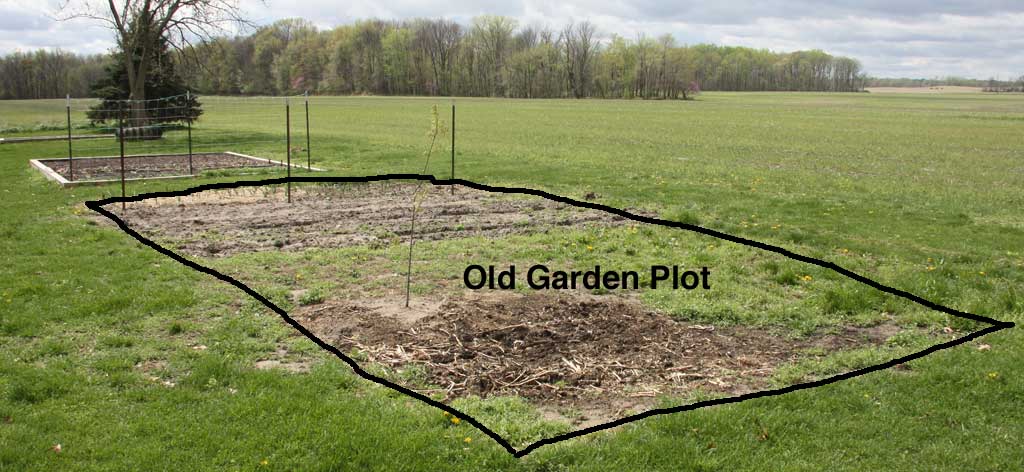
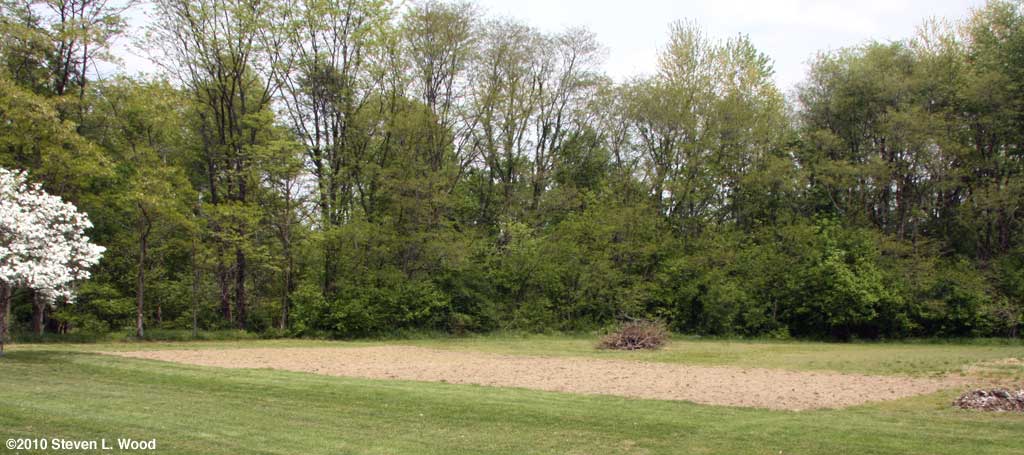
I took a tape measure out to the East Garden yesterday, as I really didn't know the dimensions of the area I'm working up. It came out to 40' x 75', or around 3000 square feet. That's just a tad under the area we had tilled there last year when the patch ran back towards the woods. The "new ground" I'm tilling there really has worked up pretty well. I'd left a good cover of grass that grew in the fall where our sweet corn grew last year, and I'm having a terrible time getting that section planting ready. The grass is a problem, but my tiller and its operator are getting old! I took a look online at new rototillers and decided I'd just put in the time necessary with my 15 year old tiller. There's nothing I can do about my age but enjoy it.
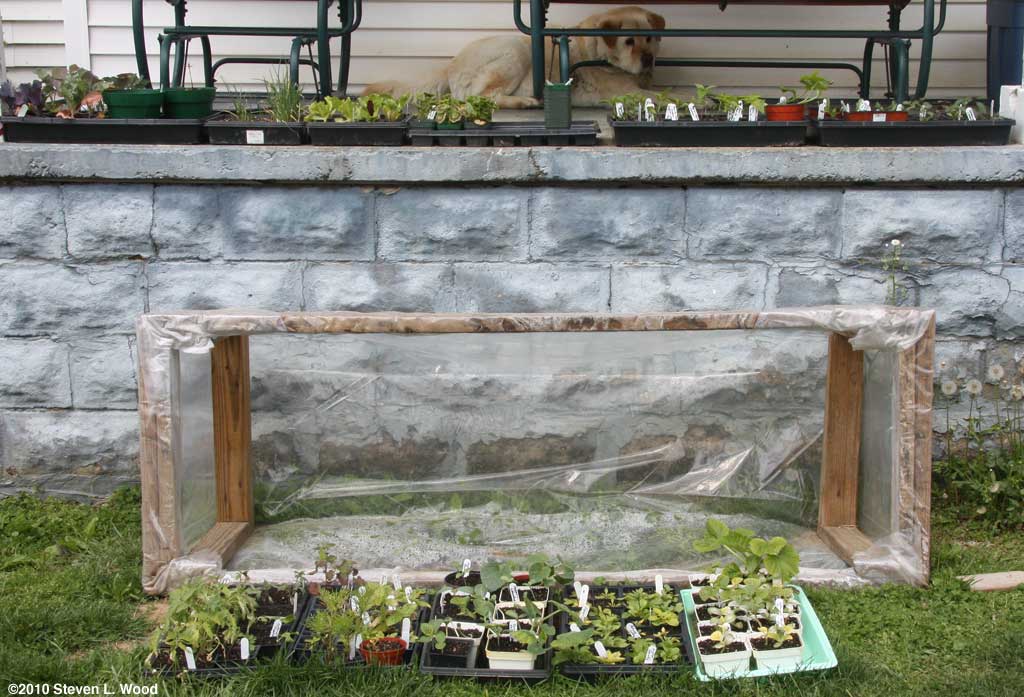
After a couple of cold evenings when I had to put the top down on the cold frame, our nighttime temperatures appear to be free of frost for the next week. I've brought all of our our transplants up from the basement, causing our usual spring clutter on the back porch. Note that our dogs all seem to instinctively know to step around and not in the plant flats!
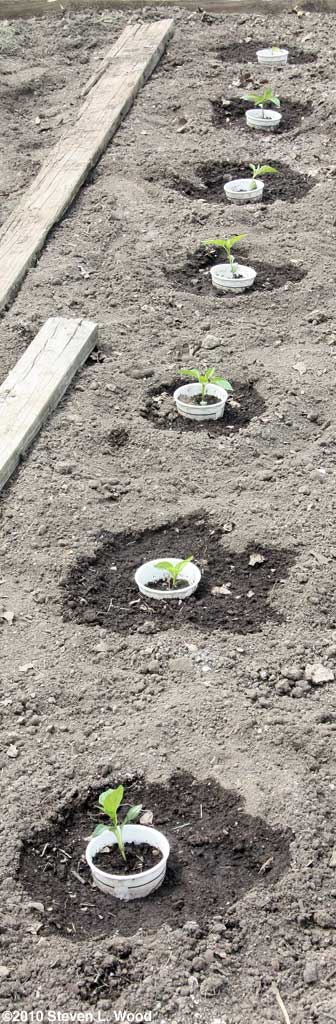
I decreased the porch clutter just a bit today by putting in our bell peppers and some geraniums. While we're still a week or so before our frost-free date, the weather appears to be on a warming spell that should continue. And if not, I'll be covering the peppers with a blanket to protect them from frost.
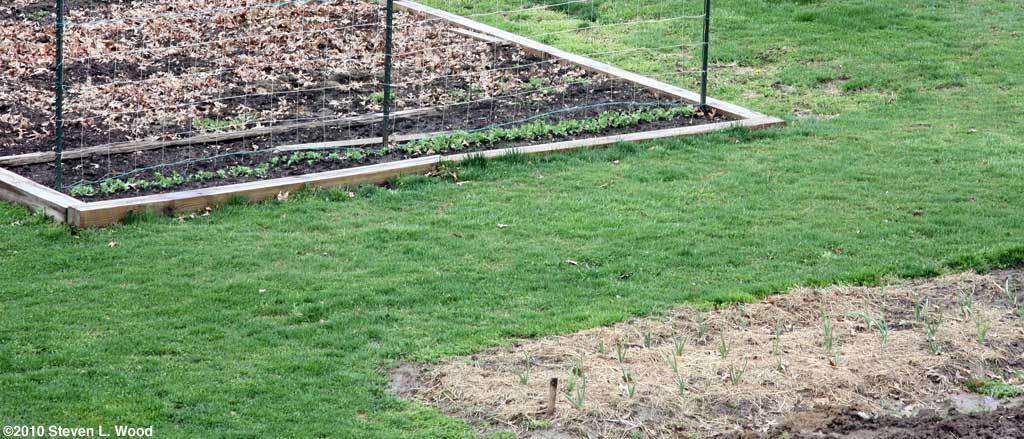
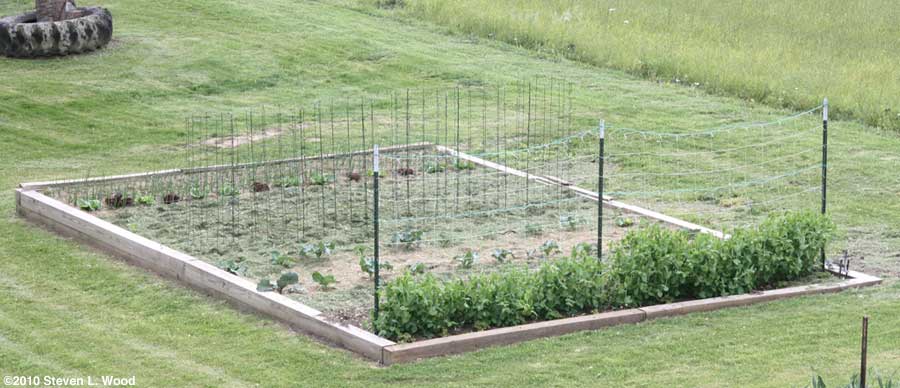
I put a row of geraniums in the small area next to our first planting of peas. But before I could do so, I also had to reset one of our raised bed timbers that had heaved up about an inch over the winter. I think moles tunneling under it had helped with the heaving. The peas are up and now vining on the string trellis. The Sugar Snaps are almost twice as tall as the Aldermans (Tall Telephone). Most of the geraniums are the Maverick Red variety with a few Horizon Salmon and Geronimo to add variety. Before I mulch in the geraniums with grass clippings, I may try to squeeze in some petunias in the gaps between the geraniums. But for now, I'm sorta waiting on a rain to soak the bed, as I added a good bit of peat moss to it today before transplanting the geraniums.
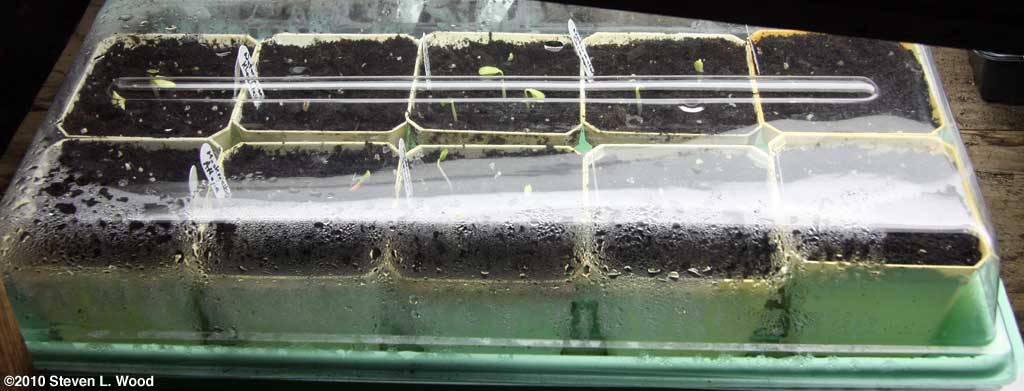
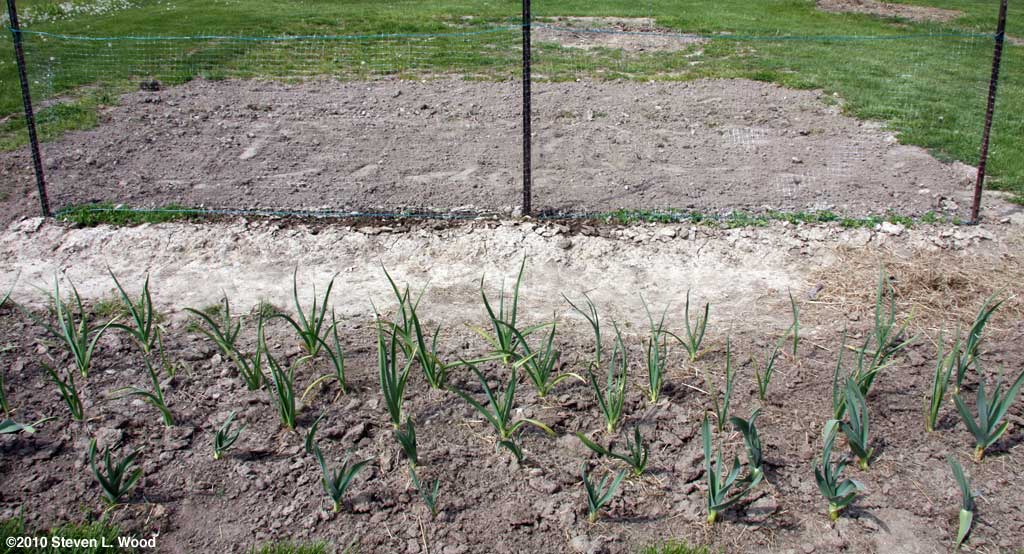
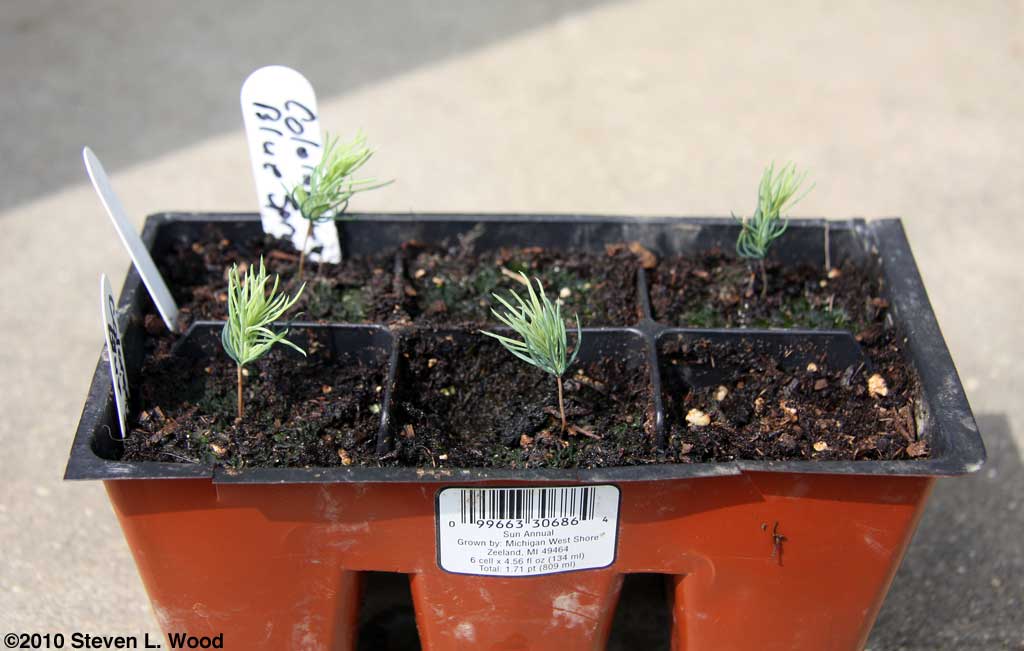
Our garlic, shown in the foreground of the pea trellis shot (above left) is doing well. When I pulled the mulch from it and hoed it a bit, I was disappointed at how dense the soil had become. I haven't added any organic matter to the bed in over a year. It was rather difficult to hoe. The Colorado Blue Spruce Tree Kit from GenericSeeds.com I wrote about in March has produced four viable starts (down from about nine that germinated). I've moved them outside and will soon be uppotting them into something more appropriate in size. I'm not sure what I'll do with them if they all survive, but it's been an interesting experience starting them from seed.
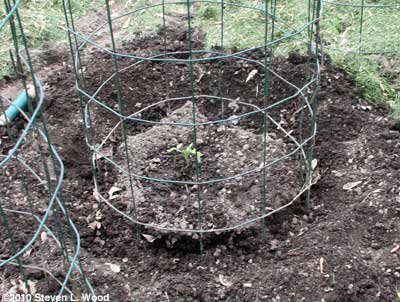
It appears that I stumbled across the magic words last week when I wrote about our "dry spell." We've now had days and days of heavy rain which pretty well curtails any outdoor gardening efforts. So far, we've been spared any severe weather such as Mississippi experienced over the weekend. Our weather is supposed to clear tomorrow, although the weather folks keep changing their prediction for the overnight low for tomorrow night from near freezing to the mid-30's. So we'll probably just hold off another day if it clears to let the chance of a late frost pass us by. Potting Soil Last month, I thought I'd had the bad luck to pick up the odd bag of moisture control potting soil that somehow had a pH level of 5.8! But today, I purchased a couple of bags of regular, Miracle-Gro potting soil (not the moisture control kind) and found the pH on them to be around 6.2 to a more acceptable 6.5. It would appear that the folks at Miracle-Gro aren't neutralizing their potting soil to bring it to an optimal pH of around 6.8. I found out the hard way, as we had some plant starts do very poorly until I checked the soil pH. I ended up watering them with limewater to correct the pH of the potting soil. So, if you're having trouble getting seeds started or getting tender young plants growing well in Miracle-Gro products, try testing the soil's pH. You may get the same ugly surprise I did. Mother Nature did supply a light frost on Wednesday morning, hopefully our last of the season. I'd bought a package of Hot Kaps® Domes Our narrow flowerbed of geraniums, snapdragons, petunias, and vinca were covered with one of those paper dropclothes sold at painting centers secured by landscape staples. Both the hot kaps and dropcloth did their job. Our tender plants came through the light frost without damage. Once done with the peppers, I got to do one of the annual gardening tasks I always enjoy, putting in our tomato plants. We have room in our main, raised bed garden for six caged tomato plants. Each hole dug for the plants got about a quarter handful of 5-10-5 fertilizer, a light dusting of lime to supply the calcium tomatoes need, and a half coffee can of transplanting solution. Our tomato cages are homemade from welded wire with 6" openings. I wrote about them in an August, 2008 posting, so I won't go over all that again here. Once the cages are in place, I add grass clipping mulch inside the cage, and if I have enough on hand, around the outside of the cages. With all the rain we've had and finally a few clear days to cut and rake the grass, I had enough grass clippings to mulch the peppers and tomatoes and the rows in between. With rain threatening most of the day, I hustled to dig and transplant a few kale plants to even up the row. I also mulched in our garlic with the last of my grass clippings. With April coming to an end, our raised bed garden is fully planted! As we move into May, we still have our paprika peppers to squeeze in somewhere, a bunch of herbs and spices to plant, and our whole East Garden to plant. There are also almost two flats of various flowers to use at the edges of the garden.
From the
at Senior Gardening |


 I'm a disaster eating with chopsticks, but I still pop a pair or two in the bag each time we get take out from our favorite Chinese restaurant in Sullivan, the China Wok. Over time, we've built up a good supply of them from times I really just want to get something in my mouth and not try to expand my cultural experience.
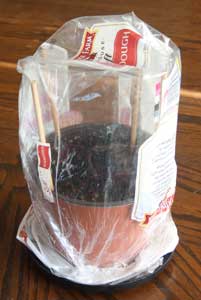 I recently found a use for our extra chopsticks. When I'm rooting (or trying to root) various leaves or branches, I cover the cuttings with a clear plastic bag of some sort. I've bent many clothes hangers to keep the bags from touching the stems and leaves, but really wasn't too happy with that practice.
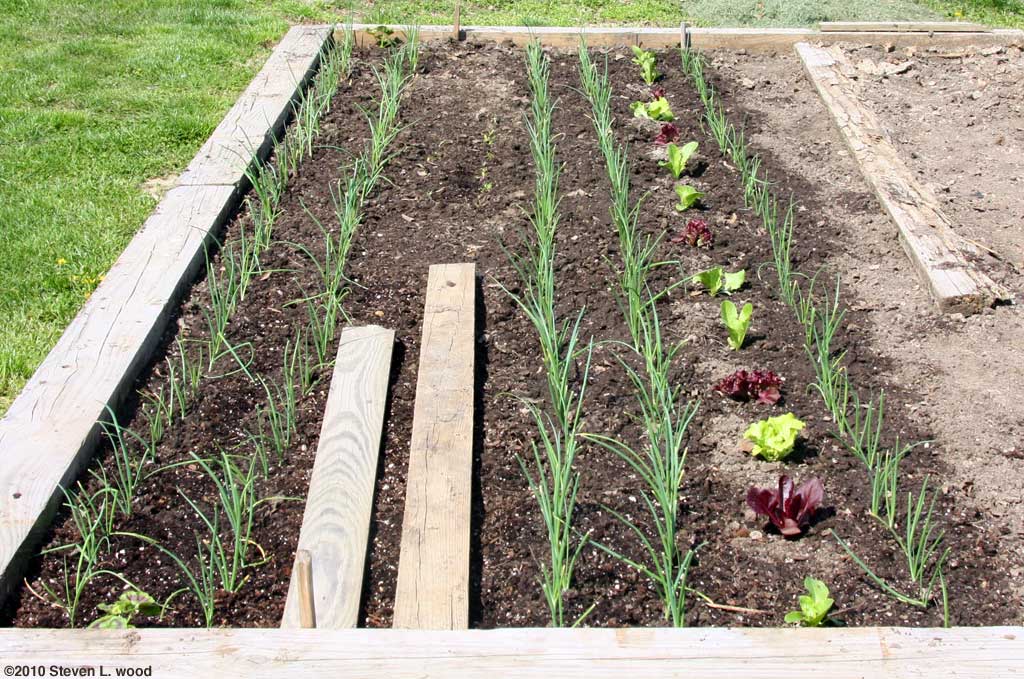


| Affiliated Advertisers |
©2010 Senior-Gardening.com