One of the Joys of Maturity |

Custom Search
|
| Affiliated Advertisers |
Clicking through one of our banner ads or some of our text links and making a purchase will produce a small commission for us from the sale. Growing Geraniums from Seed - 2010 I've moved last year's Growing Geraniums from Seed feature, as it was really almost an exercise in what not to do to grow geraniums from seed! So we'll try again this year! If you have the right conditions, growing seed geraniums (geraniums from seed) is relatively easy. Seed geraniums have the advantage of not carrying disease forward as propagating from leaf cuttings can do. And with seed geraniums, you're not limited to just propagating varieties you have, but have the full spectrum of seed geraniums that are available from seed catalogs.
Important note: See below for an advisory about hard seed, germination rates, and geranium seed vendors. January 23 , 2010
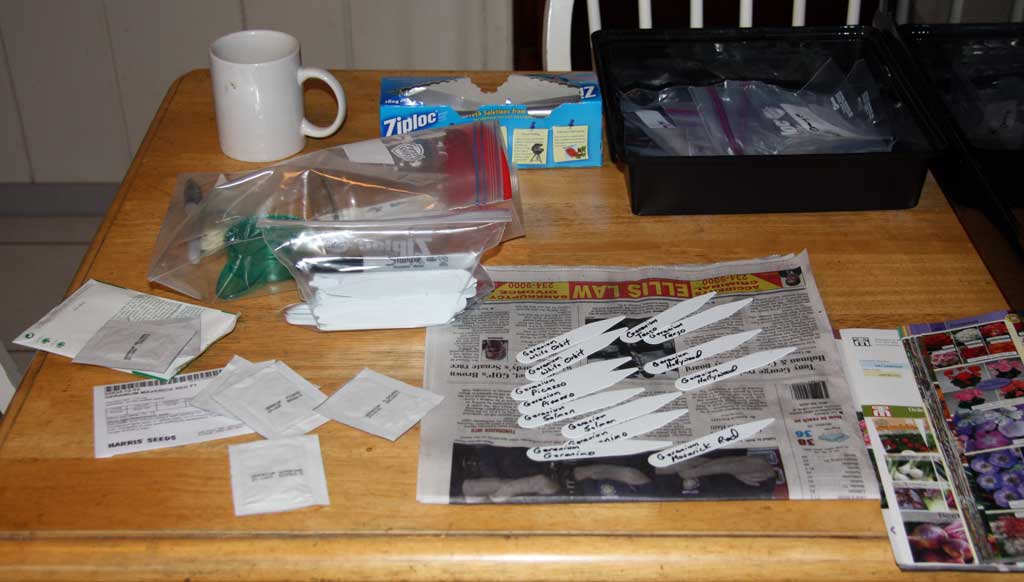
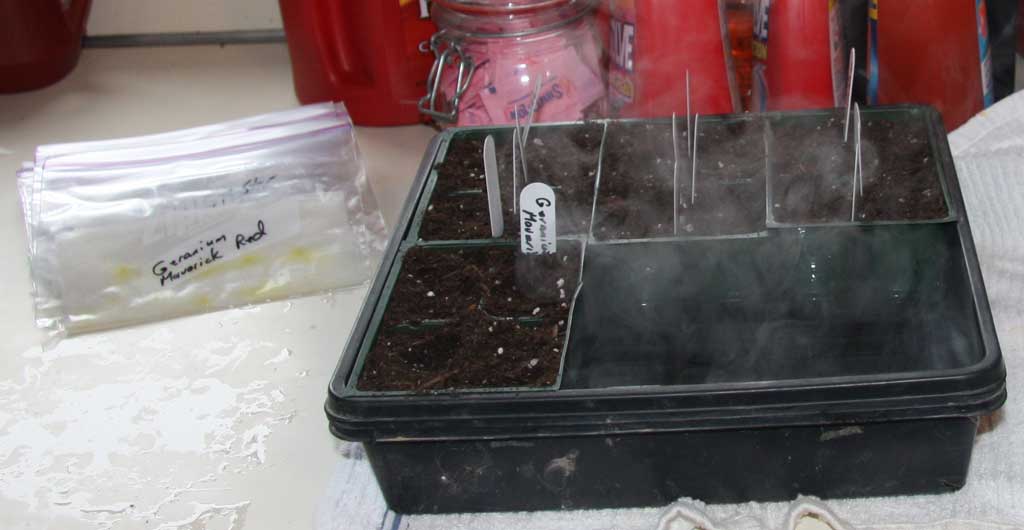
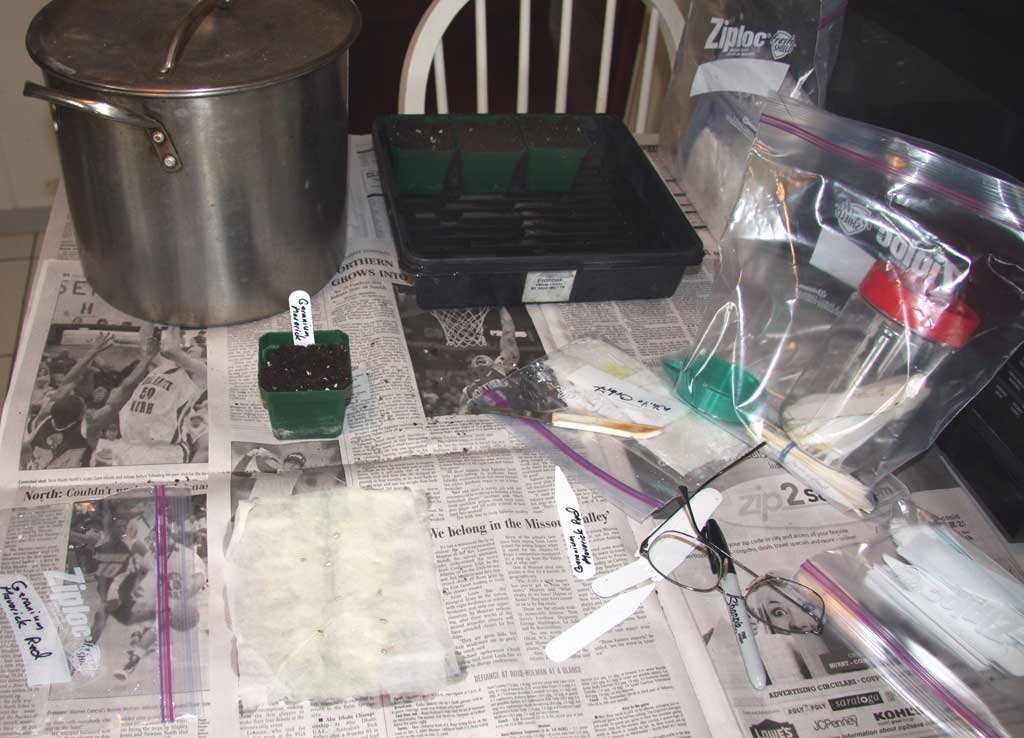
The seed on paper towels goes into individual pint freezer bags and all of those go into a larger freezer bag. This double bagging is probably unnecessary, but we lost some of our geranium seed that dried out in the bag last year during germination. Since I use a lot of peat moss in my starter mix, I also have to carefully check its soil pH to make sure I haven't made it too acid with the peat. Adding a bit of lime usually will bring it to or near an ideal soil pH of 7.0. I also water the flat containing the seed inserts with very hot water (note steam rising in the picture below) so the peat moss will absorb the moisture.
I put the bagged seed in the open slot of the half flat I was using and covered it with a plastic dome I'd sprayed with flat black paint to make it opaque. Geranium seed needs to germinate in the dark.
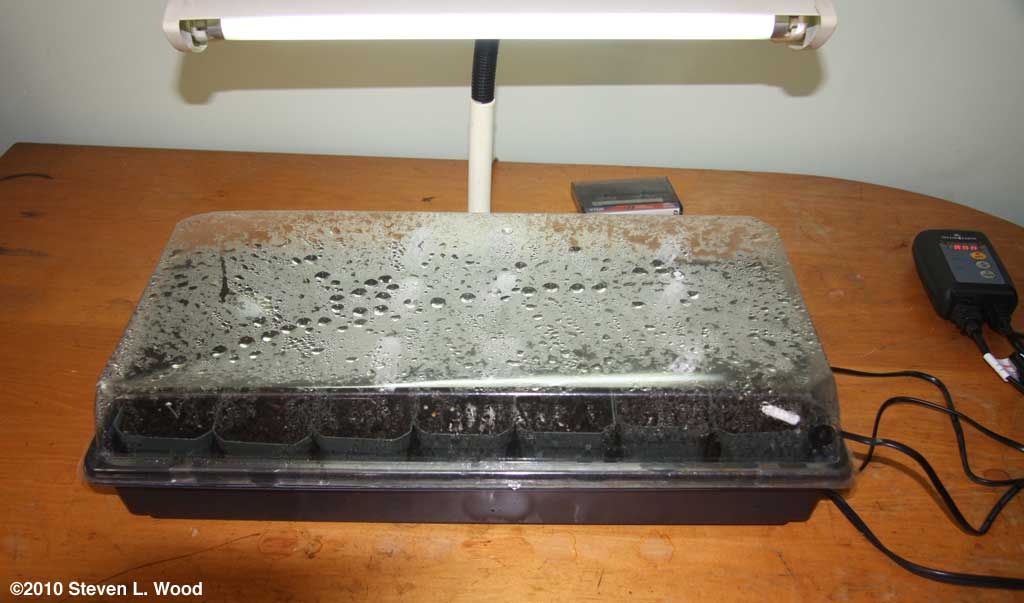
Our heat mat runs through a heat mat thermostat The best place I ever had for germinating geranium (and other) seed was at an old farmhouse we rented for a time. It had an upstairs closet that a heat duct ran through. The temperature in the closet ran around 85o F during the winter (and even warmer in summer)! And of course, the closet was dark, fulfilling the no light requirement for geranium seed. Update (11/25/2013): Some sources suggest that total darkness is not required to germinate geranium seed. In fact, "10-100 foot candles of light will improve germination and reduce stretching" according to one seed producer's fact sheet. (Thanks to Mike Bryce for that info.)
If you lack a dandy dark, warm closet or a great warm shelf, be sure to use some bottom heat or place your seed in a dark area that stays warm all day and night. A fancy heat mat and thermostat aren't really necessary unless you want to germinate in conditions like my cool basement!
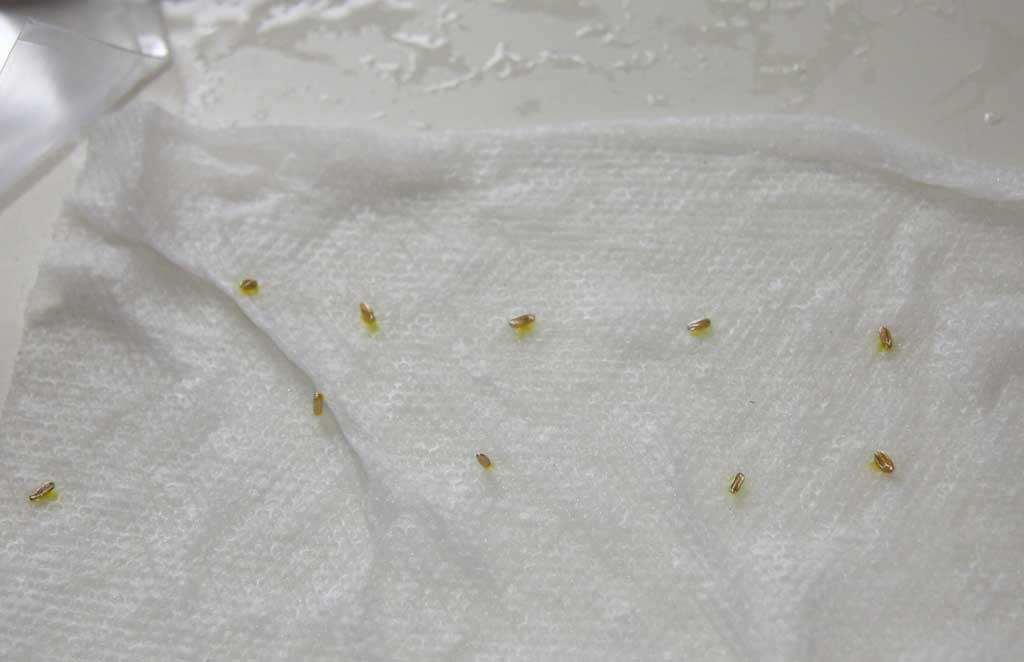
Okay, we're started now. I'll begin checking the seed on paper towels in just a couple of days and moving any germinated seed to individual pots. The seed in soil should begin to germinate in about five days.
January 25, 2009 Right on schedule, a few of the geranium seeds on moist paper towels were ready to go into individual pots today.
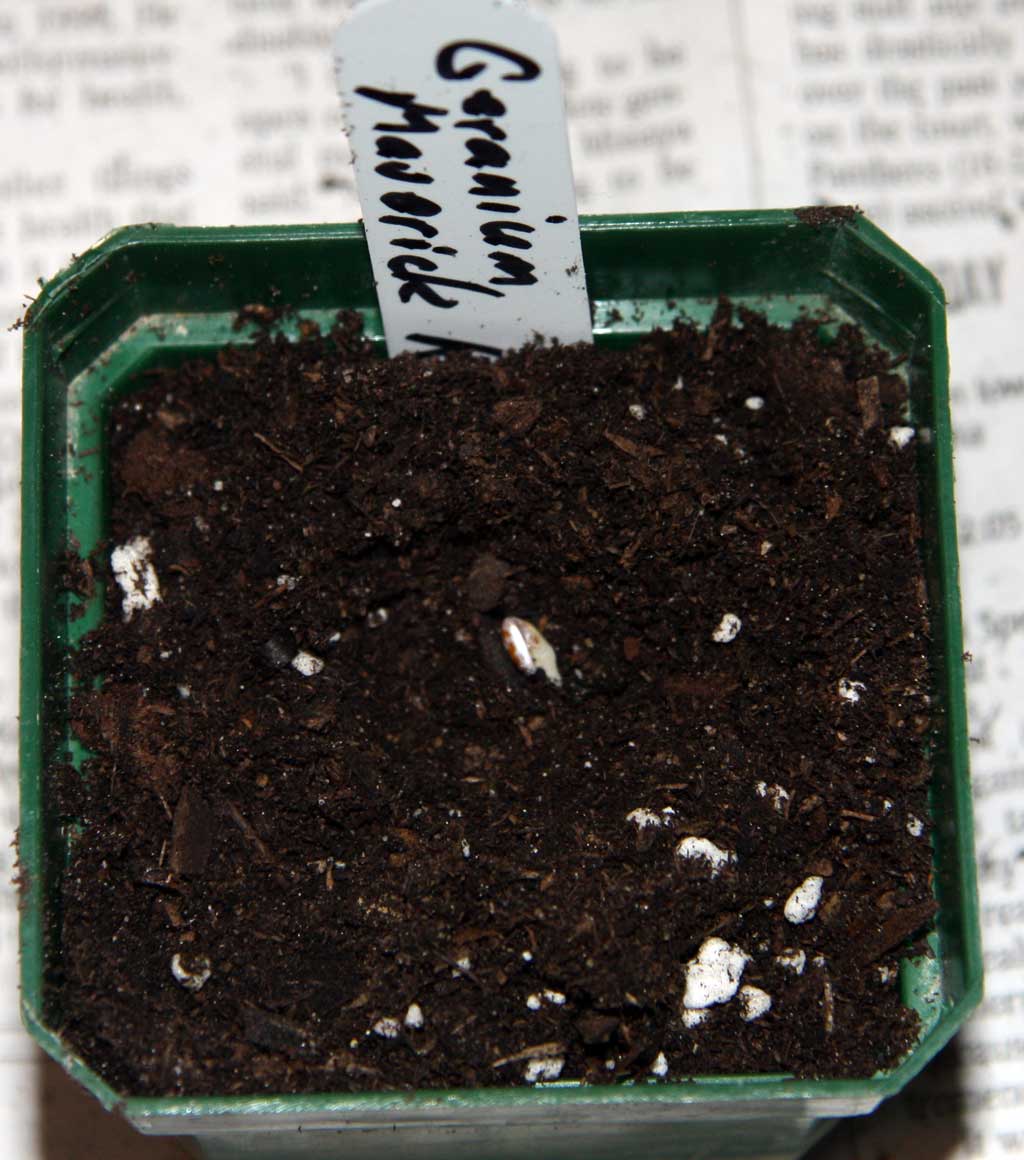
Each seed went into a small depression I made in the soil mix and was covered with about 1/8" of soil mix. The small pots then go into a half flat and are covered with a clear humidome. The half flat went onto my soil heating mat beside the other half flat that contains the geranium seed germinating in darkness.
While all of this may seem like a lot of trouble to go through for geraniums, one gets a quick reality check when shopping for geraniums at garden stores in the spring. Geranium plants in 4" pots ran around $4.50 each in this area last year! January 26, 2010 - Where to Buy Geranium Seed I've already mentioned the suppliers I've used this year for our geranium seed, but thought it might be a good idea to supply some links to suppliers of quality geranium seed. I've purchased geranium seed from all of these outlets.
Interestingly, Amazon Do note that you can preserve unused geranium seed by freezing it. Update 2/26/2013: After some unfortunate experiences this year that led me to conclusively conclude that I was receiving "hard seed" not so labeled by our main suppliers of geranium seed, I can no longer recommend or endorse any geranium seed vendor! We lost almost all of our new seedling geraniums this week! It was an easily preventable disaster caused mainly by damping off fungus and to a lesser extent, a heat mat failure. When I transplanted our geranium seed from the paper towels they'd sprouted on, I quickly ran out of sterilized potting mix. Rather than wait several hours to bake some more soil mix, I grabbed a bucket that held some leftover mix that hadn't yet been baked. The reason I'm usually so careful with our seed starting mix is that damping off fungus may be present in it. When seeds germinate, the fungus attacks the new plants right at the soil line. The stems thin and then die. So, after making a really foolish choice, I'm now awaiting the delivery of a new heating mat
March 6, 2010 - Back in Business (with geraniums)
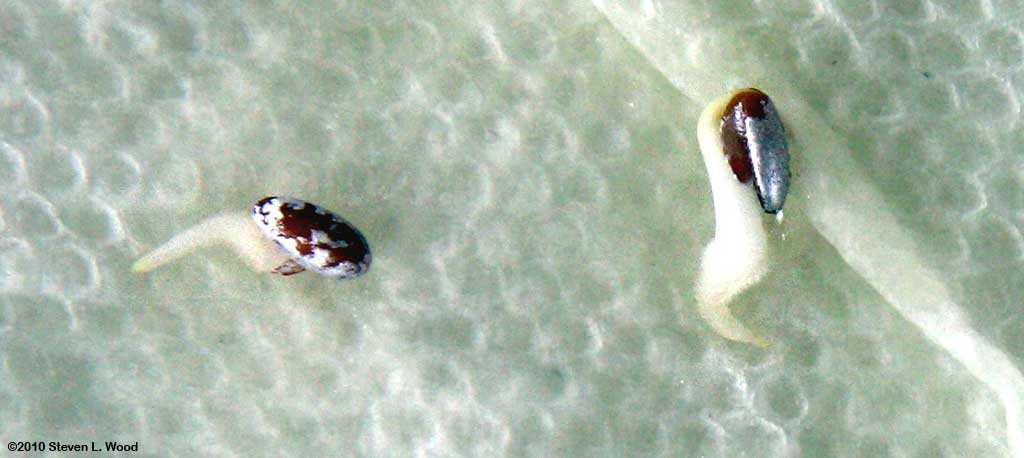
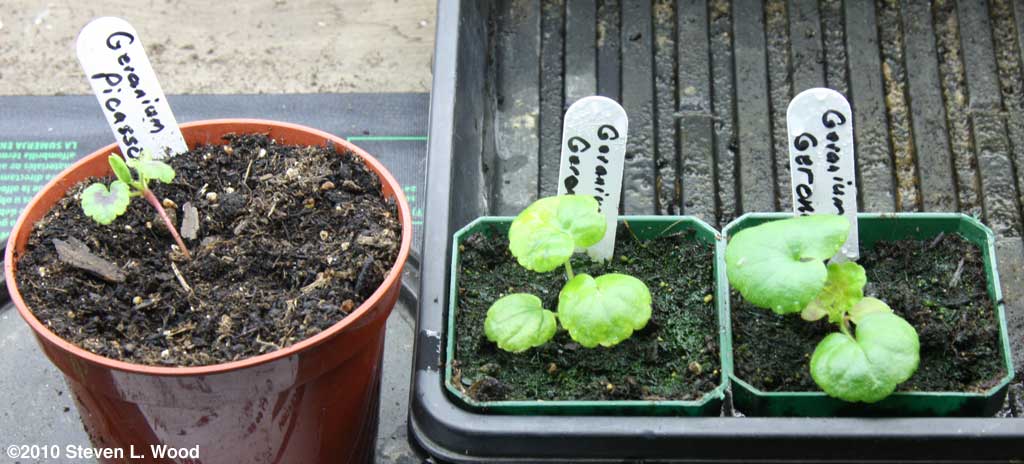
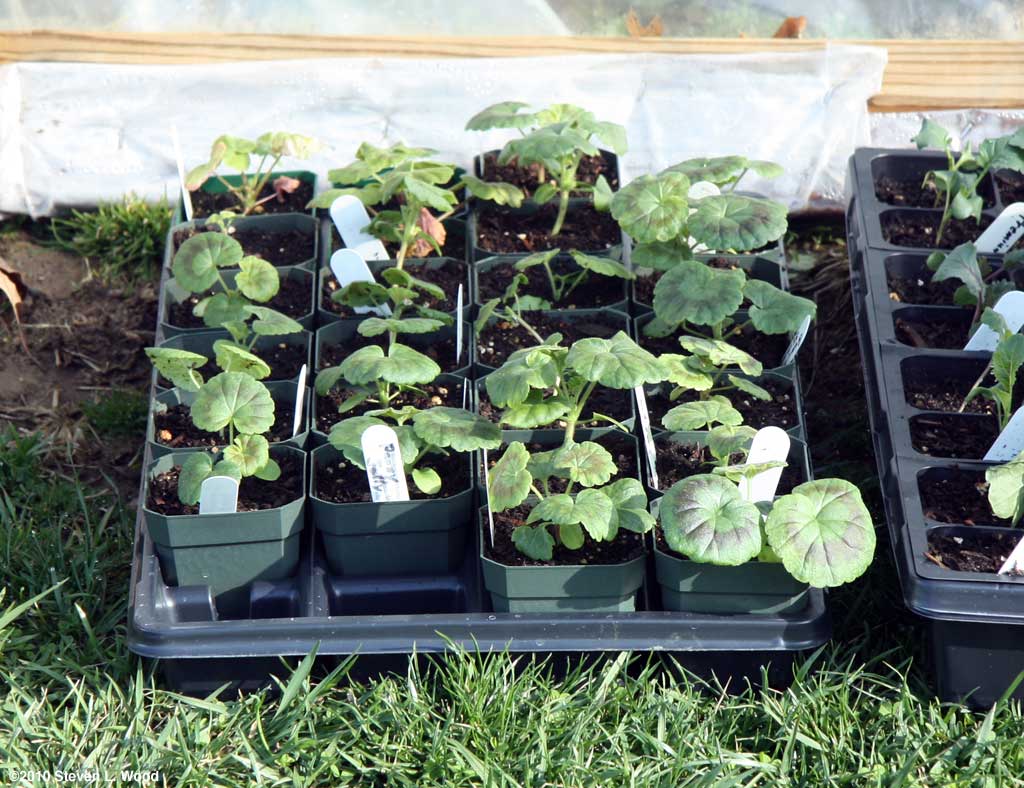
So...having once again embarrassed myself online, I started over. Since time was of the essence, I didn't germinate the seed on paper towels. While that method allows one to move a growing sprout to each pot or cell, it also adds a step and slows down the process just a bit.
One other thing I should mention is that the second seeding of geraniums were almost all the Maverick Red variety, some from Stokes Seeds and some from another vendor. I did have a few Salmon seeds left from Thompson & Morgan, but they're the slow germinators of the bunch. Makes me wonder a bit about their seed! We finally have a nice stand of geraniums under our plant lights. At this point, it's just a matter of keeping them watered every so often and raising the plant lights as they grow taller. Normally, I'd move the geraniums in a few weeks to 4" square pots. With our late start on them this year, I may skip that step.
And with our weather warming up rather quickly this spring, it won't be long before the flat of geraniums goes outside under our cold frame soon to harden off. March 27, 2010
We will probably have several more frosts in the next month or so, but the geraniums should do nicely with the top down on the cold frame overnight. The trick is for me to remember to open up the cold frame each morning so the plants don't cook from the heat held in by the plastic during the day. Since it was a bit windy this morning, I just propped the cold frame partially open to allow some sun and wind in, but down enough to also provide some protection. Our portable cold frame has been in use for many years now. In the spring it sits by our back porch and goes to the garden in fall to extend the growing season for lettuce. I store it in the garage during the winter, and often get two years use from either 4 or 6 mil clear plastic before having to redo the plastic cover. But each time I move it, I wish I'd included a handle to make moving it easier. I did take the time last year to pull together a few drawings and photos that might help others plan their homemade cold frames in A Simple Cold Frame. Ours is about 3' x 6'. When we were on the farm doing some market gardening, we made some 4' x 12' cold frames from some old wood we had, but while great for covering crops in the ground, they were a devil to move.  They vary from small, very portable units that run around $40 to some exotic and permanent structures that run hundreds of dollars. Some units include thermostatically controlled arms that automatically raise and lower the top of the cold frame. And some folks add heating elements in the soil below their permanent cold frames to make a hot bed that allows an early start in spring and extends the growing season in the fall. It's all about how much you want to spend and how fancy your needs are. They vary from small, very portable units that run around $40 to some exotic and permanent structures that run hundreds of dollars. Some units include thermostatically controlled arms that automatically raise and lower the top of the cold frame. And some folks add heating elements in the soil below their permanent cold frames to make a hot bed that allows an early start in spring and extends the growing season in the fall. It's all about how much you want to spend and how fancy your needs are.
You may have some good cold frame, hot bed plans sitting on your gardening bookshelf already. Crockett's Victory Garden by the late James Underwood Crockett does a pretty thorough treatment of them in its first chapter. While long out of print, it's still available used at many outlets for a fairly reasonable price if you don't already have it. And after all these years, I find it's still my best gardening reference book. April 22, 2010 Even though our frost free date is somewhere in the May 1-10 area, I've begun setting some of our geraniums out into the garden. Since we were late getting our geraniums started, or rather, re-started, I didn't bother to move the plants from their 3" square pots to 4" square pots as I usually do.
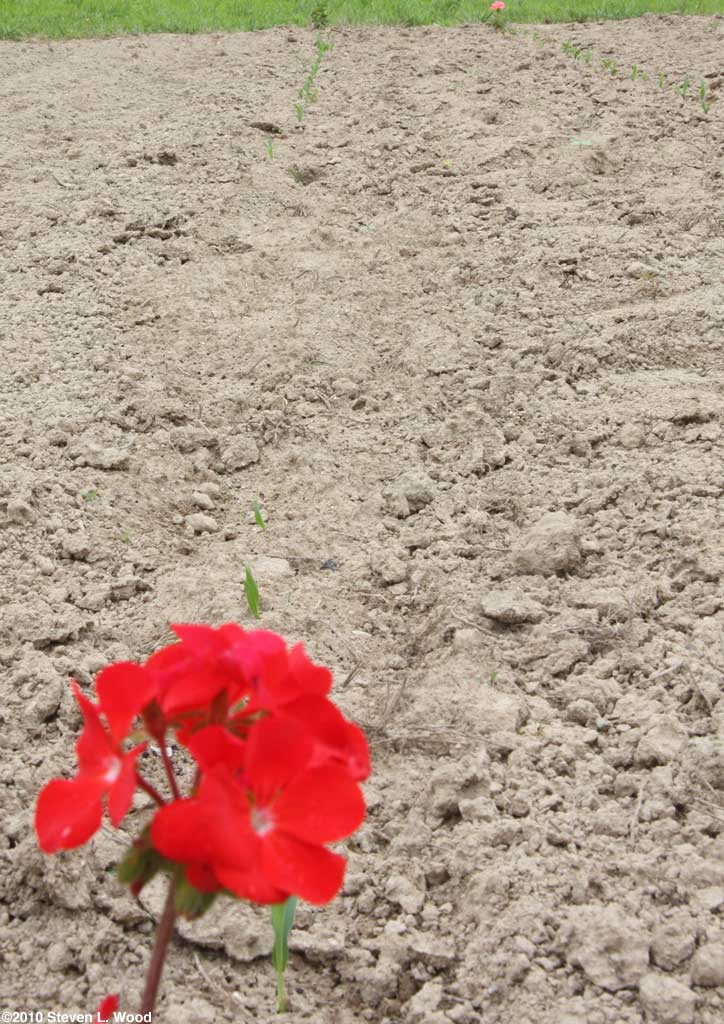
Earlier this week, I put in a whole row of geraniums in a narrow area next to our trellised, climbing peas. I like growing the taller pea varieties, as there's less bending involved in the picking. The geraniums will be shaded a bit by the peas, but the peas aren't season long and will be out by late June. Of course, I'll probably plant either pole beans or Japanese Long Pickling cucumbers (a fantastic, climbing, bread-and-butter pickle variety) there as a succession crop, which will again shade the geraniums later in the season. When I began the transplanting, I realized that we'd lost, or used up, an awful lot of the organic material in the 16"x15' row. I worked in a good bit of peat moss, a small handful of 12-12-12 fertilizer, and a heavy sprinkling of lime to loosen and enrich the heavy soil a bit.
I held off mulching the geraniums for now. We've had a bit of a dry spell here, but that appears to be breaking with some light showers this morning and a forecast of more rain in the next few days. I'll add our usual grass clipping mulch to hold down weeds and hold in moisture once we've had enough rain to thoroughly wet the peat moss I worked into the bed.
May 15, 2010
This year I put three geraniums in the planter, and that planting produced the first of our geranium blooms for this year.. A lovely Horizon Salmon from Thompson & Morgan's World's Top 6 Mix just opened up this morning. When the geraniums begin to bloom, it makes all the work getting them going worthwhile. February 7, 2011
But despite all the problems encountered in raising geraniums from seed in 2010, we still did okay financially on them since we love to have lots and lots of geraniums. If we were buying them at $5+ a pop at the local garden center or discount store, there'd be very few geraniums in our gardens. And What About 2011? At this writing our new crop of geraniums grown from seed are off to a great start...despite some major disasters already! Just a few days after I'd started our geranium seed, our heat mat burnt out. Fortunately, I caught that one the day it happened and swapped our old heat mat back in. It worked, although I did immediately order a new, replacement heat mat. And the mat I ordered last spring? It lasted exactly one day past its one year warranty. Obviously, I bought a different type and brand this time. And... If you live in the midwest or east, you probably remember the early February ice and snowstorms that came through. We lost power twice, once for 35 hours. That does evil things for seed that needs bottom heat to germinate and light to grow once it has germinated. Despite the power outage, we have great geraniums growing from seed this year! I just decided to record their progress in our blog, rather than a separate story.
April 2, 2011 While we've had our ups and downs the last two years growing geraniums from seed, I broke the jinx this year (2011) by not doing a separate feature article on the subject. And our results this year are spectacular.
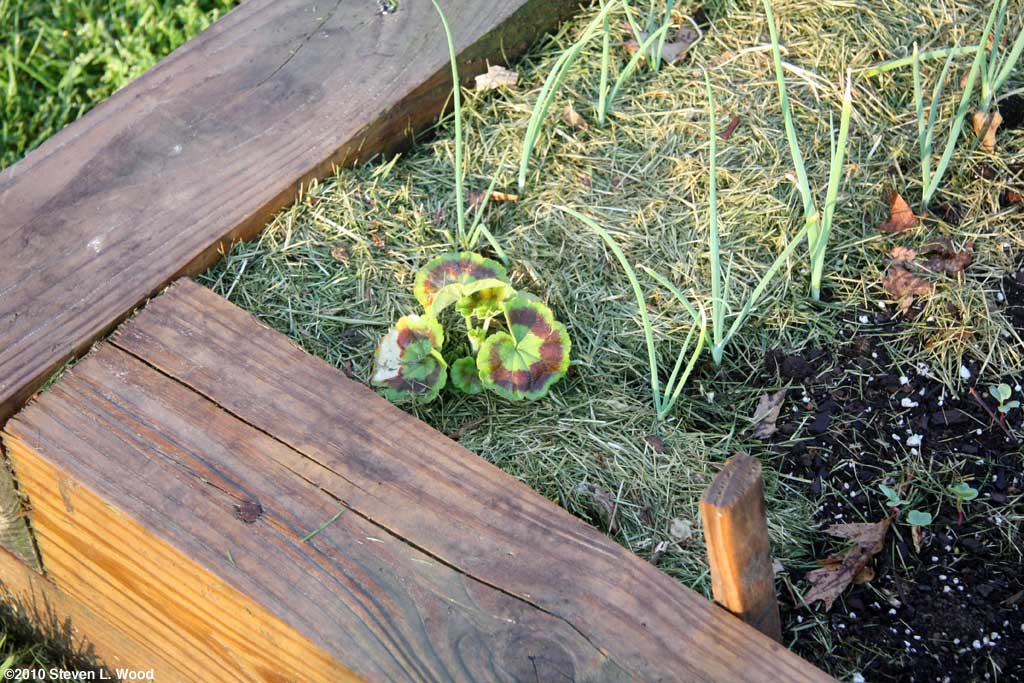
Those are melons and squash in front of the geraniums. After nearly driving myself nuts trying to figure out what I was doing wrong with our seed geraniums this year, and as you can see above, I do commit some real blunders, I discovered that the seed we'd purchased from trusted seed vendors Stokes and Twilley Seed was either hard seed or simply bad. Hard seed as defined by The Free Dictionary is:
And as I wrote in a blistering rant on my Senior Gardening blog, "Any hard seed without an appropriate warning from the vendor is, in my opinion, bad seed." It's also a giant breach of trust. At this point, I really can no longer recommend one seed vendor over another for geranium seed based on my current experiences. I do recommend doing a small germination test if you have enough seed. If not, I'd go ahead and scarify any geranium seed before planting to achieve a somewhat decent germination rate. It's not terribly difficult, and The Brown Thumb has a good page of instructions on Seed Scarification, Seed Stratification & Seed Soaking. With all the seed quality problems we had this year with our geraniums, we still ended up with far more plants than we really needed. I ended up sharing a good many of them with one of our daughters who lives in the area. And up until about a month ago, I still had geraniums germinating from hard seed in pots I reused, soil and all, for later plantings. I still have eight or nine geranium transplants left in a flat on the back porch that I've saved to put into our main raised bed as early crops come out and the soil gets renovated and planted to fall crops. I love of showy display of geraniums in the fall garden.
Our "corner geraniums" in one of our narrow raised beds are already adding a welcome splash of color to the ends of the bed. I finally compiled our various blogs on growing geraniums from seed into one how-to, Growing Geraniums from Seed. From the
at Senior Gardening |


| Affiliated Advertisers |
last updated 3/22/2015
©2010-2013 Senior-Gardening.com