![]()
One of the Joys of Maturity
One of the Joys of Maturity |
|
| Affiliated Advertisers |
Clicking through one of our banner ads or some of our text links and making a purchase will produce a small commission for us from the sale. Cutworm Collars
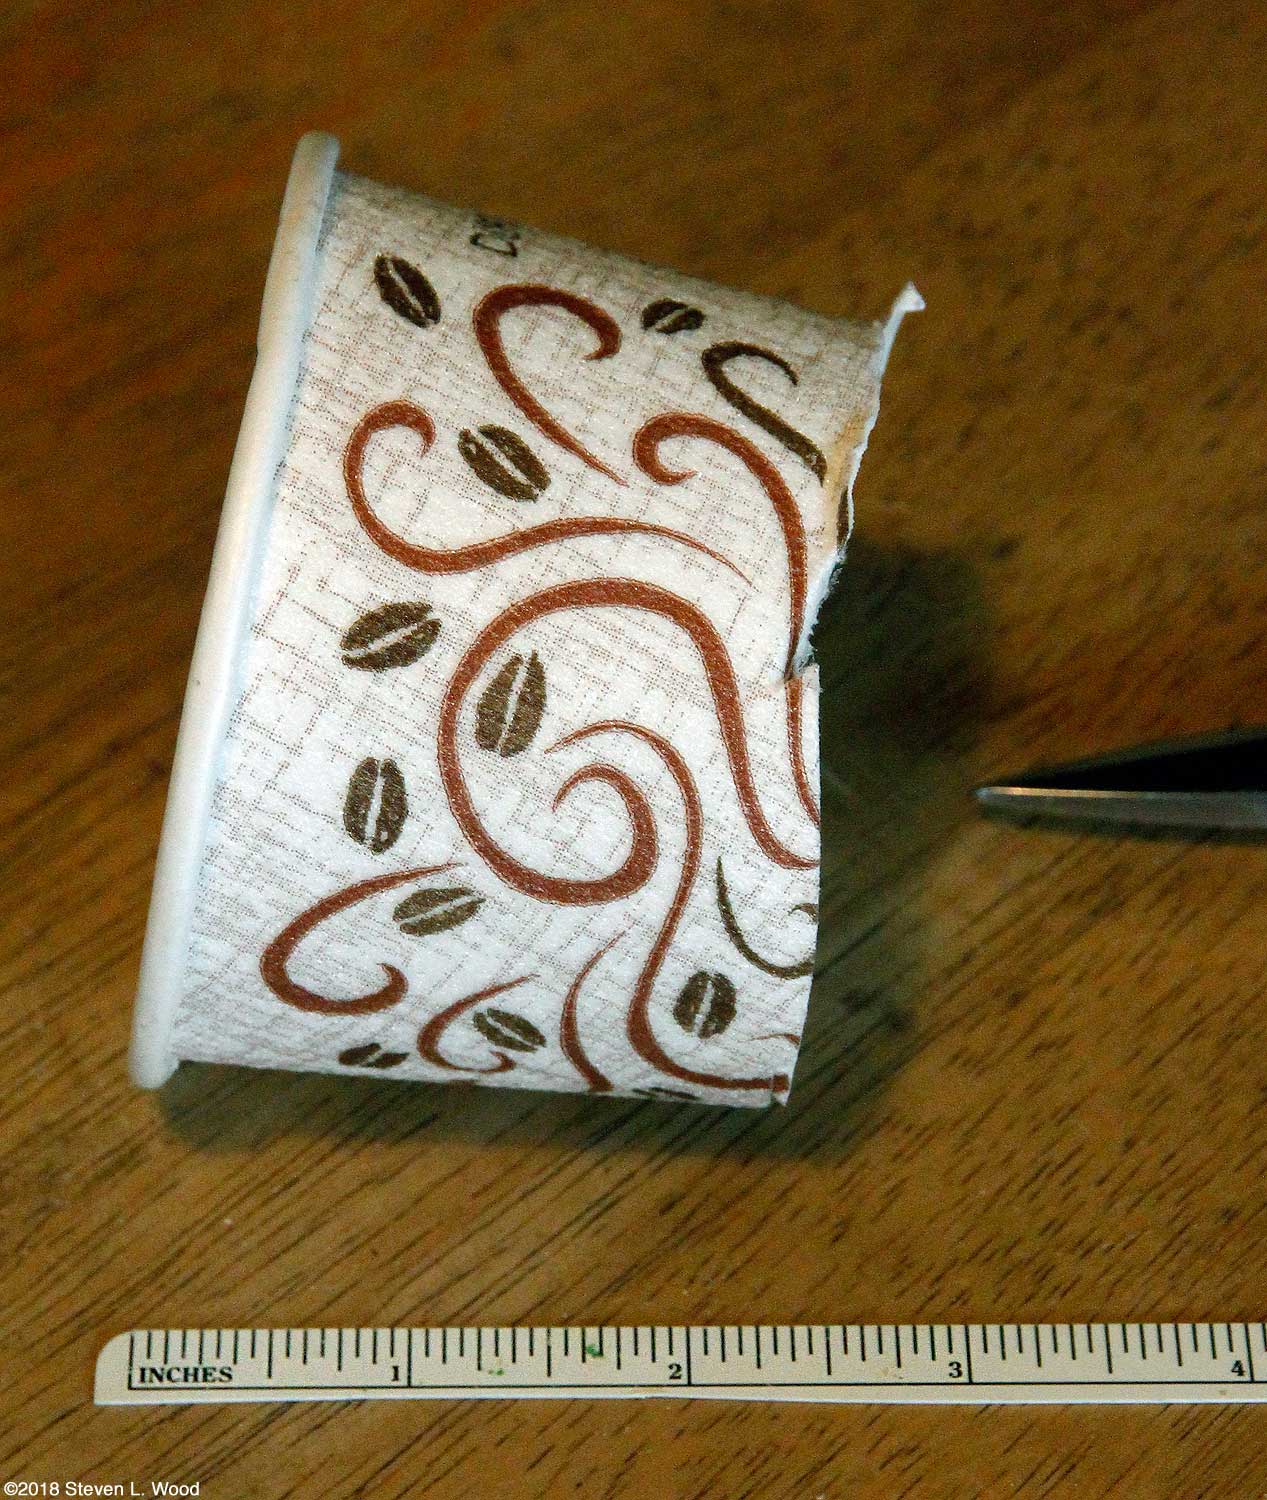
Cutworms can cause havoc in newly planted crops. The small "worms" are actually larvae of a number of species of adult moths. They eat leaves and often cut young plants off at or near the soil level. The worms will attack newly germinated or transplanted plants with tender stems. We've lost plants both spring and fall to cutworms, although their worst damage seems to occur in the spring. In "the bad old days," gardeners often sprayed the ground around new plantings with diazanon, killing the worms, but also just about any other living thing in the soil. Diazanon was outlawed for residential use in the United States in 2004. Fortunately, there are other effective options in cutworm control. And as a Michigan State Extension page notes, "Cutworms can be controlled with several non-pesticide solutions. Pesticides are often unsuccessful." [my emphasis] There are lots of lists online of plants susceptible to cutworm damage, although most list lots of vegetables we've never experienced cutworm problems with. I think the rule might be that cutworms will attack whatever tender stemmed plants are available. Our most frequent and serious cutworm problems have been with spring planted brassicas (broccoli, cabbage, cauliflower, etc.) and peppers. We've seen lesser, occasional damage to lettuce and tomato plants. After messing around with cutworm mats for a few years, we settled on using old wax paper coffee cups as cutworm collars to protect our plants. They provide a one to two inch barrier above and below the soil line that cutworms find difficult to cross. I'm known to be a bit of a coffee hound, always taking a cup of it with me whenever I'm going somewhere. That adds up to a lot of paper coffee cups and lids. The lids get washed, dried, and used again and again until they crack. The used cups get rinsed out, dried, and stored atop a kitchen cabinet until planting time. We buy our disposable Dixie 12 oz cups
When planting time arrives, the cutworm collar cups are just one more of the many things I use during transplanting. With our brassicas once any necessary soil preparation is done, I use a wide garden trowel to dig a planting hole as deeply in the soil as I can (about 6-8"), loosening the soil at the bottom of the hole as much as possible to promote deep root growth. Then the transplanting hole gets a quarter handful of 12-12-12 commercial fertilizer and a sprinkle of ground calcitic limestone to fend off clubroot. (In areas with alkaline soil, ground egg shells can be used to supply the calcium necessary to prevent clubroot.) I use my trowel to work both into the soil a bit. Then I fill the hole with dilute transplanting solution (about half strength Quick Start
While that's how we do cutworm collars for brassicas, the process is the same for other plants such as peppers and tomatoes. Beyond using cutworm collars, fall cleanup of garden trash from the soil surface helps reduce the volume of cutworms in the spring. Fall and spring tilling also helps interrupt the worms.
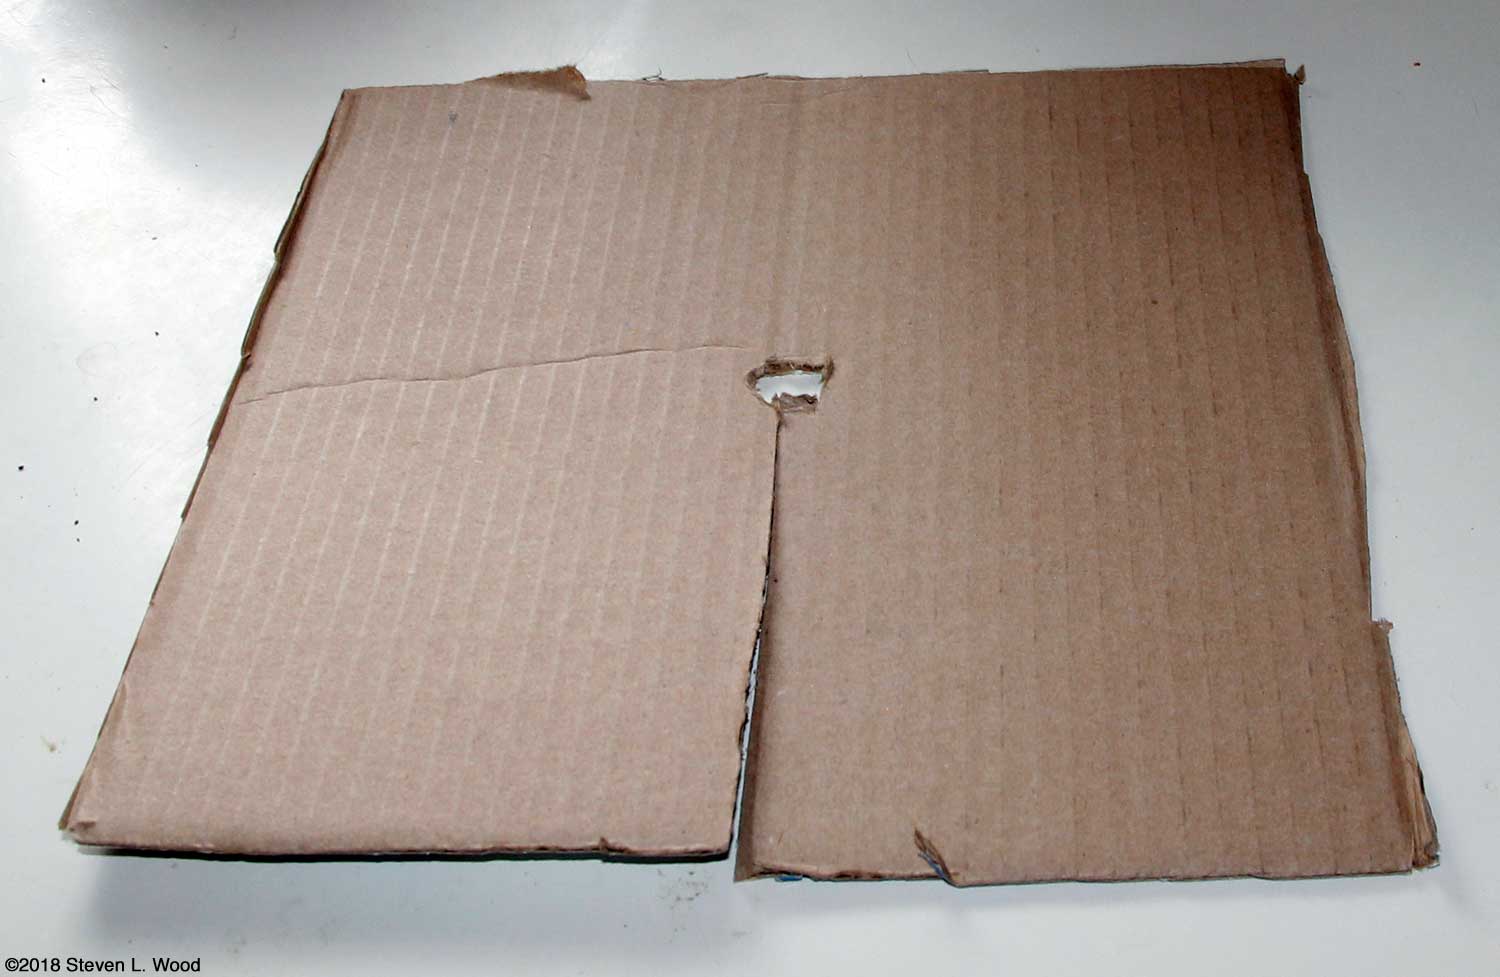
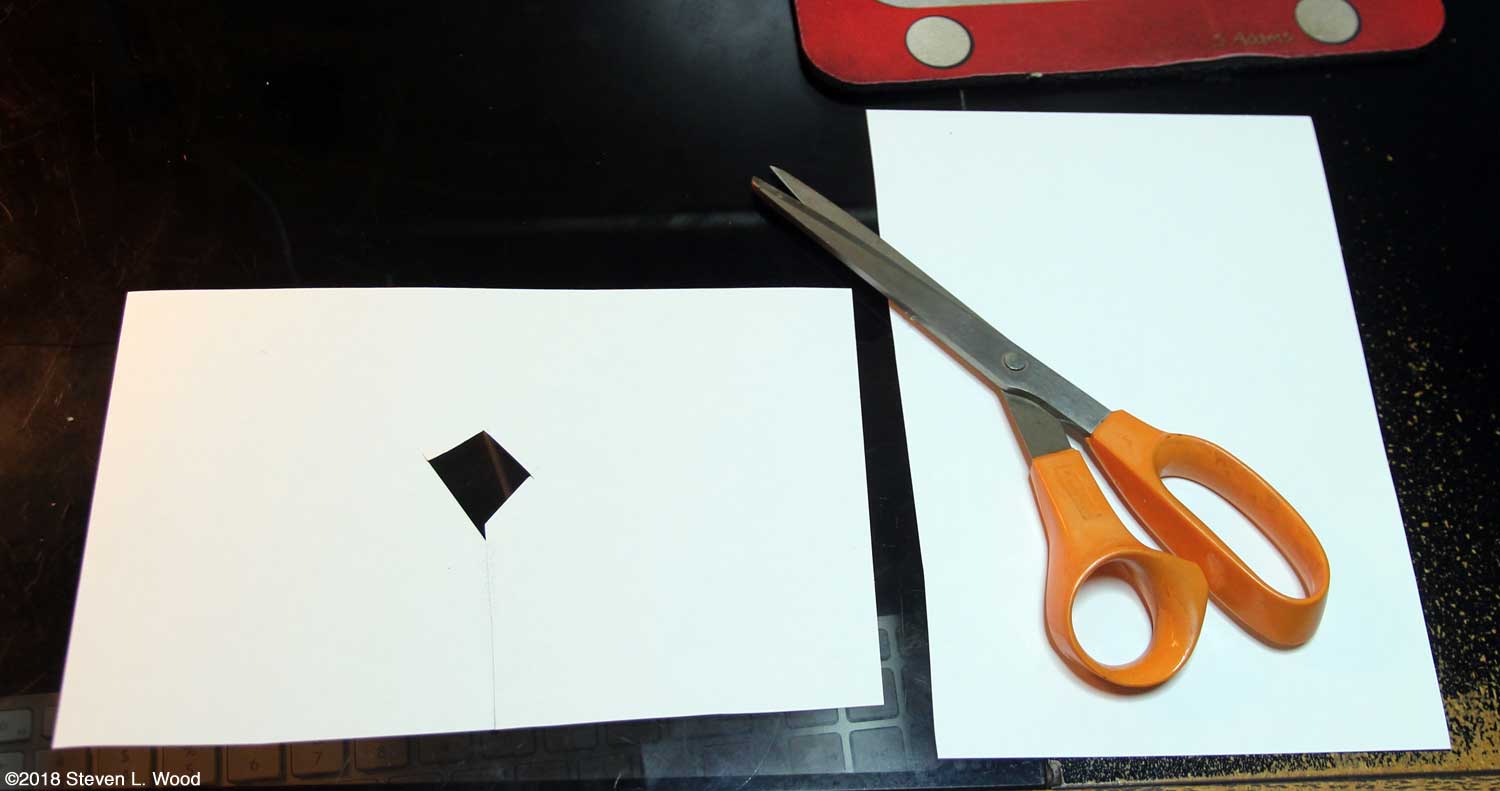
I hastily made a cardboard cutworm mat to illustrate this article. I may actually use some thinner tagboard, leftover from my teaching years, for our lettuce transplants this year. (I printed LOTS of flash cards during those years.)
Drawbacks to Using Cutworm Collars First, you need cups to make the collars. We go through around forty to fifty cups used as cutworm collars each year. The cutworm collars do slow lateral root growth until they are removed. Plant roots can't grow through the paper cups. And, the darn things have to be removed, adding yet another garden chore for gardeners often hurried and harried in the spring. Other sources on cutworms:
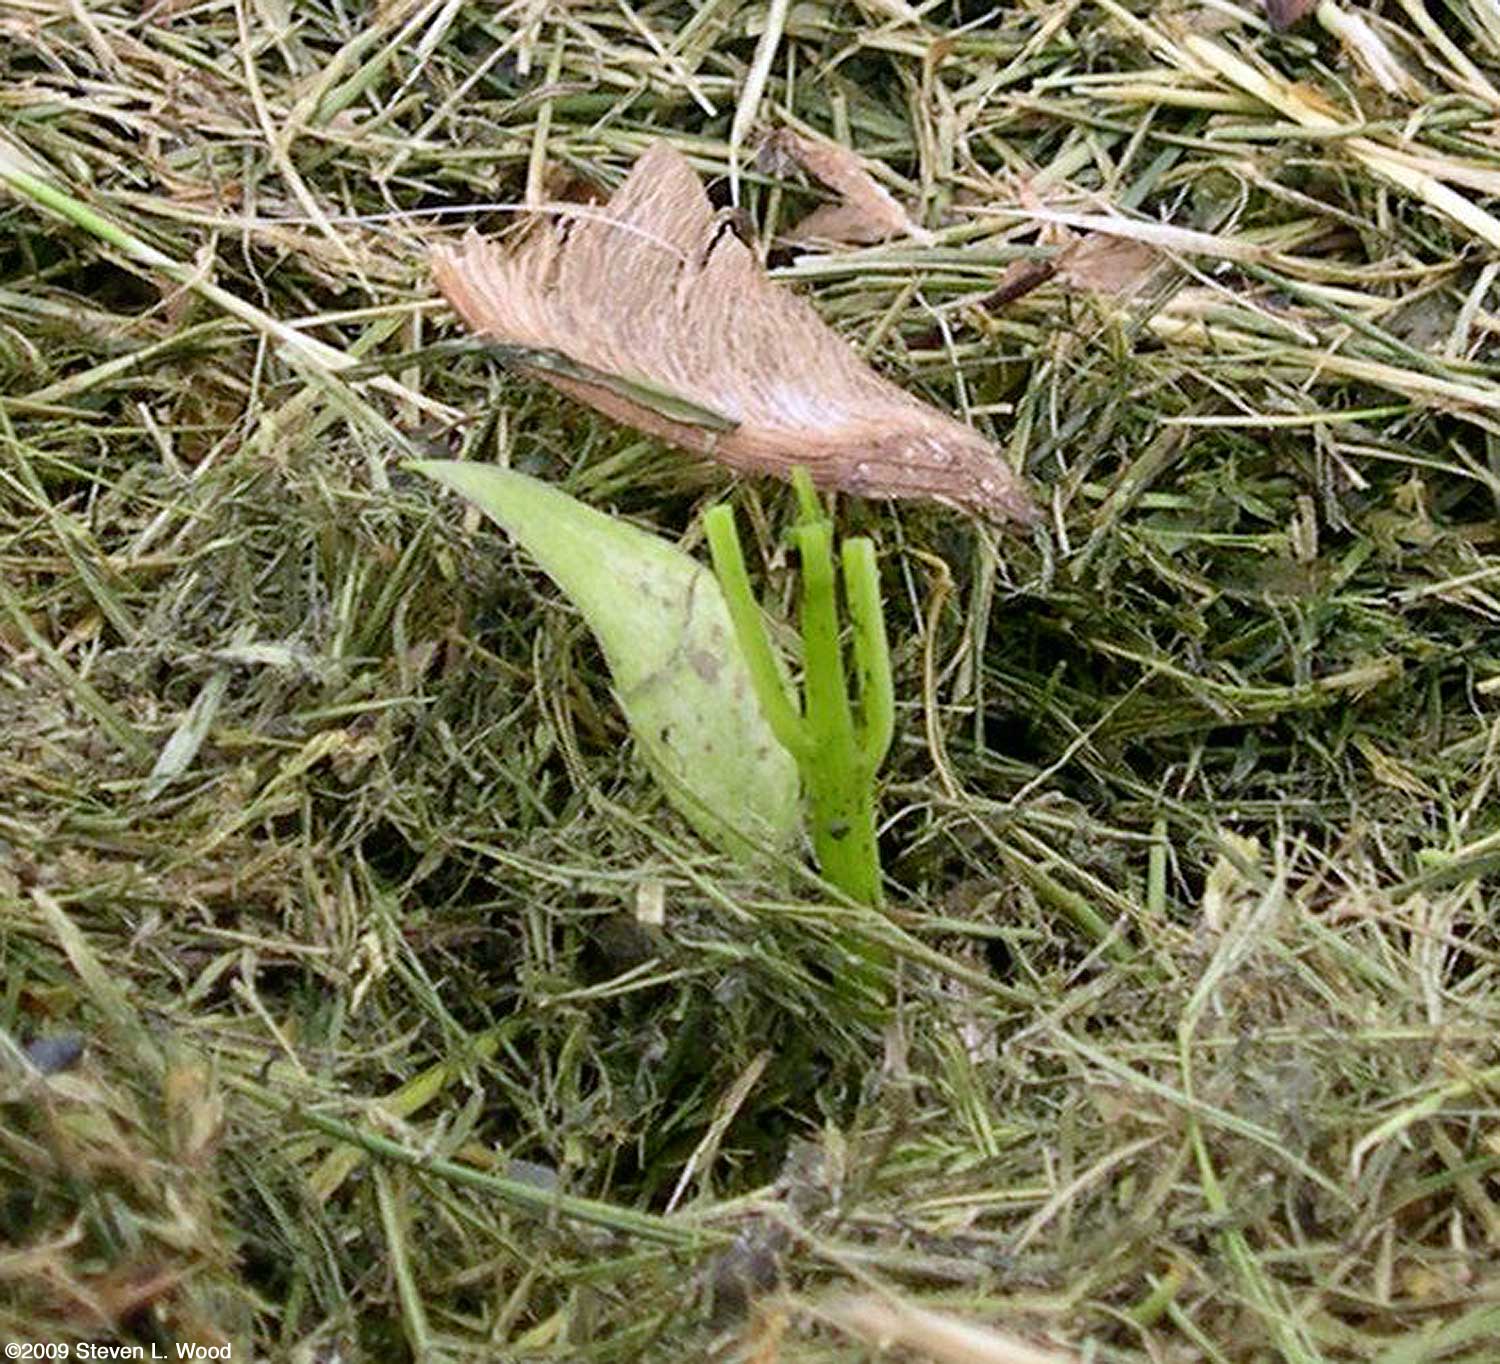
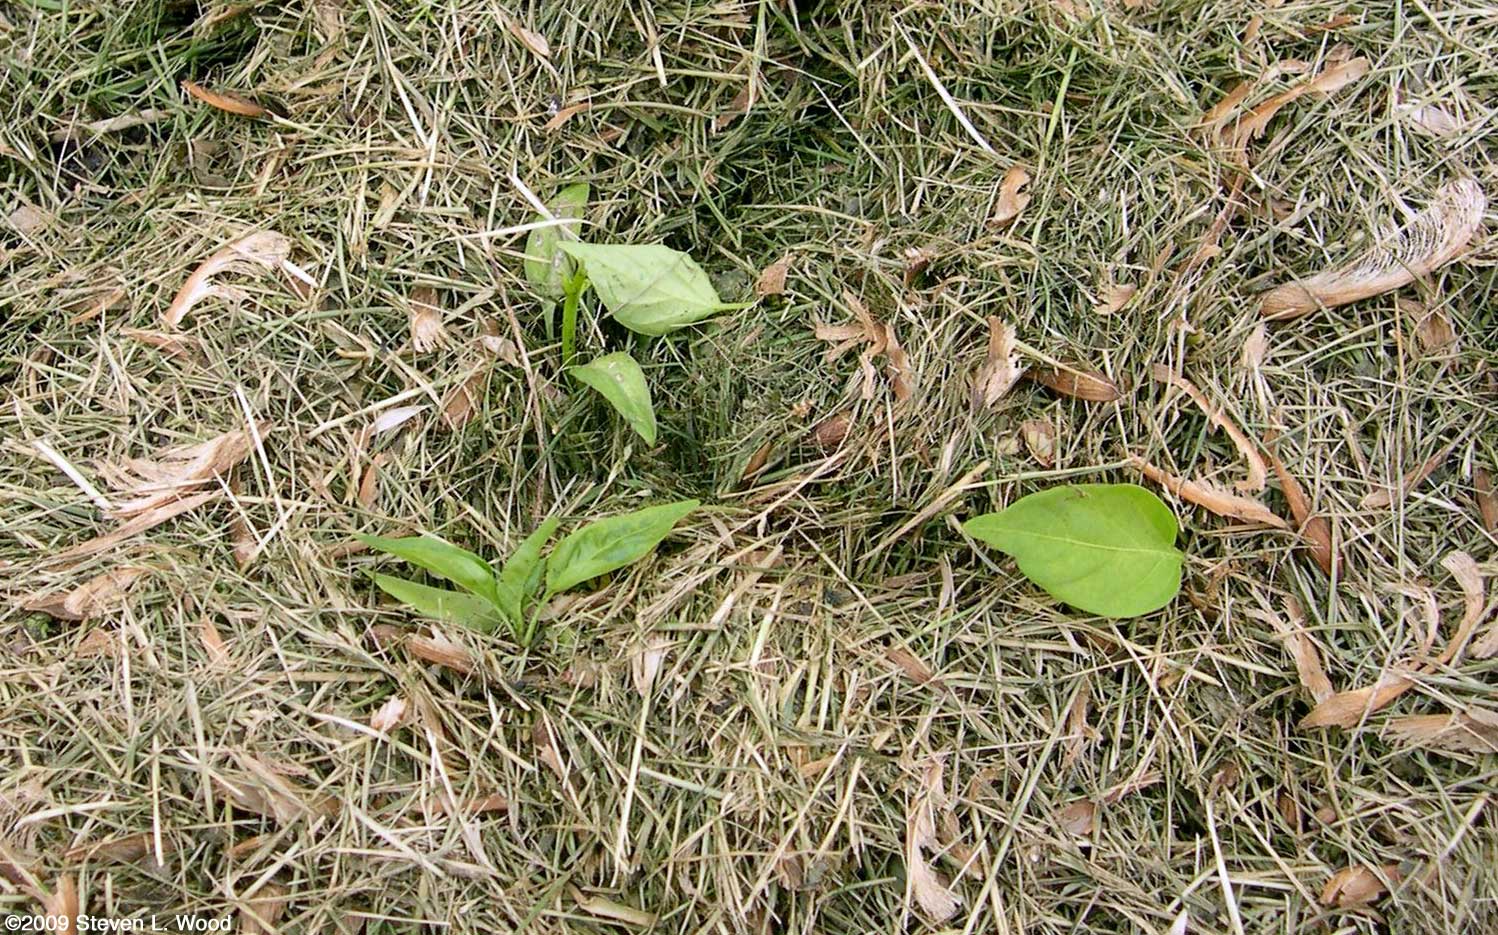
Odds 'n' Ends While one might be tempted to just say "screw this," and spray ones soil with a pesticide such as Sevin to kill cutworms, I really hate using poisons on crops I'm going to eat, especially leaf crops. We're definitely not organic growers, but we try as best we can to avoid such stuff. But as I wrote about using diazanon above, I could hear Miss Piggy in my head going, "Who, Moi?" I still have about a pint of diazanon concentrate hidden away in my plant room. It's reserved for extreme situations, such as when fire ants built an eighteen inch high ant hill beside our then new asparagus patch. In twenty-four years on our current property, that was the only time I broke out the diazanon, and it proved quite effective in dispatching the ants. I had to hunt online for images to illustrate a cutworm and one of the moths that cause them. The black cutworm shown is from a public domain USGS photo. The a "dingy cutworm moth" is courtesy Andy Reago & Chrissy McClarren via Creative Commons licensing. Dingy cutworm moths, of course, create dingy cutworms. Sadly, I didn't have to go outside my own photo library to find images of cutworm damage. We had an unprotected row of pepper plants get decimated by cutworms in 2009. I suspect that our extensive use of grass clipping mulch allows the cutworms some safe harbor and is an inviting area for the moths to lay eggs.
From Steve Wood, the at Senior Gardening |
| Affiliated Advertisers |
last updated 12/23/2019
©2018 Senior-gardening.com