![]()
One of the Joys of Maturity
One of the Joys of Maturity |
|
| Affiliated Advertisers |
Clicking through one of our banner ads or some of our text links and making a purchase will produce a small commission for us from the sale. Growing Your Own Transplants - Page 2 Brassicas
Brassicas or cole crops such as broccoli, brussels sprouts, cabbage, cauliflower, and kohlrabi need to be started fairly early. These crops grow well in the spring and early summer, but don't do well when the heat of summer sets in. Since they can withstand a mild frost, we often transplant them into our garden in early April from a late February seeding. You start broccoli and such just as you do tomato seed, lightly covering the seed in fourpacks or whatever container you have. Brassicas, however, don't really need any bottom heat to germinate. They'll usually come up well at room temperature. A Cornell growing guide gives a germinating temperature range of 45° F to 85° F. Our basement usually runs around 65° F when we're starting our brassicas. Watch young brassicas closely. Ours often get a bit tall and leggy, necessitating moving the plants lower in their planting medium, just as I described doing with leggy tomato plants. It's obviously better, though, to give them proper lighting and not have to repot them lower in the soil. We actually start brassicas twice each planting season, once in February and again in late June or early July for a fall crop. That sounds like a lot of broccoli and cauliflower, but it's amazing how fast you can go through gallon Ziploc bags of frozen broccoli and cauliflower florets if you really like homegrown broccoli, cauliflower, and carrots steamed with butter, garlic, a splash of lemon juice, and seasoned salt! See Growing Great Broccoli and Cauliflower for our way of growing brassicas both spring and fall. Melons
We live just north of a major melon producing region in southwest Indiana. The melon farmers usually grow their melons "on the sand" (in sandy soil). The soil in our East Garden where we grow our melons is some really nasty orange-gray clay soil. But there's a trick that allows us to grow great melons. We give each melon hill a deluxe hole! We grow enough most years to supply ourselves and family and still have plenty to share with a local food bank. If you're soil challenged with heavy clay or rocky soil, Growing Great Melons on Heavy Clay Soil may offer some insights on growing melons despite poor soil. Now let's get on with starting your melon transplants.
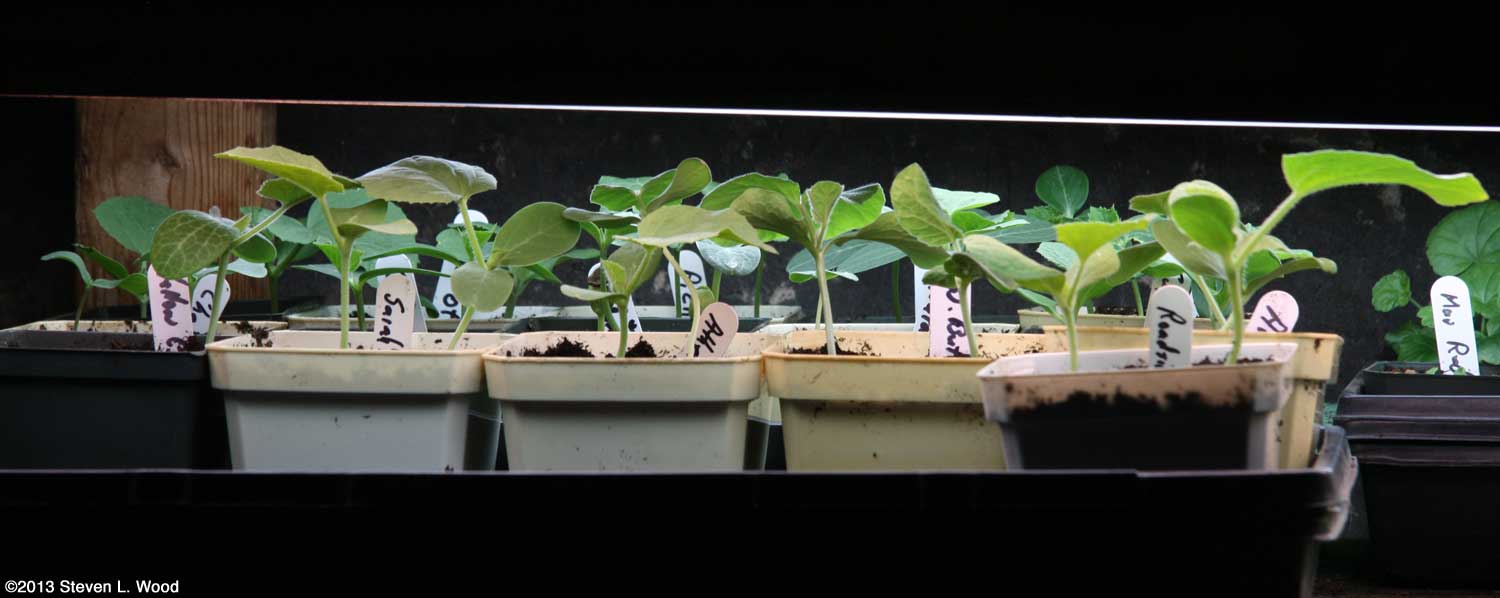
Instead of planting just one seed per pot, I generally put three or four seeds in each four inch pot, planning to pinch back the germinated seedlings to just two or three plants per pot. That way, when I transplant, I only transplant one pot per "hill" of melons. Getting your melon transplants started is just a little different than other plants I've described. Most cucurbits love lots of bottom heat. I seed our melon seed about a half inch deep in sterile planting medium and place them in a tray covered with a clear humidome and over a Gro-Mat soil heating mat. While the Gro-Mat supposedly has its own, built-in thermostat, we connect it to a Hydrofarm Digital Thermostat
While all the above sounds like a lot of trouble, there's nothing quite like a fully ripe Crimson Sweet Lettuce
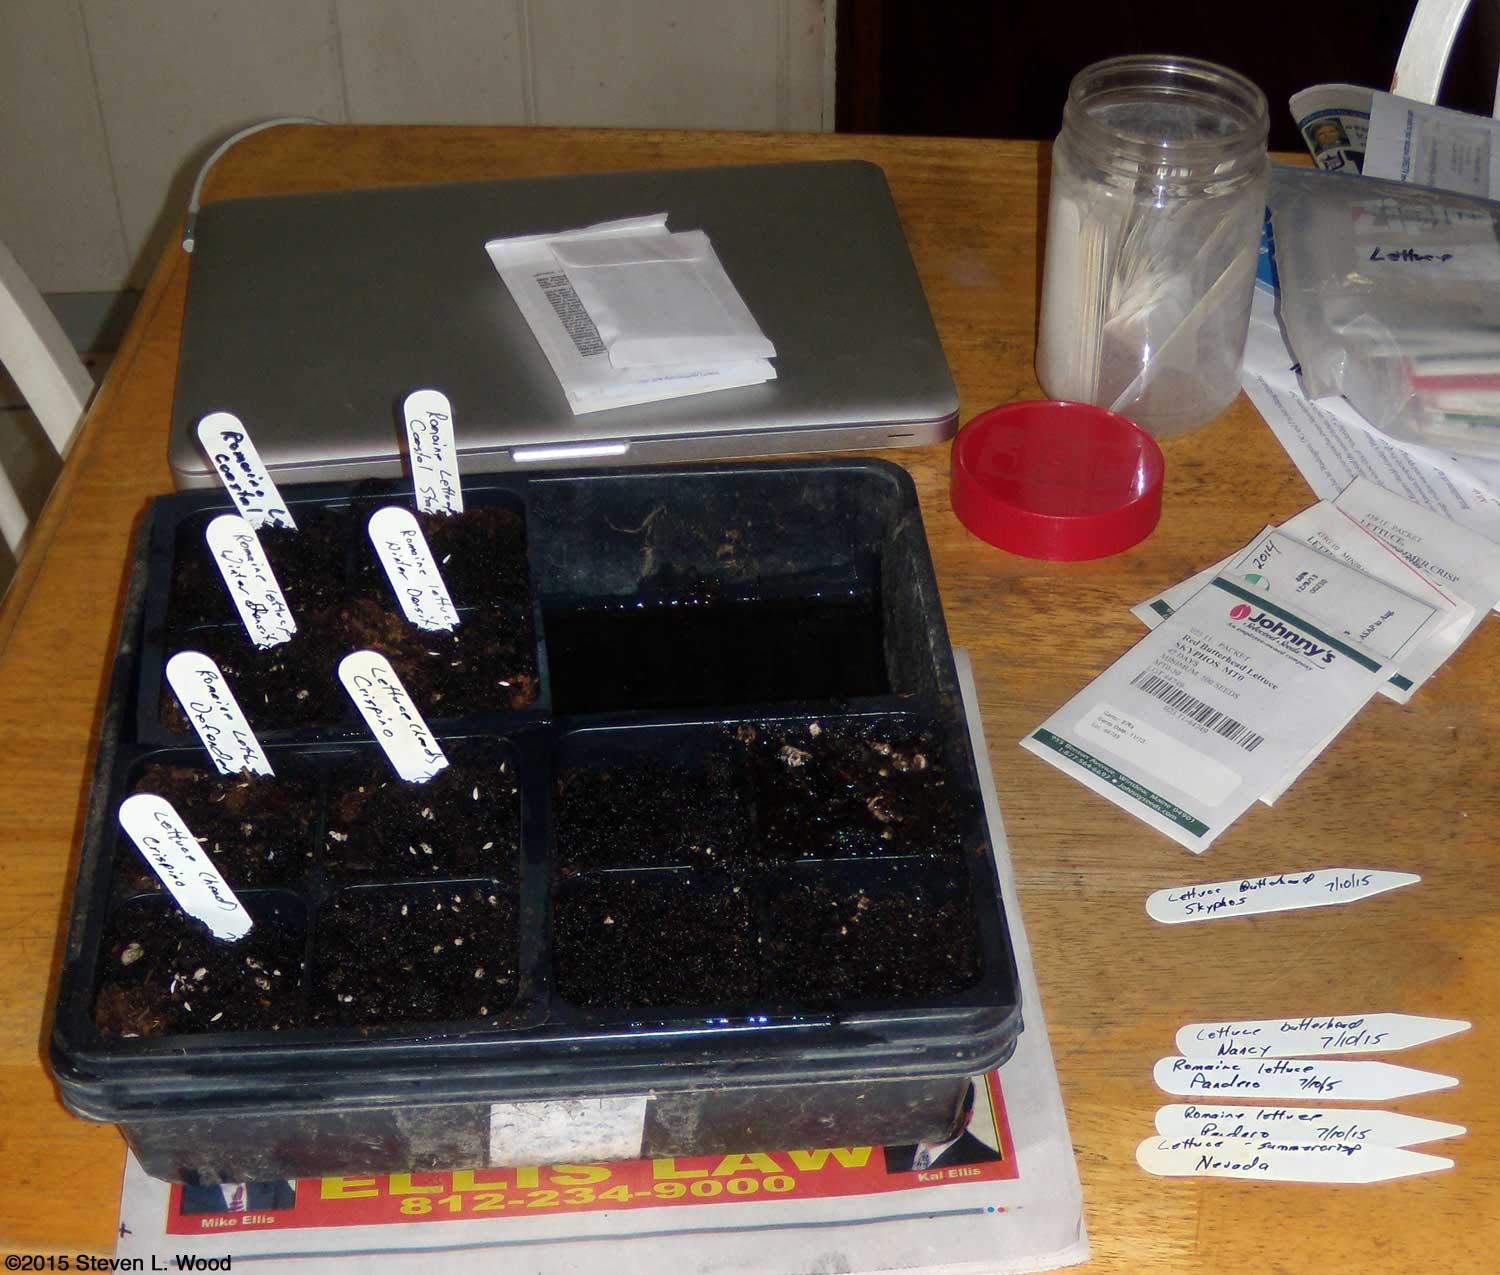
We're getting to the point where the information I'm giving is repetitive, so I'll just describe starting transplants for one more vegetable before moving on to seed that requires light to germinate, with this one being a vegetable that sort of straddles that light/no light requirement. We grow lettuce both in the spring and fall. Our spring lettuce harvest is always a welcome treat, but short lived. Spring quickly turns into hot days that cause lettuce to get bitter and/or bolt fairly early in the season here in west central Indiana. With the help of cold frames and floating row covers, we can sometimes harvest lettuce well past the first mild frosts of fall. Some lettuce varieties germinate without light, and others require it. Your seed packet or catalog should give this information. But to be safe, one can plant their lettuce seed like other vegetable seed, only covering it with a very thin layer of vermiculite to hold in moisture (and allowing in a bit of light). We seem to get better germination that way. One secret with lettuce seed is that it can last a long time. We purchase loose lettuce seed in packets over pelletized seed because it has a longer shelf life. We freeze our unused lettuce seed in a manual defrost freezer. Since I often purchase one or two new lettuce varieties to try each year. we have a lot of seed to choose from at each planting. I end up seeding a little bit of a whole bunch of varieties, which really adds to the color and taste of lettuce salads.
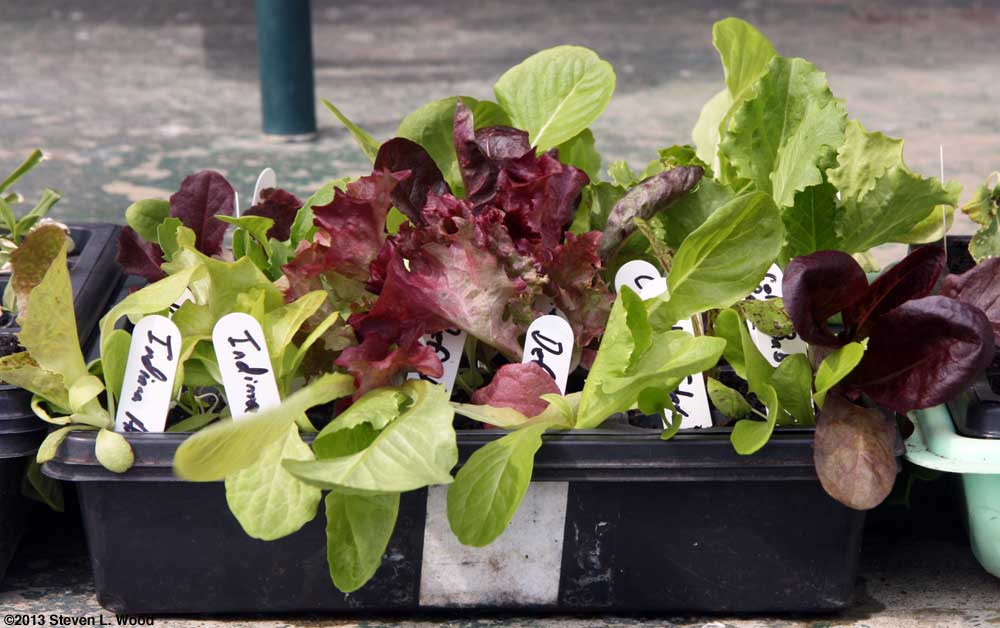
Germinate lettuce at about 65-75° F, as it doesn't really want a lot of heat to come up. Do note that some lettuce varieties may take 7-10 days to germinate. Once your seed is up, give the seedlings lots of light, but don't overwater the soil. When the plants begin to have some size on them (3-5"), move them outside to harden off before transplanting. We don't start too many lettuce seedlings at one time. In the spring, we start a half flat with four fourpacks (16 cells) in it. In the fall, we seed a bit less lettuce, but two or three times, separated by a few weeks for an extended harvest. When a lettuce plant or two are harvested out of our garden, new transplants go in, shifted just a bit so they're not growing in the same exact spot as the previous plants.
Vegetable varieties come and go, especially hybrids. We've had some really extraordinary luck in saving lettuce seed from a couple of open pollinated varieties. While Johnny's Selected Seeds still carries the excellent Crispino iceberg variety, the Sun Devil variety disappeared from seed catalogs many years ago. But we've been able to save seed from both varieties over the years. The Crispino seed saving just happened when I missed pulling a plant and it bloomed and went to seed. The Sun Devil variety was one I tried to let go to seed for several years without success. That's one of the positives about the variety, as it doesn't bolt quickly in hot weather. After several years, I finally saved seed from the variety in 2019. I'll get to flower seed that needs light to germinate on the next page, but for now, let's finish up the process of growing and hardening off your vegetable transplants. Care As They Grow
Our trays of onion plants are the exception to our once a week watering routine. Since so many plants are packed into a rather tight space, they need to be watered twice a week. We generally don't have to fertilize our transplants during this time, as we use a starting mix made up of commercial potting soil plus peat moss. The potting soil usually has enough nutrition to carry the plants until they're ready to go into the ground. If one uses a soilless mix or peat pots, some gentle fertilization will be necessary.
Sometimes we get too much started at once with no room left under our plant lights. With the weather too cold to begin moving plants outside, we employ what window space we have for the overflow. The last two or three years, that's been on a bookshelf along south facing windows in our mostly unheated sunroom. I even resorted to using our dining room table in front of some east facing bay windows in 2015. That worked out so well (and my wife tolerated it) that we kept gloxinias on that table all summer in 2016.
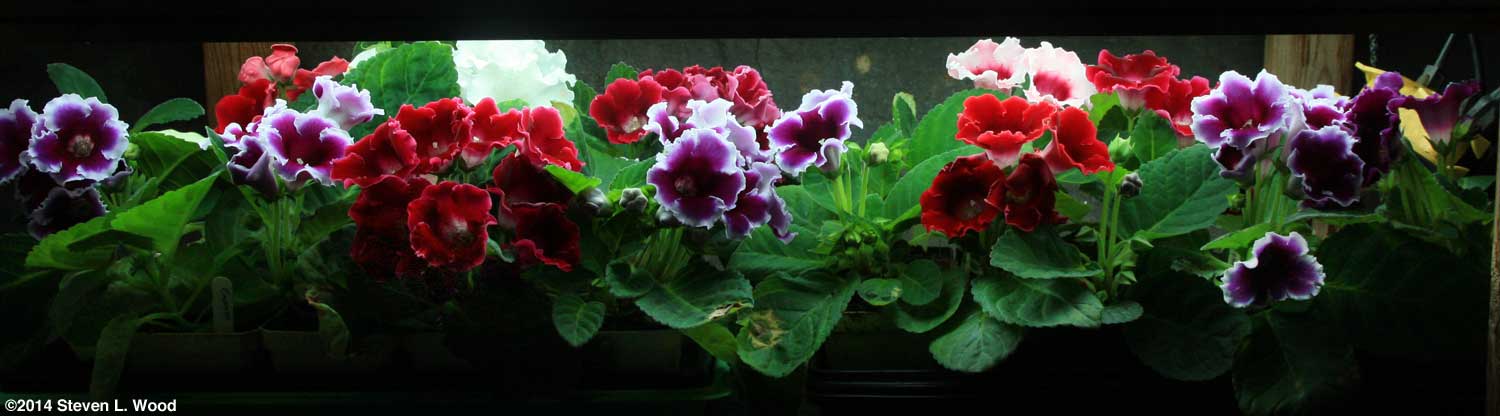
BTW: When our plant rack isn't filled with garden transplants, it still stays in use all year round. It normally houses our collection of gloxinias, which get jammed unceremoniously wherever I can put them during the time we're growing our garden transplants.
Moving Them Outside (Hardening Off) When your transplants are within a couple of weeks of being ready to transplant, you'll need to move them outdoors and let them gradually acclimate to the harsher growing conditions outside. Strong sunlight, varying temperatures, UV radiation, and wind are things the plants haven't experienced. Placing the transplants under a partially open cold frame or on a protected, partially shaded porch and gradually increasing their exposure to outside conditions allows leaves and stems to toughen enough to survive transplanting. This process is known as "hardening off" and takes around 7-10 days.
When hardening off plants, one has to keep an eye on the weather forecast, as a late frost can wipe out your transplants. Our cold frames tightly closed offer just 4-5 degrees of protection from frost. For anything below 28° F, plants have to come back inside or the cold frame has to be covered with tarps and/or blankets. Hardier plants such as onions and brassicas quickly get moved to the edge of our back porch once they've hardened off a bit to make room under the cold frame for less hardy plants. The edge of our porch offers full sunlight but still some protection from wind. Now we'll move on to plant seed that requires light for optimal germination.
From Steve Wood, the at Senior Gardening
Ads shown on this site do not represent an endorsement or warranty of any kind of products or companies shown. |
| Affiliated Advertisers |
last updated 12/31/2022
©2015 Senior-gardening.com