![]()
One of the Joys of Maturity
One of the Joys of Maturity |
|
| Affiliated Advertisers |
Clicking through one of our banner ads or some of our text links and making a purchase will produce a small commission for us from the sale. Growing Your Own Transplants
There are lots of good reasons to grow your own garden transplants, and possibly almost as many for purchasing them at your local garden store. If all goes well in the transplant growing process, one may save a few dollars by putting in some hours into selecting seed, seeding, and caring for young transplants until they're garden ready. But you also wouldn't have to go many clicks from this feature story to find one of my rather expensive transplant growing debacles. The obvious reason for using transplants is to extend the gardening season by getting a head start with healthy, sturdy plants ready to set out as soon as all danger of frost is past instead of direct seeding. Beyond any economics, growing your own transplants allows you to somewhat control when your plants will be ready to set out into the garden. But possibly the best reason for growing your own transplants is that it opens up an amazing array of plant varieties from mail order seed houses that you'll never see at your local greenhouse, garden or discount store. The basics of seed starting are really pretty easy. You need containers, seed, and "clean" planting medium. Generally, you need a fairly warm location to start most seeds. Later on, you'll definitely need a fairly warm, sunny (or brightly lit) location to grow out your transplants. And of course, you'll need water.
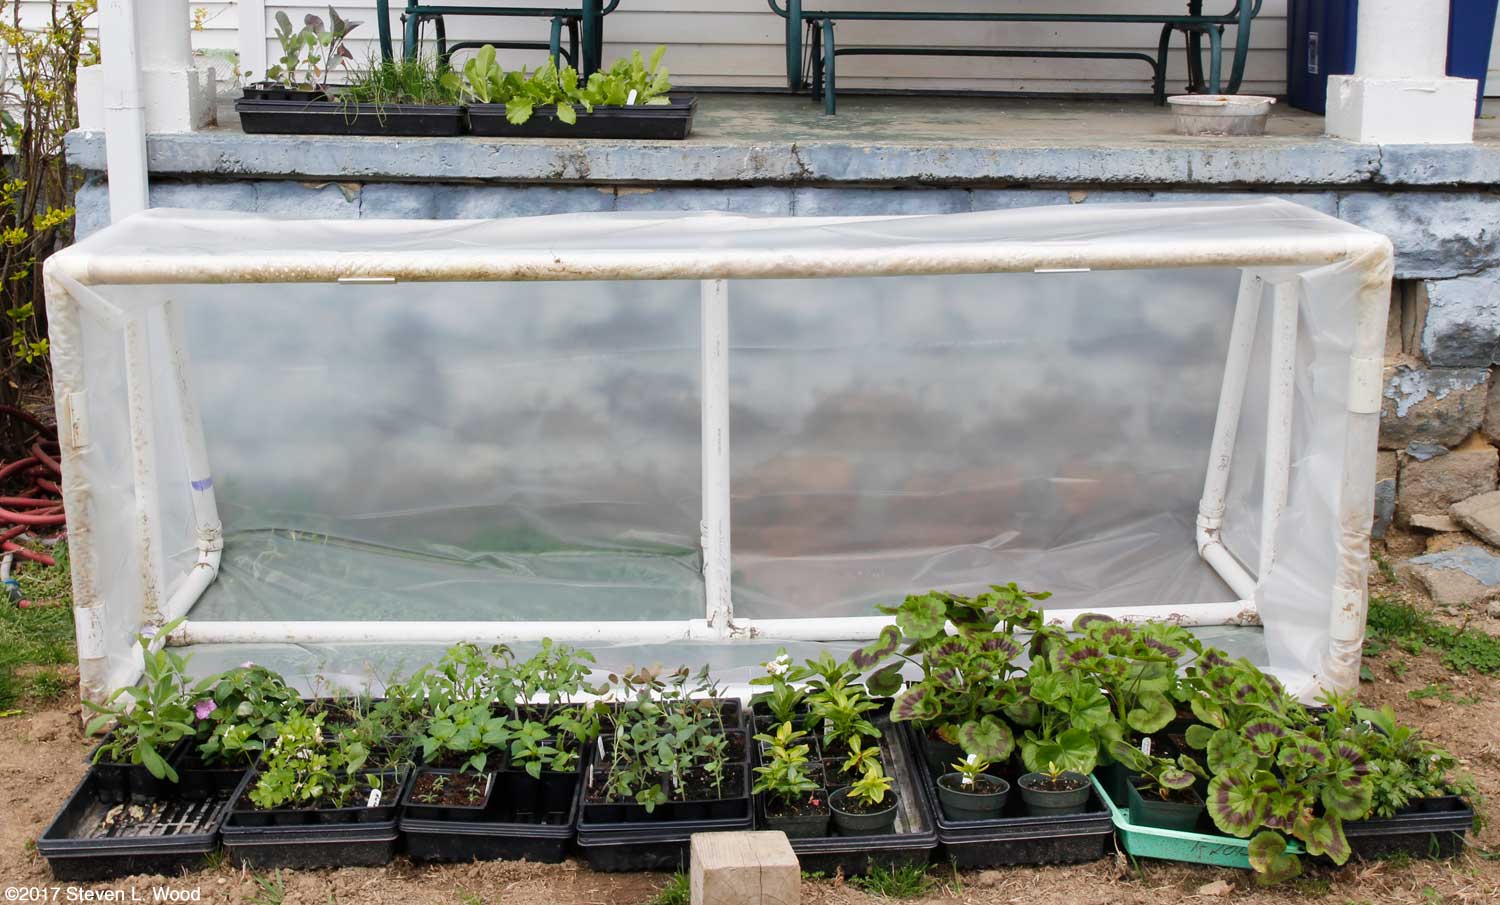
A sunny windowsill that is brightly lit for a good bit of the day may provide all the light you need to grow your transplants. Often, however, there's just not enough sunlight through the late winter months in the best of window locations. Fortunately, transplants respond quite well to fluorescent lights, whether an expensive plant starter setup or the basic shop lights we use. And since I mentioned water at the beginning of this section, let me add that it's better if you can use water that hasn't been through a water softener for your transplants. Soft water picks up a little salt in the softening process that probably doesn't do the plants any good. If soft water is all you have, it may do, but if you have a bypass around your water softener (or are lucky enough to live in an area with or served with naturally soft water), use it. Let's Plant Something
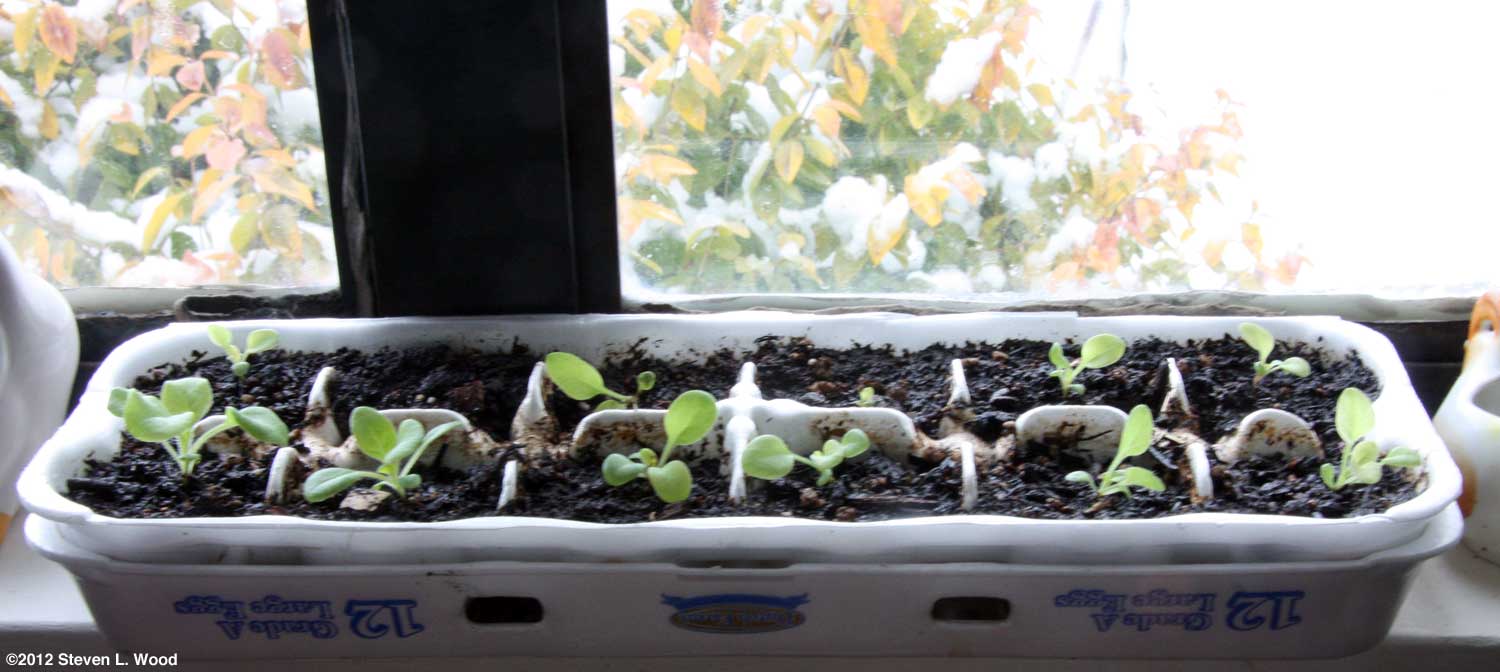
At right is a listing of many of the things we start indoors each year under our plant lights. I won't attempt to cover all of them, as many have similar requirements to get started. While our first plantings are usually of petunias (in egg cartons), onions, and geraniums, for this feature story I'd prefer to begin with America's garden favorite, tomatoes. We love tomatoes on our hamburgers, in BLTs, in spaghetti sauce and soups, in salads, and right off the vine, complete with red tomato juice dripping down ones chin. Even with our kids grown and just my wife, Annie, and I now at home, we still can and use about 15-20 quarts of whole tomatoes each year. Once one learns to successfully start tomatoes, a relatively easy task, most other stuff really isn't all that much more difficult. Tomatoes are generally one of the last transplants we start in the spring. They take only six to eight weeks to grow from seed to an ideal size for transplanting into the garden. Many of the monster tomato plants one sees in the spring in stores are actually way too old for transplanting! While I'll give you a link later for a seed starting date calculator, backing up six to eight weeks from your last killing frost date will get your tomatoes started at about the right time.
Note that when reusing planting containers, be sure to thoroughly wash them out. Better yet, finish the wash cycle with a quick rinse in a chlorine bleach solution to kill off any disease organisms that might be living on the containers (more often living on unseen organic matter still clinging to the container). And of course, rinse the sterilized containers again with clear water after rinsing in bleach, as the bleach itself can harm ones transplants.
I fill my inserts or 3" pots with a mix of potting soil that I've recently sterilized in the oven. Before planting, I thoroughly water the fourpacks or pots with warm water. If you're using a planting tray or seed flat, pouring the water into the tray and allowing the planting medium to absorb the water for a half hour or so should give the seed all the moisture it needs until it germinates.
Tomato seed likes warm conditions to germinate. A warm or room temperature shelf should do. Since we start our transplants in our basement which runs a bit cold in March and April, I usually start our tomatoes on a heat mat with the thermostat set at around 75° F. We also use a cover, often a commercial, clear humidome to hold in moisture and heat during germination. But one can easily start tomatoes in a warm spot in the house, being careful never to let the soil dry out, but also not to make the soil soggy so the seed rots. Within seven days (or less), you should begin to see tomato plants emerging. It's important to get the emerging plants into good light at this point, so that they won't become overly tall (leggy) searching for light and produce weak stems that topple over easily. (Note that if you plants get leggy, just lift the tomato seedling, roots and all, and plunge it deeper into the planting medium, almost right up to the leaves.) If using a heat mat, it's also important to get the new seedlings off the mat and into normal temperatures to allow them to toughen up a bit as they grow.
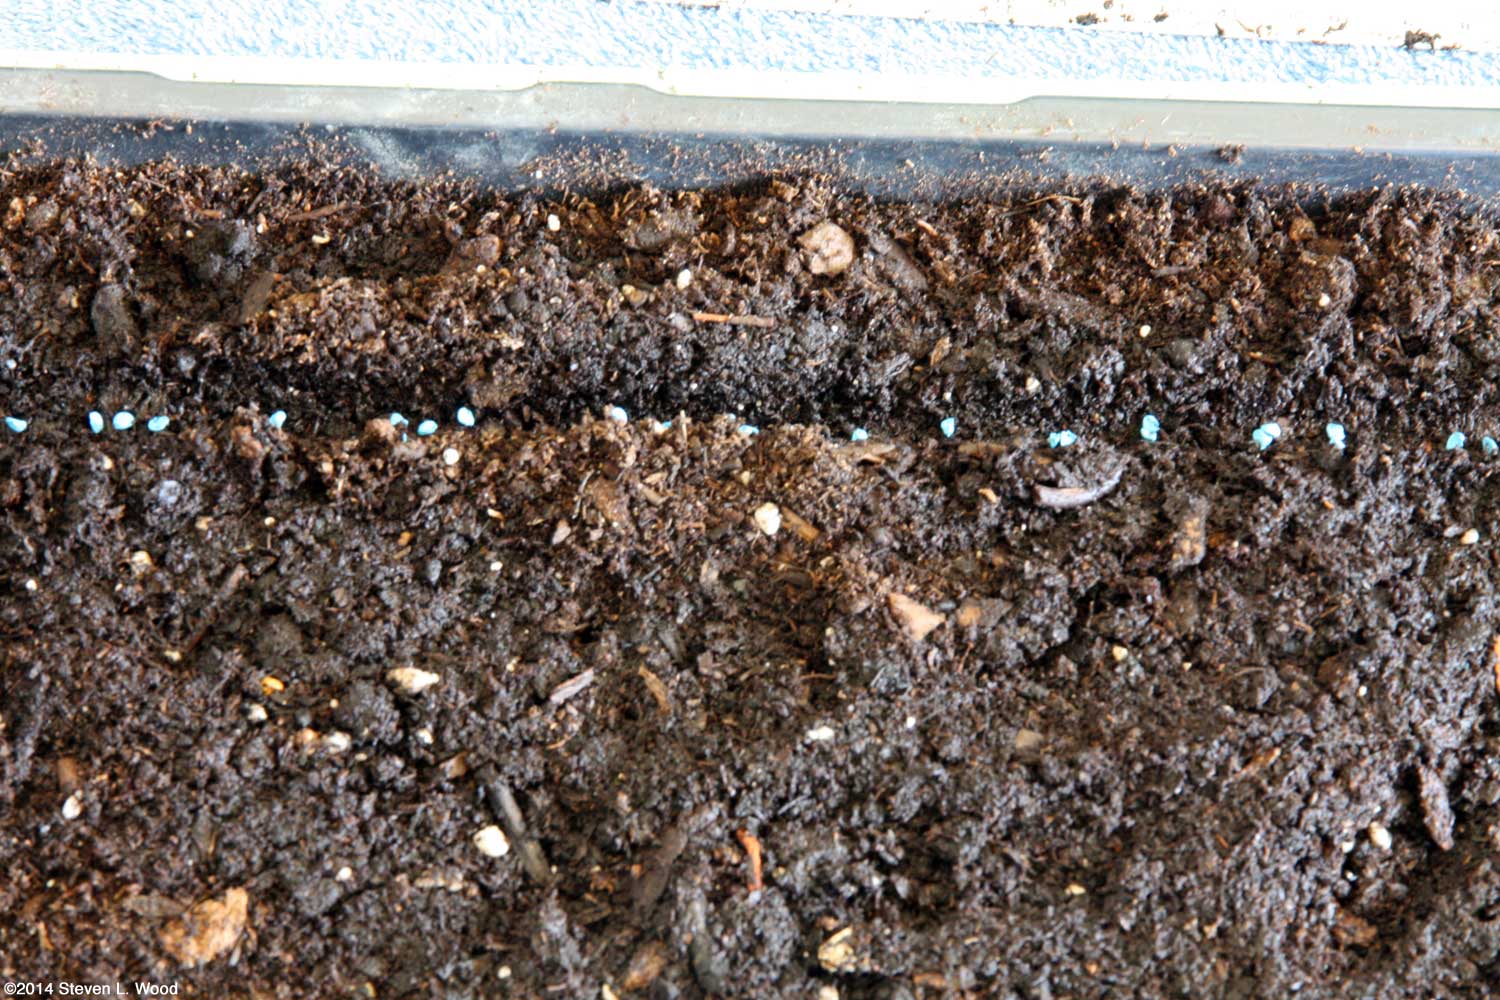
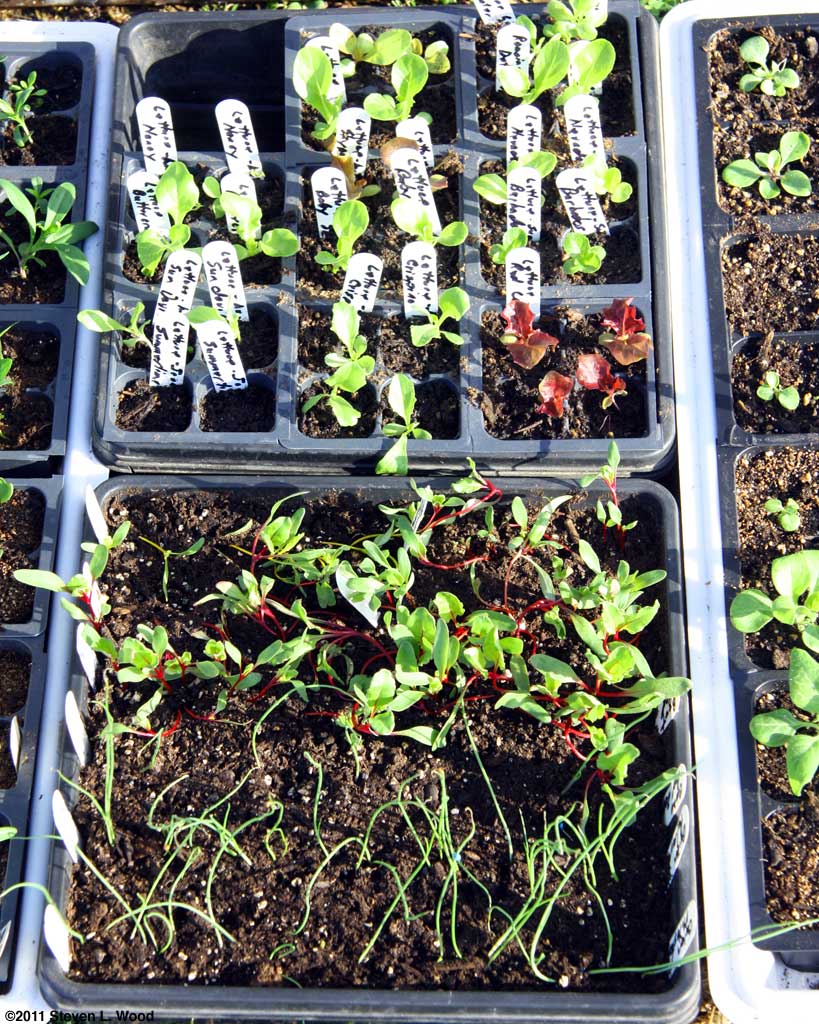
Most of the vegetable transplants we grow are started about the way we do our tomatoes. We often start our bell pepper plants side-by-side with tomatoes. Melons require bigger pots and more bottom heat (especially seedless watermelon), but the process is essentially the same. Onions The first vegetable transplants we start each year are our onion plants. We get them going sometime in mid- to late January so that they're at an ideal growth stage for transplanting in late April or early May. Besides the timing of the plants, growing our own starts allows us to choose varieties that do exceptionally well under our growing conditions and suit our tastes. With seed for some of our favorite hybrid onion varieties disappearing from garden catalogs, we conducted what for us were extensive trials of thirteen onion varieties in 2014. We found a few new to us varieties that we liked, but also stayed with some other longtime favorites. For long term storage, we currently grow Milestone, Clear Dawn, and a few Yellow of Parma. Milestones are a somewhat sweet hybrid yellow onion. The open pollinated Clear Dawn variety was bred out of the hybrid Copra storage onion line. Yellow of Parmas are an heirloom yellow onion that do well for us, just not as well as Milestones and Clear Dawns.
For red onions, we loved the Red Zeppelin hybrid (now discontinued), but also have added the open pollinated Red Creole, Rossa Di Milano, and Tropeana Tonda varieties to our growing mix at times. For sweet onions, we still grow the tried and true Walla Walla open pollinated variety, but they only store well for a month or two. That's not a problem for us, as we use them up quickly for canning with green beans and bread and butter pickles, and in our annual batches of Portuguese Kale Soup. Note that most of the varieties we grow are long day varieties, suited to northern climates. Only the Red Creole variety is a short day onion, more suited for growing in southern climes. According to the Oregon State Extension Service, Walla Wallas were "originally a short day onion, now modified through years of selection by growers." Our Red Creoles produce small red onions several weeks earlier than our other varieties. Don't get spooked by the short, intermediate, or long day stuff. I've added some links a bit on down that explain all that.
We mark our onion rows and other plantings with plastic row markers that we reuse year after year. We clean off the permanent marker from them by soaking them a few days in a bleach solution.
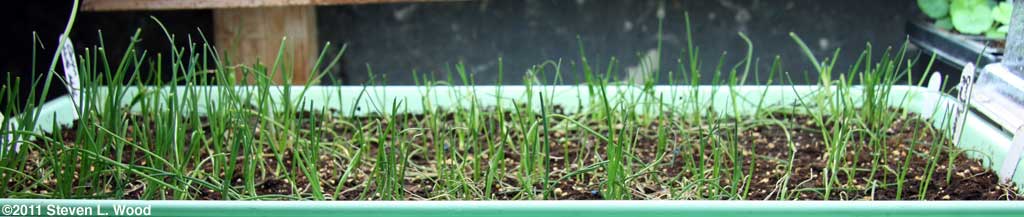
Once the onions emerge, the clear plastic cover comes off. We grow our onions and almost all the rest of our transplants under fluorescent shop lights on an old plant rack I built years ago. I keep the fluorescent tubes at least 2" above the tallest plants. Our bank of six 48" shop lights are now on a timer, but I've grown lots of transplants with 24 hour lighting with no apparent ill effects. For the onions, it's just a matter of keeping them moist and adjusting the height of the lights as the onions grow. If, no when, they get too tall, I give them a "haircut" with scissors to about three inches tall. Other than using old seed for onions (onion seed doesn't keep well from year to year), I've never had a failure with growing onion transplants.
Okay, I have to take that last statement back. In 2013, either our cats or dogs decided our onion transplants hardening off on the back porch were an ideal spot to pee on. By the time I figured out what was happening, the onion plants were in pretty sad shape. To add insult to injury, after I transplanted the onions beside some direct seeded carrots, a couple of young dogs dug up most of the softbed the onions were growing in going after a mole.
While you may find some good looking Walla Walla onion plants at your favorite garden store, the other varieties we like are pretty much seed-only in availability. And beyond that, I've never had a mail order of onion plants arrive in acceptable planting condition at the right time. When it comes time to transplant homegrown onion plants, I find that most of the soil drops off the onion plant roots when removing them from the tray. Fortunately, onion plants tolerate being bare rooted into the soil pretty well as long as you keep them moist until they get their root systems established again.
Okay, this feature has turned out to be far longer and have lots more images than I originally envisioned. I'm going to cut it into pieces so the individual pages will load a bit better.
From Steve Wood, the at Senior Gardening
|
| Affiliated Advertisers |
last updated 12/31/2022
©2015 Senior-gardening.com
 The easiest way to get seed would seem to be at a local garden center or discount store. Seed racks begin popping up in stores well before Valentine's Day and can be a lot of fun to peruse. But those seed racks generally include only the most popular (or most profitable) seed varieties. I still buy an occasional packet or two of seeds off a rack each year, usually on an impulse, but get most of our flower and garden seed from several